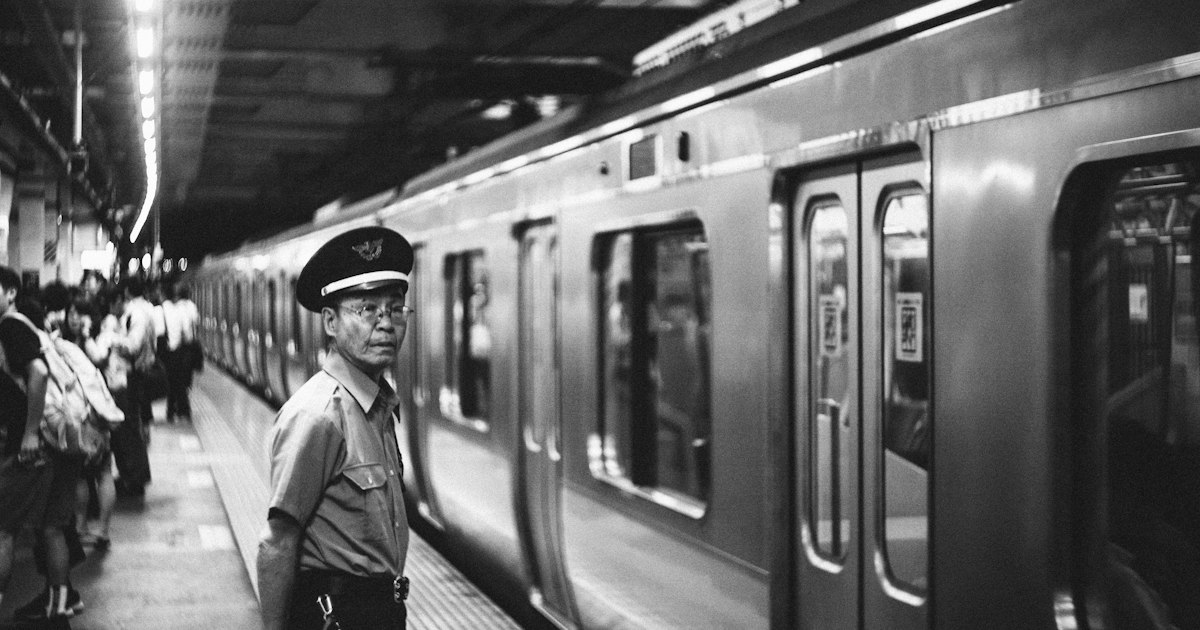
Photo by Yerko Lucic on Unsplash
Japan’s rail network is famously efficient, but its maps are built on one assumption that trips up a meaningful slice of travelers: that everyone can tell orange from green and blue from purple at a glance. If you’re color-blind (an estimated 1 in 12 men and 1 in 200 women worldwide), the color-coded lines on a Tokyo Metro or JR map can turn a simple transfer into a guessing game. The good news is that Japan’s stations are also layered with a second, color-independent system — station numbers, letters, and kanji counts — that works just as well once you know to look for it. Here’s how to navigate with confidence.
Why Japanese train maps are hard on color-blind eyes
Tokyo alone has over a dozen subway and commuter rail lines, and operators lean hard on color to distinguish them because line names are long and often share characters. The trouble is that several of the most common lines sit right in the confusion zones for red-green color blindness (deuteranopia and protanopia), the most frequent type. The Tokyo Metro Marunouchi Line (red) and the Toei Mita Line (indigo/navy) can look similar under certain lighting, and the Metro Ginza Line’s orange is easily mixed up with the JR Chuo Line’s orange — two completely different operators, different fare systems, and different platforms, but near-identical hue on a wall map. The Metro Tozai Line’s sky blue and Hibiya Line’s silver-gray also blur together for some viewers, as does the green of the JR Yamanote Line versus the darker green of the Chiyoda Line.
None of this is a design flaw exactly — it’s a system built for the majority. But it means you shouldn’t trust color as your primary way of confirming you’re on the right platform.
The real fix: station numbers, not colors
Since the early 2010s, Tokyo Metro, Toei Subway, and JR East have rolled out a station numbering system specifically to help with exactly this kind of ambiguity (it was originally aimed at foreign tourists, but it’s equally useful here). Every line gets a one-to-three-letter code and every station along it gets a sequential number. The Yamanote Line is “JY,” the Ginza Line is “G,” the Marunouchi Line is “M,” the Tozai Line is “T,” and so on. Tokyo Station on the Yamanote Line is JY01; Shinjuku is JY17. These codes appear on platform signs, train cars, and digital maps in a bold circle or square next to the line color — and critically, they don’t depend on color recognition at all.
When you’re planning a transfer, write down (or screenshot) the line letter and number for your destination rather than “the orange line.” If a sign says “G-01 → M-17,” that’s unambiguous no matter how you perceive the color swatch next to it. Most English-language station maps posted in Tokyo, Osaka, and Kyoto now include these codes, and JR Shinkansen platforms use a similar letter-number system for finding the right car for reserved seating.
Reading signage: shapes, kanji counts, and position matter
Beyond numbers, a few low-tech habits make signage far more reliable than color alone:
- Count the kanji, not the color. Station and line names are written in a consistent order on signs (kanji, then hiragana reading, then romaji). Even if you can’t read kanji, memorizing the shape and character count of your destination’s name (e.g., 新宿 is two characters) helps you confirm a sign before you’ve even processed the color.
- Use the position of the line on the sign, not its tint. Multi-line station signs list lines in a fixed order top to bottom; noting “second from top” is more reliable than “the green one” when two greens are nearby.
- Green Car and reserved seating use icons, not just color. On Shinkansen and some JR lines, first-class “Green Car” seating is marked with a small four-leaf clover icon (the literal meaning of “green” in this case is historical, not a color cue), so you don’t need to distinguish a green stripe from anything else.
- Tactile yellow platform paving, installed for visually impaired passengers, also gives you a consistent high-contrast reference line for where the platform edge and waiting zones are, regardless of your color perception.
Apps that remove color from the equation entirely
Your phone is the single biggest upgrade over paper maps, because transit apps render directions as text and line names rather than relying on you spotting a colored line on a tangled diagram. Google Maps’ transit mode gives turn-by-turn instructions (“Take the Ginza Line (G) toward Shibuya, 4 stops”), and Japan Transit Planner (by Jorudan) and NAVITIME’s Japan Travel app do the same with added platform and exit numbers. These are free and work offline for cached routes once loaded.
Because this workflow depends on having a working data connection the moment you land, it’s worth sorting your SIM or eSIM before you need it, not after you’re lost in Shinjuku Station. If your eSIM won’t activate when you arrive, our guide to fixing a SIM or eSIM that won’t connect in Japan covers the most common causes. And if your phone is lost or stolen mid-trip — which also means losing your navigation lifeline — see our rundown on carrier stores, eSIM reactivation, and backup options so you’re not stuck relying on color-coded wall maps as your only fallback.
Practical booking and arrival tips
Get an IC card (Suica or Pasmo) on day one — tourists can buy a “Welcome Suica” free of a refundable deposit at airport counters, or a standard card for a 2,000 yen initial load including a 500 yen deposit refunded when you return the card. Tapping an IC card removes the need to read color-coded fare charts above ticket machines entirely, since you pay the correct fare automatically on exit. The JR East Travel Service Centers at Narita and Haneda, typically open around 6:30 or 7:00 AM to 9:00 or 10:00 PM depending on the counter, sell these cards and can also set up your Japan Rail Pass if you have one. If your flight lands at an awkward hour and you’d rather not tackle an unfamiliar station bleary-eyed and confused by signage, our guide to shower rooms and rest pods at Narita, Haneda, and Kansai is worth a look before you set off.
Timing matters too: Tokyo’s rush hours (roughly 7:30–9:30 AM and 5:30–7:30 PM) pack platforms tight, making it harder to pause and study a sign without getting swept along. If you’re still building confidence with the numbering system, aim for mid-morning or early afternoon transfers during your first couple of days.
Budget, mid-range, and splurge options
On a budget, free apps (Google Maps, Jorudan) plus a photographed cheat-sheet of your hotel’s nearest station codes will get you everywhere. For a mid-range setup, add a Welcome Suica or Pasmo Passo card (free to 2,000 yen) and a data SIM or eSIM plan (roughly 2,000–3,500 yen for a week of data) so your apps always work live rather than relying on cached offline maps. If you want to splurge on peace of mind, a pocket WiFi rental (around 800–1,200 yen per day, available for pickup and return at major airport counters) gives you a dedicated, always-on connection independent of your phone’s SIM, which is especially useful if you’re traveling with a group and everyone needs reliable navigation at once.
Common mistakes to avoid
The biggest one is trusting a glance at a colored line on a paper map instead of confirming the letter-number code — two lines of similar hue can run through the same station with completely different platforms. The second is assuming every station nationwide uses the numbering system; it’s standard in Tokyo, Osaka, Kyoto, and most major metro networks, but smaller regional lines in rural areas may rely on station names alone, so lean more heavily on your phone’s spoken or text directions there. Finally, don’t wait until you’re navigating to test your connectivity — confirm your eSIM or SIM is active the moment you land, since signage troubleshooting is much easier with a working map in hand than without one.