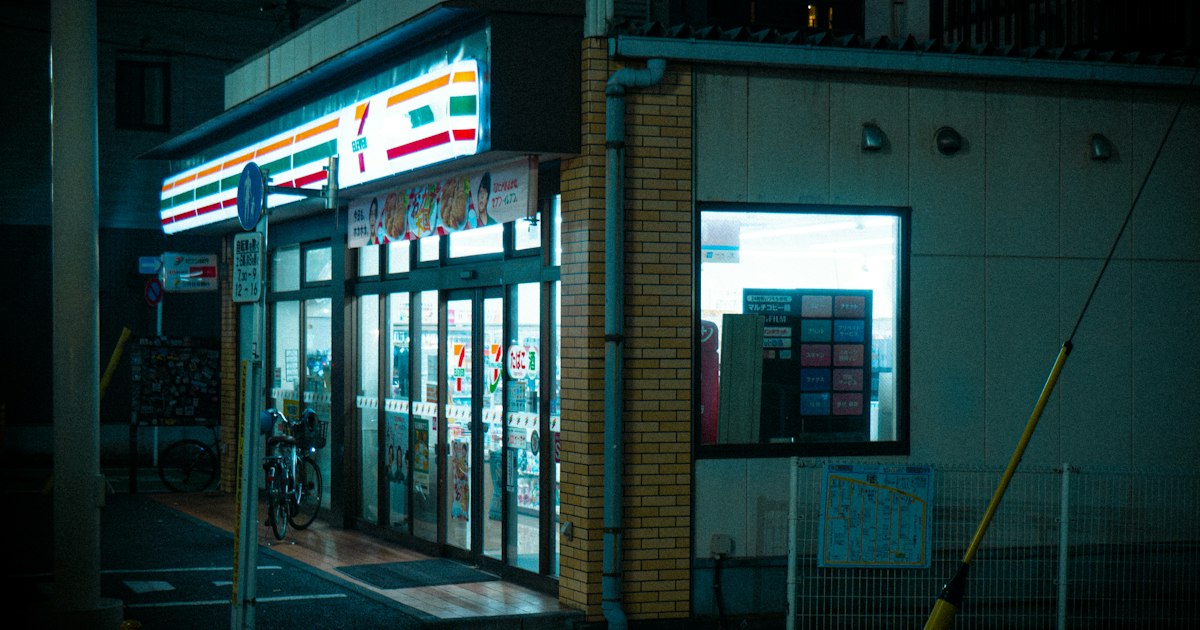
If you need an official ID photo for a residence card renewal, a visa application at an embassy, or a Certificate of Eligibility submission — and you didn’t pack a passport-photo booth in your suitcase — the fix is almost certainly a five-minute walk away. Japan’s convenience stores double as neighborhood business centers, and their multifunction copy machines can print correctly sized ID photos, scan passports and application forms, and send faxes, all for a few hundred yen. Here’s how to actually use them without wasting a printout or getting a photo rejected.
Why Convenience Store Machines Matter for Visa and Residence Paperwork
Japanese bureaucracy still runs heavily on paper photographs and physical forms, even for things you apply for online. Residence card renewals, re-entry permits, Certificate of Eligibility applications, driver’s license conversions, and My Number card registration all ask for a recent photo in a specific size — and most visitors and new residents don’t have a printer, let alone a photo booth, within reach. Rather than a dedicated photo studio, the fastest and cheapest fix is the multifunction copier (マルチコピー機, “multi copy machine”) standing just inside the door of almost every 7-Eleven, Lawson, and FamilyMart in the country. These machines, run on the same backend as convenience-store document printing nationwide, can take or receive a photo and output a sheet with several standard Japanese ID sizes already laid out.
Finding a Machine: Which Chains, Hours, and How to Get There
7-Eleven, Lawson, and FamilyMart are the three chains with these machines, and nearly every store has one — even small branches in train stations and residential neighborhoods. Because the vast majority of convenience stores in Japan are open 24 hours, 365 days a year, you can do this at 11pm the night before an early-morning immigration bureau appointment without any planning ahead. There’s no need to seek out a flagship branch; any store with the machine (look for the printer alcove near the magazine rack or register) works, and the photo and print functions are identical store to store. If you’re near a major train station and short on time, it’s usually faster to duck into the convenience store inside or beside the station than to search for a photo studio.
Printing an Official ID Photo at the Machine
There are two ways to get a photo onto the machine, and knowing which to use saves a wasted ¥400 printout:
- Using an ID-photo smartphone app: Apps distributed through the App Store/Google Play (search “証明写真,” meaning “certificate photo”) let you take a selfie against any plain wall, auto-crop it to the correct proportions, and select the intended use — residence card, visa, resume, driver’s license, My Number card — from a preset list. The app generates an 8-digit print reservation number. At the convenience store machine, choose “写真プリント” or “証明写真” on the touch panel, enter the number, pay, and collect your sheet, which typically includes 2–6 copies in a couple of common sizes.
- Taking the photo at the machine itself: Many newer machines have a built-in camera function for ID photos — you stand in front of the screen, the machine frames and shoots the photo, and you print directly without an app. This is slower to find your footing with on a first try, so budget a few extra minutes if the menus are unfamiliar.
Either way, expect to pay in the neighborhood of ¥400 for a printed sheet. Pay at the machine itself with coins, bills, or in most cases IC cards (Suica, PASMO, ICOCA) — no need to queue at the register separately.
Photo Size and Background Rules to Get Right Before You Print
Japanese government paperwork uses a handful of standard photo sizes, and the preset menus on the ID-photo apps are built around exactly these:
- 3cm × 4cm — the default “certificate photo” size used on resumes, many municipal forms, and some residence procedures.
- 4cm × 3cm — commonly requested for residence card and re-entry permit applications; double-check the exact figure on your specific form, since immigration bureau requirements are occasionally updated.
- 4.5cm × 3.5cm — standard Japanese passport photo size.
- 2.4cm × 3cm — My Number card size.
Across all of these, the common rules are: plain light background (white or light blue), no hat or sunglasses, taken within the last three to six months depending on the document, and a neutral expression with both ears visible. Before you print, check the specific requirements listed on the Immigration Services Agency page for your application — rules do get revised, and a sheet printed to the wrong spec means another ¥400 trip back to the machine. If you’d rather not risk a rejected photo on an important long-term visa or Certificate of Eligibility submission, a proper photo studio or a professional session is worth the extra cost; see Hiring a Photographer in Japan for studio options that also double as a nice souvenir portrait.
Scanning, Faxing, and Printing Application Forms
The same machines handle the rest of the paperwork trail. The scan function lets you scan your passport bio page, residence card, or any supporting document to a USB drive, to your own email, or to cloud storage (Google Drive, Dropbox, and similar are usually supported from the touch panel) — useful when an online visa or COE portal demands a digital upload and your phone camera photo isn’t accepted. Printing works the other direction: if you downloaded a PDF application form from the Immigration Services Agency or an embassy website, you can send it to the machine via the same network print apps used for photos (look for “ネットワークプリント” or “かんたんnetprint”) and print it on the spot, usually around ¥10–20 per black-and-white A4 page. Fax is also available on these machines for both domestic and international numbers, which still matters for some older institutions, guarantor employers, or home-country consulates that prefer a faxed cover sheet to an email attachment; pricing is per page and higher for international numbers, so ask at the machine’s quote screen before sending anything lengthy.
Common Mistakes That Get Applications Rejected
The most frequent error is printing the wrong size because the applicant guessed instead of checking the form — always confirm the exact centimeter dimensions stated on your specific document, not just “a standard ID photo.” The second is an outdated photo; if your form specifies “within 3 months,” a photo from your arrival six months ago will bounce back at the counter. Third, backgrounds with shadows or patterned walls (hotel room curtains are a common culprit) sometimes get rejected on close inspection — stand against the plainest wall you can find, or use a studio for anything mission-critical. Finally, don’t forget to bring cash or an IC card with enough balance; most machines take coins and major e-money but not all accept credit cards directly.
Budget Planning: What It Actually Costs
For most visa or residence card needs, a single ¥400 photo printout plus a few ¥20 document pages covers the whole errand — call it ¥500–600 total, finished in under ten minutes. If you’re also juggling other Japan-residency logistics that day, like paying fees or sending funds, it’s worth planning the trip around a convenience store or post office that can handle several tasks at once; see Sending Money Home from Japan for how those errands compare. For a mid-range option, some convenience stores partner with on-site photo booths (around ¥700–1,000) if the touch-panel menus feel daunting. And if the photo is for a passport renewal or a professional document you can’t afford to redo, splurging on a dedicated photo studio (often ¥1,500–3,000 with retouching and guaranteed compliance) is the safer bet. For everything else, the corner convenience store will have you covered before you’ve finished your coffee.