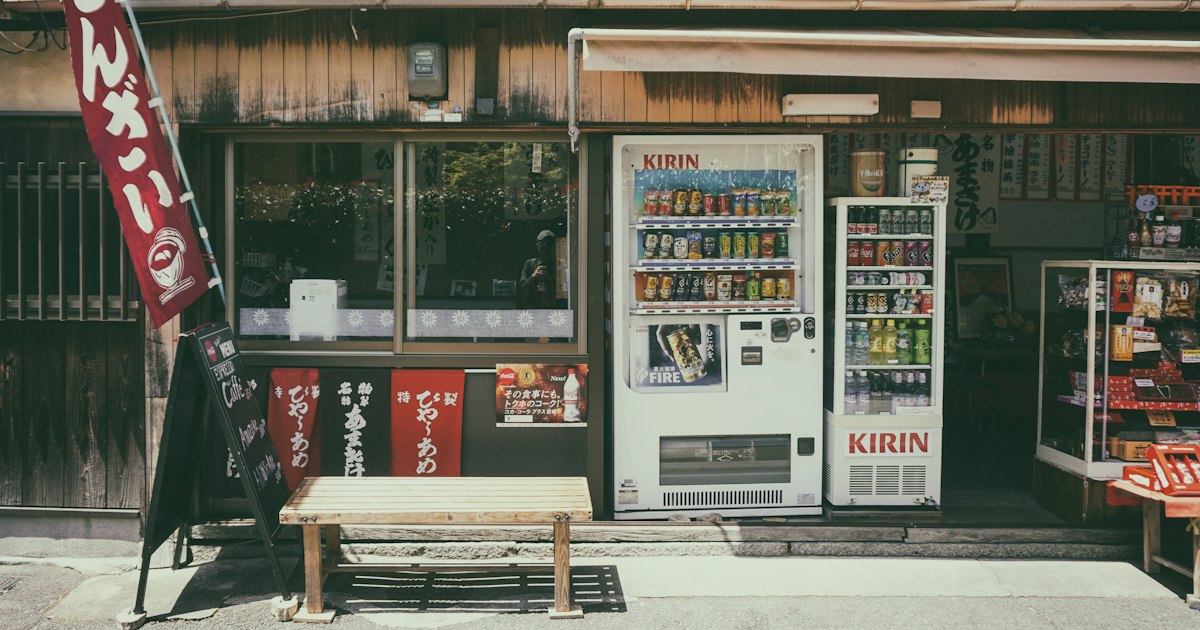
Photo by Daniel Tseng on Unsplash
You walk into a ramen shop, the counter seats are packed, steam is rolling off someone’s bowl, and there’s no waiter in sight — just a boxy vending machine by the door covered in buttons you can’t read. This is one of the most common moments of quiet panic for first-time visitors to Japan, and it’s also one of the easiest things to master once you know the pattern. Here’s exactly how these machines work and how to order confidently even with zero Japanese.
Why Ramen Shops Use Ticket Machines Instead of Servers
The ticket machine, called a shokken-ki (食券機), exists for a simple reason: speed and staffing. A typical ramen counter seats 8 to 15 people and runs with two or three staff who are entirely focused on cooking and serving bowls fast — often in under a minute per order. Taking orders, handling cash, and making change at the table would slow the whole kitchen down. By moving payment to the door, the cook never has to stop stirring noodles to deal with money, and customers never wait for a server to notice them. This system is standard at ramen shops, many tonkotsu and gyoza chains, and curry and beef bowl shops nationwide, so once you learn it here, you’ll recognize it everywhere.
How a Shokken-ki Actually Works, Step by Step
The process is the same almost everywhere, with minor variations:
- Before you sit down, stop at the machine near the entrance. Some shops post a line outside and expect you to order while waiting.
- Insert your cash first (most older machines require this before anything else), then press the buttons for what you want.
- Press the base ramen button — usually the largest button, often with a photo.
- Add toppings or sides on separate buttons: extra chashu pork, ajitama (seasoned egg), nori, extra noodles (kaedama), gyoza, rice.
- Collect your ticket(s) and change from the slot below.
- Find a seat, hand the ticket to staff, and sit back — some shops also have you note noodle firmness or spice level on a small card.
Hold onto the paper ticket until it’s taken from you; it’s your proof of payment, not a souvenir.
Cracking the Kanji: Reading Menu Buttons Without Fluent Japanese
You don’t need to read Japanese — you need to recognize about a dozen recurring characters and shapes. A few shortcuts:
- Photos and price are your anchor. Almost every button shows a yen amount; the most expensive single button near the top-left is usually the shop’s signature or specialty bowl (often labeled 特製 or 名物).
- ラーメン (ramen) in katakana is one of the easiest strings to pattern-match even if you can’t read it — look for that angular script rather than rounded hiragana or dense kanji.
- Common topping kanji worth memorizing visually: 卵 or 玉子 (egg), 肉 (meat), 麺 (noodles — appears in “extra noodles” buttons), 大 (large/extra), 並 (regular size).
- Google Translate’s camera mode works well on these machines since the text is large, high-contrast, and doesn’t move. Point your phone, let it overlay translations, and you can confirm before pressing anything.
- If a machine has a small flag icon or “EN” toggle, press it — a growing number of shops in tourist areas now offer English, Chinese, or Korean screens, especially newer touchscreen models replacing the old mechanical button ones.
If you’re the kind of traveler who wants to actually understand what’s in the bowl rather than just order by photo, it’s worth reading up on regional specialties before you go — for a sense of how far “just ramen” can vary by region and ingredient, see our guide on tonkotsu ramen broth styles, which also covers which versions are worth bringing home afterward.
Cash, IC Cards, and What to Do When the Machine Won’t Take Your Money
Many shokken-ki, especially at older or smaller shops, are cash-only and often don’t take coins larger than ¥500 or bills larger than ¥10,000 — some reject ¥10,000 notes entirely. Carry ¥1,000 bills and some coins; a typical bowl runs ¥700–¥1,000 at a budget shop, ¥1,000–¥1,800 at a standard neighborhood ramen-ya, and ¥1,500–¥3,000+ at specialty or Michelin-recognized shops. Newer machines, particularly at chains and in big cities, increasingly accept Suica/Pasmo IC cards and sometimes credit cards or QR payment — look for the IC card logo sticker near the slot. If a machine jams or rejects your bill, don’t keep force-feeding it; staff will usually notice and come help, or there’s a help button. Never try to walk in and order verbally at a ticket-machine shop just because the machine looks confusing — most staff genuinely cannot take a verbal order since there’s no register at the counter.
Common Mistakes First-Timers Make
- Sitting down before buying a ticket. Staff will often have to redirect you back to the machine, which is more embarrassing than just ordering first.
- Not deciding on toppings before inserting cash. Many machines return your money or cancel the transaction if you take too long, especially with a line forming behind you — glance at the full button layout first.
- Losing the ticket. If you drop it or it blows away, tell staff immediately; don’t assume you can just describe your order.
- Assuming all toppings are included. The pictured “standard” bowl photo sometimes shows toppings that are actually optional extras, not what you’ll get by default.
- Trying to pay again at the counter. Once you have a ticket, that’s full payment — tipping isn’t expected and handing over extra cash will just confuse staff.
Budget, Mid-Range, and Splurge Options
At the budget end (¥700–¥900), look for standing-counter shops near train stations and chain shops open late or 24 hours — these are fast, no-frills, and almost always ticket-machine only. Mid-range neighborhood shops (¥900–¥1,500) are where regional character shows up most — rich tonkotsu in Hakata style, miso-based bowls in Hokkaido style, or shoyu-based Tokyo style — and still run on the same ticket system. For a splurge (¥1,500–¥3,000+), some Michelin-recognized or chef-driven ramen shops still use ticket machines out of tradition even though the food is anything but basic; expect shorter hours, often just a lunch service from around 11:00 or 11:30 to 14:30–15:30, and frequent closures one or two days a week, so check current hours before making a special trip.
Best Times to Go and Etiquette Once You’re Seated
Lunch rushes (roughly 12:00–13:00) and dinner rushes (19:00–20:30) mean longer lines and less time to study the machine — go slightly off-peak, around 11:30 or 14:30, if you want a calmer first experience. Once seated, eat relatively promptly (ramen shops aren’t meant for lingering), and it’s normal for noodles to be served quite hot and for slurping to be completely acceptable. If you’re also exploring Japan’s other counter-and-ticket food cultures while you’re there, it’s worth comparing how different budget food spots handle ordering — our breakdown of Doutor vs. Komeda vs. kissaten covers a different but related self-service counter culture. And if hands-on food experiences are your thing beyond just eating, the kamaboko-making workshops in Odawara make a good pairing with a ramen crawl, since fish cake is a common ramen topping you’ll see as a button on plenty of these machines.