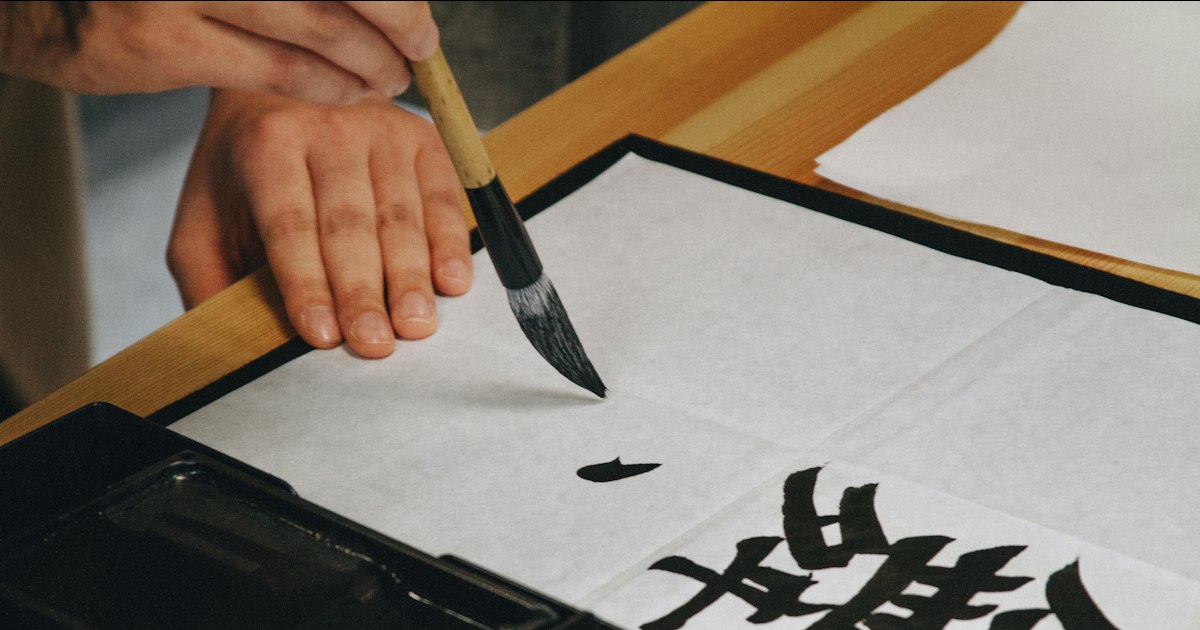
Photo by Niketh Vellanki on Unsplash
Mokuhanga — the water-based woodblock printing technique behind ukiyo-e masterpieces like Hokusai’s “Great Wave” — is one of the few traditional Japanese crafts that welcomes total beginners into a hands-on workshop within a couple of hours. No prior art experience is needed, the tools are forgiving, and you walk away with a print you actually made, carved and inked by your own hand. Here’s where to do it, what it costs, and how to avoid the rookie mistakes that ruin a first print.
What a Mokuhanga Workshop Actually Involves
Unlike Western relief printing, mokuhanga uses water-based pigments instead of oil-based ink, and the paper is dampened before printing — this is what gives ukiyo-e prints their soft gradients and the way color seems to sink into the paper rather than sit on top. In a beginner workshop you won’t carve a full multi-block design (that takes professional printmakers years); instead you’ll typically work with a pre-carved block or carve a simple single-color design, then learn baren technique — the circular rubbing motion used to transfer ink from block to paper without a press. Most tourist-facing sessions run 90 minutes to 3 hours and produce one to three finished prints to take home.
Tokyo: Where to Book
Mokuhankan (Tokyo) — Run by Canadian-born printmaker David Bull, this is the most tourist-friendly mokuhanga studio in the city, with English-language instruction built in. Located in Asakusa, a short walk from Senso-ji. Walk-in “carving and printing” experiences run roughly ¥3,000–¥6,000 depending on the design chosen, and advance reservation is recommended since English-speaking staff and workshop slots fill up on weekends. Open Wednesday–Monday, closed Tuesdays, generally 10:00–18:00 but check their site for the current schedule before visiting.
Tokyo Mokuhanga Museum / Adachi Institute-affiliated workshops
Kyoto: Where to Book
Kyoto’s print culture runs deep — the city’s workshops tend to lean more traditional and less English-oriented than Tokyo’s, so booking ahead with a confirmed English option matters more here.
- Uchida Art Co. (woodblock print experience programs) — offers tourist printing sessions in central Kyoto, generally priced ¥3,500–¥7,000 for a one-image, one-color experience with a staff member guiding each step.
- Independent studios near Nishiki Market and in the Higashiyama district frequently run single-session workshops aimed at visitors; prices cluster in the same ¥3,000–¥6,000 range for a simple postcard-sized print, rising toward ¥10,000+ for multi-color or larger designs. Because small studios change hours seasonally, confirm via their official site or booking platform (many list through Japanese reservation sites that have English toggles) rather than just showing up.
Budget, Mid-Range, and Splurge Options
Budget (¥3,000–¥4,500): A single pre-carved block, one color, postcard or small format — this is the standard “try it once” tourist experience and is enough to understand the baren technique and bring home a souvenir.
Mid-range (¥5,000–¥8,000): Multi-color prints using several registered blocks (the registration marks that let colors line up are called kento), sometimes with a choice of classic ukiyo-e motifs — Mount Fuji, waves, cats, seasonal flowers — to reproduce.
Splurge (¥10,000+ / private sessions): Some studios, including Mokuhankan, offer private or small-group sessions with more one-on-one instruction, the option to carve your own simple design from scratch rather than use a pre-cut block, and longer sessions (half-day) that cover carving technique in more depth. Ask specifically for a “carving” (not just “printing”) course if you want to use the chisels yourself.
Best Season and Timing to Book
Mokuhanga workshops run year-round indoors, so weather isn’t a major factor — but booking timing matters more than season. Spring (March–May) and autumn (October–November) see the highest tourist volume in both Tokyo and Kyoto, and small studios with only one or two instructor seats per session fill up fast; reserve at least a week ahead, longer around Golden Week (late April–early May) and the autumn foliage peak in November. Summer’s humidity actually suits the water-based ink and dampened paper reasonably well, and winter (outside New Year holidays) tends to have the most flexible same-week availability. If you’re also planning a seasonal flower-viewing trip, note that plum blossoms peak well before cherry blossoms — see this guide to ume blossom season if you want to combine an early-spring visit with a workshop before the cherry blossom crowds arrive.
Common Mistakes First-Timers Make
- Pressing too hard with the baren. The rubbing motion should be firm but even — pressing too hard in one spot creates blotchy, uneven ink transfer. Instructors will correct this, but it’s the single most common beginner error.
- Over-inking the block. More ink does not mean a darker, richer print — it usually means smearing and loss of fine line detail. Thin, even applications work best, which is counterintuitive if you’ve done oil-based printmaking before.
- Not booking English support in advance. Many smaller Kyoto studios operate primarily in Japanese; confirm English instruction availability when you book rather than assuming it’s offered, especially outside Mokuhankan.
- Forgetting the paper needs to stay slightly damp. Mokuhanga paper (often washi) is dampened before printing and can warp or tear if handled roughly when wet — let staff guide the paper handling steps rather than rushing.
- Treating it as a quick photo-op. A rushed visitor who wants to leave in 20 minutes will get a worse print and a less interesting experience than someone who commits to the full 90 minutes. Build in buffer time in your itinerary rather than squeezing it between other stops.
How to Get There
Mokuhankan’s Asakusa location is easily combined with a Senso-ji temple visit and is a short walk from Asakusa Station (Ginza, Asakusa, and Tobu Skytree lines). Kyoto studios near Nishiki Market and Higashiyama are walkable from Kyoto’s central tourist circuit and well served by city buses and the Keihan/Hankyu lines. If you want to pair your printmaking trip with a deeper look at historical ukiyo-e and woodblock art, the Tokyo National Museum in Ueno holds significant print collections and is worth visiting either before or after a workshop to see the technique’s full artistic range. And if you’re building out a broader “traditional crafts and collectibles” leg of your trip, mokuhanga pairs naturally with browsing for other Japanese handmade goods — antique chests, for instance, are covered in this guide to tansu wooden chests.
What to Do With Your Print When You Get Home
Finished prints are usually handed over slightly damp and need to lie flat to dry for several hours before rolling or framing — ask the studio for a stiff backing board or tube if you’re flying out soon after. Washi paper is durable but creases easily, so pack it flat in your luggage (between two pieces of cardboard) rather than rolled loosely in a side pocket. If you’re already thinking about customs declarations or luggage limits for other Japanese purchases on the trip, it’s worth checking your airline’s baggage policy directly, since a flat print portfolio counts as a normal carry item but oversized rolled prints may need special handling at the gate.