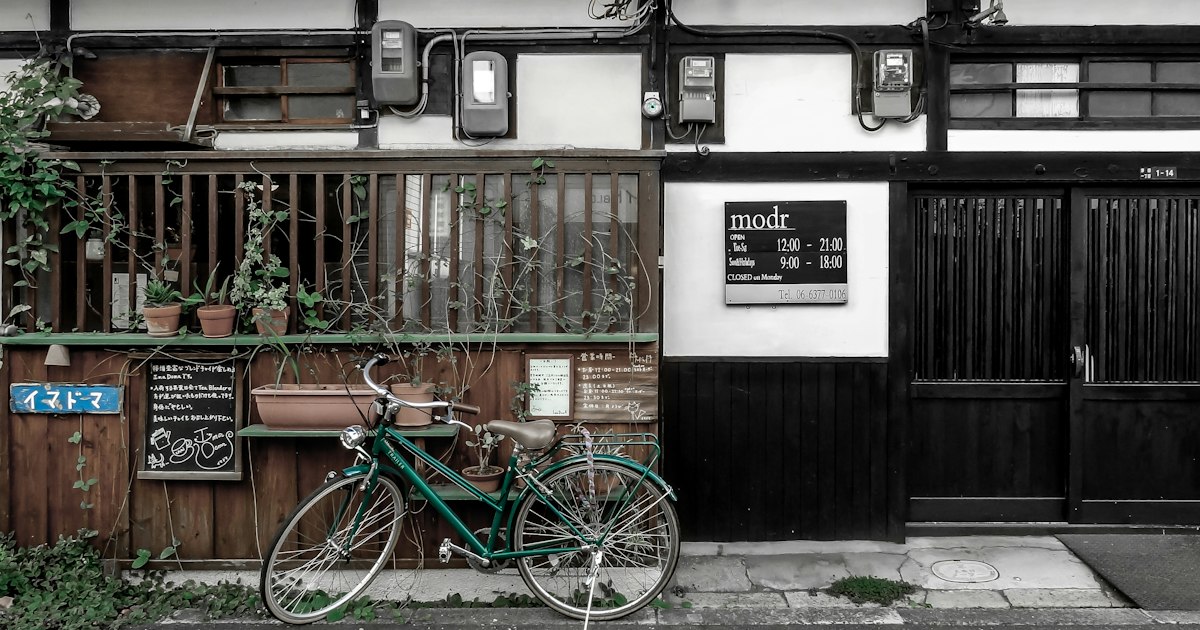
Photo by Danish Prakash on Unsplash
Japan looks like a cyclist’s paradise, but the flip side of all those neat rows of bikes outside stations is one of the strictest unauthorized-parking enforcement systems in the world. Leave a rental or secondhand bicycle leaning against a railing “just for twenty minutes” near a busy station, and there’s a real chance it will be gone by the time you’re back — hauled off by a city crew, not a thief. Here’s how the system works, what it costs to get a bike back, and how to avoid the problem entirely.
Why Japan Is So Strict About Where You Park a Bicycle
Most Japanese cities, and Tokyo’s wards in particular, have ordinances against 放置自転車 (hōchi jitensha, “abandoned/left bicycles”) parked outside designated areas. The rule isn’t really about theft prevention — it’s about sidewalk space. Narrow pedestrian zones around train stations get clogged fast if everyone leaves a bike wherever is convenient, so wards employ patrol staff specifically to tag and remove bicycles parked outside marked racks, even bikes that are clearly locked and clearly someone’s property. This applies equally to a ¥150,000 electric-assist bike, a ¥800 flea-market beater, or a bike you rented for the afternoon. The city doesn’t know or care whose it is — it only cares whether it’s on the sidewalk illegally.
How the Impoundment Process Actually Works
In most areas, enforcement happens in two stages. First, a patrol officer sticks a warning sticker (警告札) on a bike parked in a no-parking zone, giving a grace period — often just a few hours to a day — to move it. If it’s still there when the crew comes back, it’s loaded onto a truck and taken to a municipal impound yard (保管所, hokanjo). Some high-traffic areas near major stations skip the warning stage entirely during active sweeps, so “I didn’t see a sticker” isn’t a guarantee you’re safe. The bike isn’t declared stolen or abandoned to police — it simply disappears from where you left it, which is exactly why panicked visitors sometimes assume theft before realizing it was impounded.
Getting Your Bike Back: Fees, Documents, and Office Hours
When a bike is removed, a notice is usually left at the original parking spot (or mailed if the bike has a registered owner on file) stating which impound office is holding it, along with the office’s address and phone number. Call ahead — impound offices are often open limited hours, commonly weekdays only or with shorter weekend hours, and staff can confirm your bike is actually there before you make the trip.
Retrieval fees vary by municipality but typically run ¥3,000–¥6,000 for a first offense, with some wards charging more for repeat violations within the same year. You’ll generally need to show photo ID and, if asked, proof the bike is yours (a receipt, rental agreement, or the registration sticker affixed to the frame). Bring cash — many of these offices are small municipal operations that don’t take cards. If you’re on a rental bike, contact the rental shop immediately as well; some shops will handle retrieval themselves (and bill you), while others expect you to go get it and return it to them directly. Either way, don’t just write the bike off — unreturned rentals are typically charged the full replacement value, which is far more than any impound fee.
Impounded bikes that go unclaimed are generally held for a set period — commonly one to three months depending on the city — before being auctioned or disposed of, so don’t delay. If you’re wrapping up your trip soon, this is one errand worth doing the same day you discover the bike is missing.
Where to Park Legally Near Stations and Shopping Areas
The fix is almost always a paid bicycle parking lot (駐輪場, chūrinjō), and they’re everywhere once you know to look. Near most train stations you’ll find either an attended lot or a coin-operated rack system. Short-term “temporary use” (一時利用) rates are usually around ¥100–¥200 for the first few hours, sometimes with the first hour or two free, capping out around ¥200–¥300 for a full day. Look for racks with a lock-arm mechanism you release with a ticket or IC card tap — these are legal and monitored, unlike open sidewalk railings. If you’re navigating to one, a good transit app helps; see our guide to Japanese transit apps like Yahoo! Norikae Annai and NAVITIME, which show nearby bicycle parking facilities that Google Maps often misses.
Shopping streets and shrine/temple precincts sometimes have free bicycle parking areas, but they’re not always obvious — look for painted white-line grids on the pavement rather than assuming any open space is fair game.
Common Mistakes Visitors on Rental or Secondhand Bikes Make
- Treating a bike like a scooter you can leave anywhere for “just a minute.” Enforcement sweeps happen on a schedule, and busy station areas get checked multiple times a day.
- Assuming a kickstand next to other parked bikes means it’s legal. Other people’s bikes may also be parked illegally and simply haven’t been swept yet.
- Buying a secondhand bike without checking the registration sticker. Japan requires a 防犯登録 (bōhan tōroku) anti-crime registration, usually a small sticker on the frame. If you buy secondhand through a proper shop, they transfer this for a small fee (often around ¥600); skipping it can complicate things if police ever stop you to check, separate from parking enforcement.
- Not photographing where you parked. If your bike vanishes, a photo with visible signage or landmarks helps when you call the ward office to confirm it wasn’t stolen outright.
Budget, Mid-Range, and Splurge Parking Options
For budget travelers, coin-rack temporary parking at ¥100–¥200 near the station you’re actually using is the cheapest safe option. Mid-range is an attended lot with staff on-site, slightly pricier (¥200–¥300/day) but with someone physically watching the bikes, which also deters theft of rental e-bikes with removable batteries. The “splurge” option, really just convenience, is sticking to station-based bike-share systems with docking ports — you return the bike to any port and there’s no parking decision to make at all, eliminating impoundment risk entirely. If cycling with children, note that rented child seats and trailers add width and parking constraints of their own; see our guide on renting a child bike seat or trailer for cycling with kids in Japan for what fits in standard rack slots.
Quick Checklist Before You Lock Up
- Look for painted parking grids or a dedicated chūrinjō before locking up, even if it costs a few hundred yen.
- Never leave a bike against railings, pillars, or walls directly outside a station entrance — these are the first spots swept.
- Keep your rental agreement or purchase receipt accessible on your phone in case you need to prove ownership at an impound office.
- If a bike disappears, check for a left-behind notice before assuming theft, then call the listed office before traveling there.
A few minutes spent finding a legitimate rack is far cheaper and less stressful than losing hours of your trip tracking down an impound yard across town.