Long before capsule hotels and glass-walled apartments defined Japanese travel, families lived in kominka — thick-beamed farmhouses with soot-blackened rafters, irori sunken hearths, and roofs of thatch or heavy tile built to survive deep snow. Many of these houses are now inns, and sleeping in one is one of the most atmospheric things you can do in rural Japan: you’re not looking at a museum piece, you’re cooking rice over a fire pit inside one. Here’s how to actually plan a stay, not just admire the photos.
What Is a Kominka, Exactly?
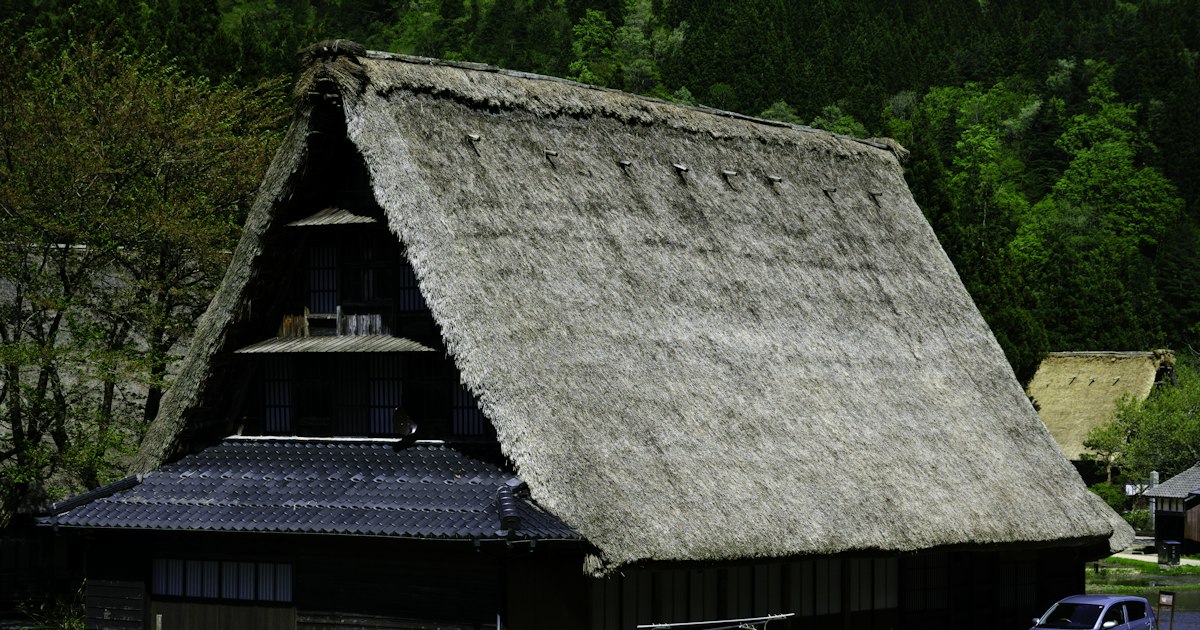
“Kominka” (古民家) literally means “old private house,” generally referring to wooden homes built before 1950, though the most prized examples date to the Edo or Meiji periods. Two features define the experience: the irori, a sunken square hearth in the floor used for cooking and heating, and exposed structural beams — often massive, curved timbers selected for their natural shape rather than cut straight. Roof style varies by region: the steep, hands-together “gassho-zukuri” thatched roofs of Shirakawa-go and Gokayama exist specifically to shed heavy snow, while farmhouses in Kyoto’s Miyama or Tokushima’s Iya Valley tend toward wide tiled or thatched roofs suited to different climates.
Owners generally fall into two camps: family-run minshuku (guesthouse-style, often with home-cooked meals and shared bathrooms) and renovated boutique properties, sometimes operated as single-house rentals or as part of a “distributed hotel” brand where several restored kominka in one village function as scattered rooms of a single inn, with a shared reception building.
Where to Find Them: Best Regions for Kominka Stays
Shirakawa-go and Gokayama (Gifu/Toyama) — the UNESCO-listed gassho-zukuri villages are the most famous kominka destination. A handful of the farmhouses inside Shirakawa-go’s Ogimachi village itself take overnight guests (only around a dozen do, and they book out months ahead for winter). Gokayama, less crowded and about 30–40 minutes further by car or bus, has similar houses at lower prices. If you’re routing through Toyama anyway, it’s worth pairing with the coast — see our guide to firefly squid season in Toyama if you’re visiting between March and May.
Hida-Takayama (Gifu) — a well-preserved Edo-era town with several kominka inns in the surrounding countryside, easily combined with a stop for the region’s famous good-luck charm; see our sarubobo guide for where to shop in town before heading out to a farmhouse.
Miyama (Kyoto Prefecture) — Kayabuki-no-Sato is a working village of around 40 thatched-roof houses roughly 90 minutes from Kyoto Station by bus/train combination; a few operate as inns, giving you a rural counterpoint to temple-heavy Kyoto itineraries.
Iya Valley (Tokushima, Shikoku) — one of Japan’s most remote, dramatic settings, with vine bridges and steep mountainsides; kominka here are often standalone rentals rather than staffed minshuku, so you need a rental car.
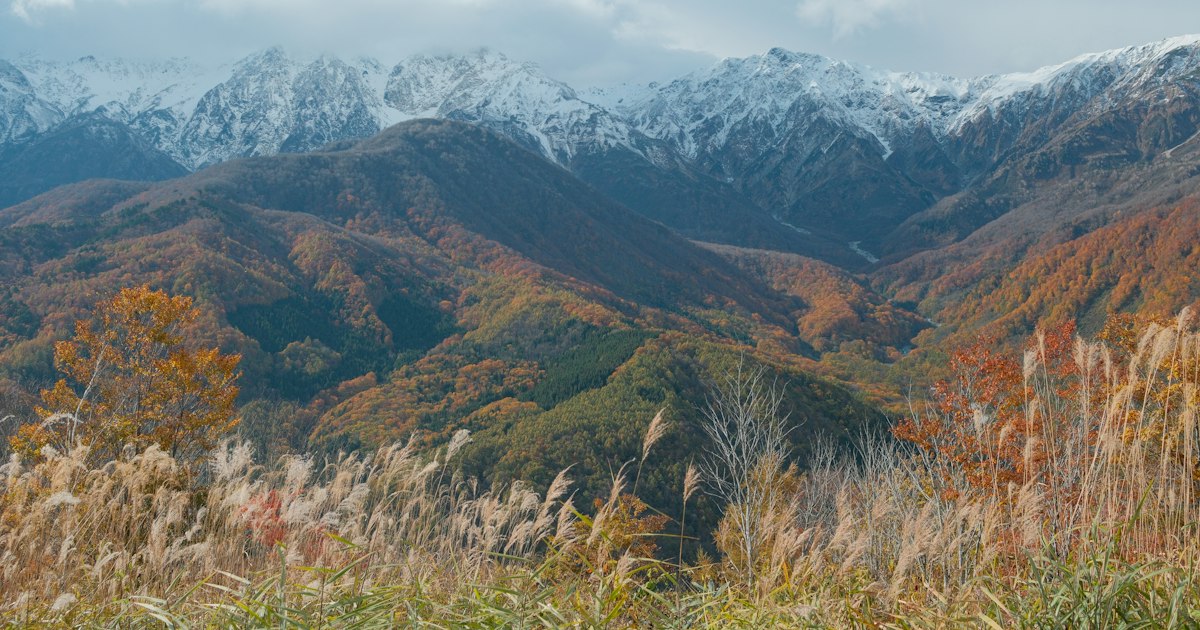
Nagano and the Japan Alps — scattered kominka stays exist around Matsumoto and the old post towns of the Nakasendo (Tsumago, Magome). If your trip already includes Zenko-ji’s old pilgrimage town, several farmhouse inns are within an hour’s drive.
Budget, Mid-Range, and Splurge Options
Budget (¥8,000–15,000 per person, with two meals): Family-run minshuku in Gokayama or Miyama, shared bathrooms, futon on tatami, home-cooked mountain vegetable dinners. Expect basic heating (a kerosene stove or the irori itself) rather than central air — bring warm layers if visiting outside summer.
Mid-range (¥20,000–40,000 per night, often per house or per two people): Renovated single-house rentals with private modern bathrooms, kitchens, and Wi-Fi, common in Iya Valley and parts of Kyoto’s countryside. You get privacy and self-catering flexibility but no included meals.
Splurge (¥40,000–100,000+ per person, per night): “Distributed hotel” brands that restore multiple kominka into a single luxury property — think a proper reception lodge, kaiseki dinners using local ingredients, and one restored house per couple or family. These exist in Niigata, Nara, Hyogo, and elsewhere and are usually the most comfortable way to experience the aesthetic without sacrificing heating or plumbing.
Getting There and Best Season to Visit
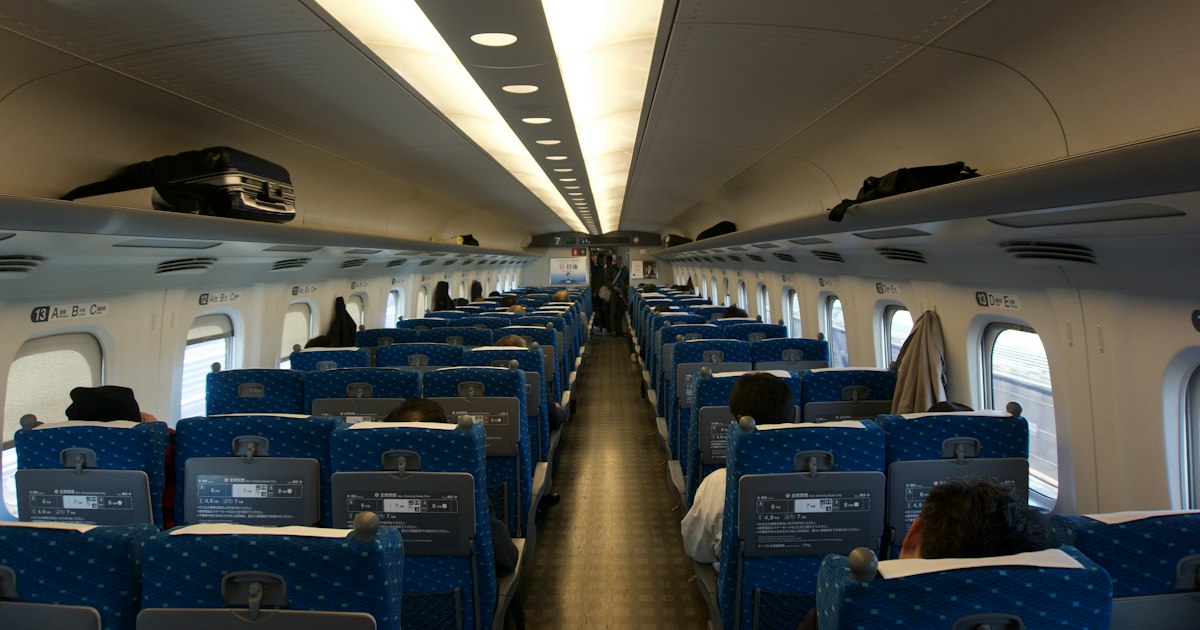
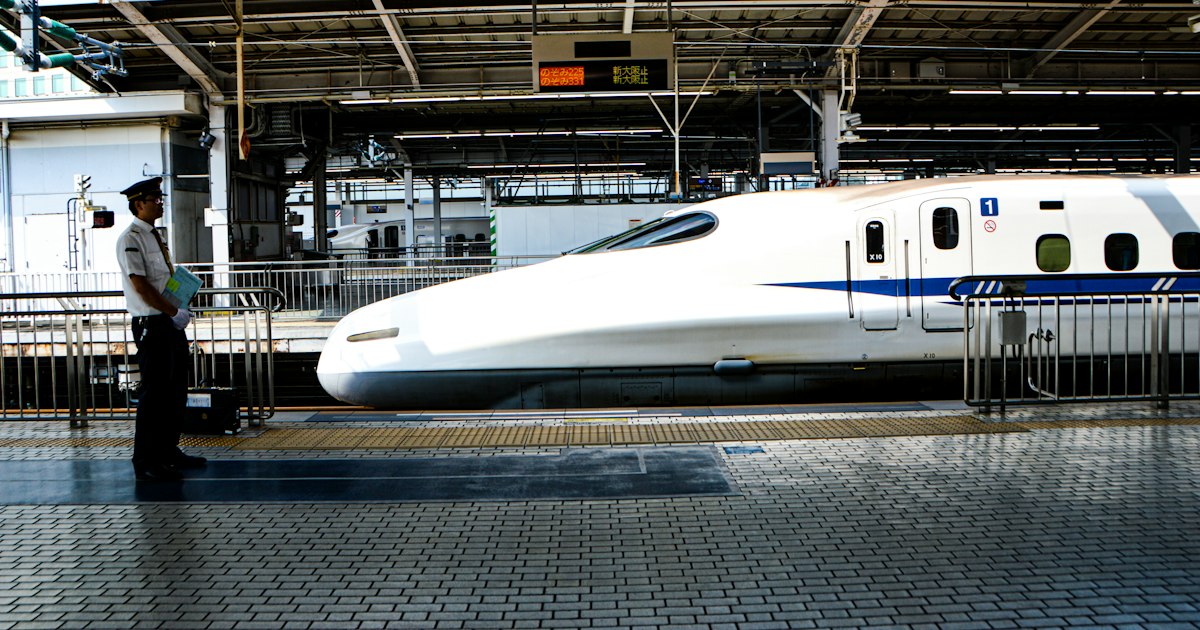
Almost none of these properties are near a shinkansen station — that’s the point. Typical routing is shinkansen or limited express to a regional hub, then a local bus, rental car, or inn pickup for the final leg. For Shirakawa-go/Gokayama, most travelers take a bus from Takayama, Kanazawa, or Toyama Station; if you’re coming a longer distance, consider whether a Green Car seat is worth it for the approach leg, since the rural transfers afterward are unavoidable regardless of how you started. Iya Valley and most Miyama properties effectively require a rental car — public transit exists but runs a handful of times a day.
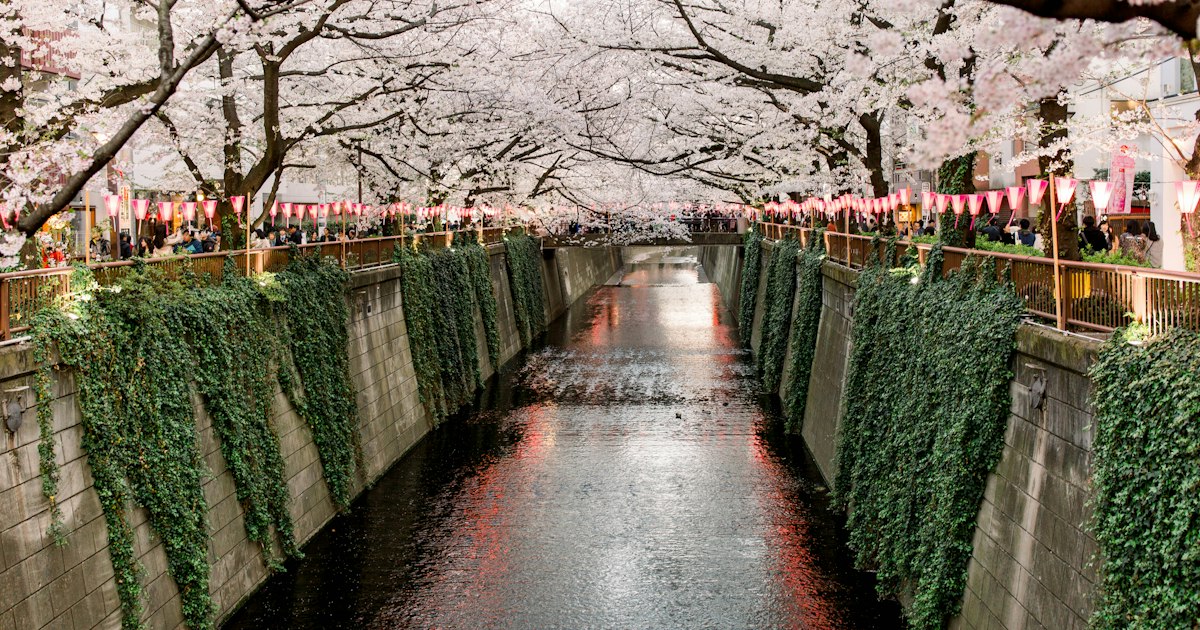
Season matters more here than almost anywhere else in Japan. Winter (late December–February) is when Shirakawa-go’s thatched roofs under snow look most like the postcards, but rooms in the village itself sell out 3–6 months ahead and heating is genuinely basic — the irori keeps the main room warm, not the whole house. Autumn (October–November) gives you foliage with milder temperatures and easier booking. Summer is green and lush but Iya Valley and Miyama can be hot and humid with limited air conditioning in older buildings. Spring works well if you’re combining a kominka stay with cherry blossoms or, further north, timing it around Toyama’s firefly squid season.
Booking, Amenities, and Etiquette
Book directly with the inn by phone or email where possible — many smaller minshuku aren’t on major international booking platforms, and some only take reservations in Japanese. Where they do appear online, book 2–3 months ahead for shoulder season and 4–6 months for winter weekends. Confirm meal plans explicitly: many kominka minshuku default to two meals included (dinner and breakfast), and cancelling that plan last-minute is considered rude given the amount of prep involved.
Expect to remove shoes at the entrance, sleep on futon rather than a bed (ask in advance if you have mobility concerns), and in older properties, share a bathroom down the hall. Wi-Fi is common now but not universal — don’t assume it in the countryside. If the irori is lit, don’t step over it or place bags on the hearth’s wooden frame; ask before adding your own wood.
Common Mistakes to Avoid
- Assuming central heating. Old timber-and-paper construction is drafty by design. Winter stays without a private modern bathroom can mean a genuinely cold walk down the hall at night — pack layers and slippers.
- Booking Shirakawa-go last-minute. The village caps overnight guests to protect the historic site; if you don’t plan months ahead for winter, Gokayama or Hida-Takayama are far more realistic fallbacks with a similar feel.
- Skipping the rental car for Iya Valley or Miyama. Bus schedules can be as sparse as 3–4 runs a day; without a car you may be stuck at the property or paying for taxis with long waits.
- Not confirming payment method. Many small family-run inns are still cash-only. Bring enough yen, since the nearest ATM may be a real drive away.
- Treating it like a hotel. These are often someone’s family home for generations. Quiet hours, shared spaces, and set mealtimes are the norm — it’s a homestay experience more than a hospitality-industry one, and that’s exactly what makes it worth doing.