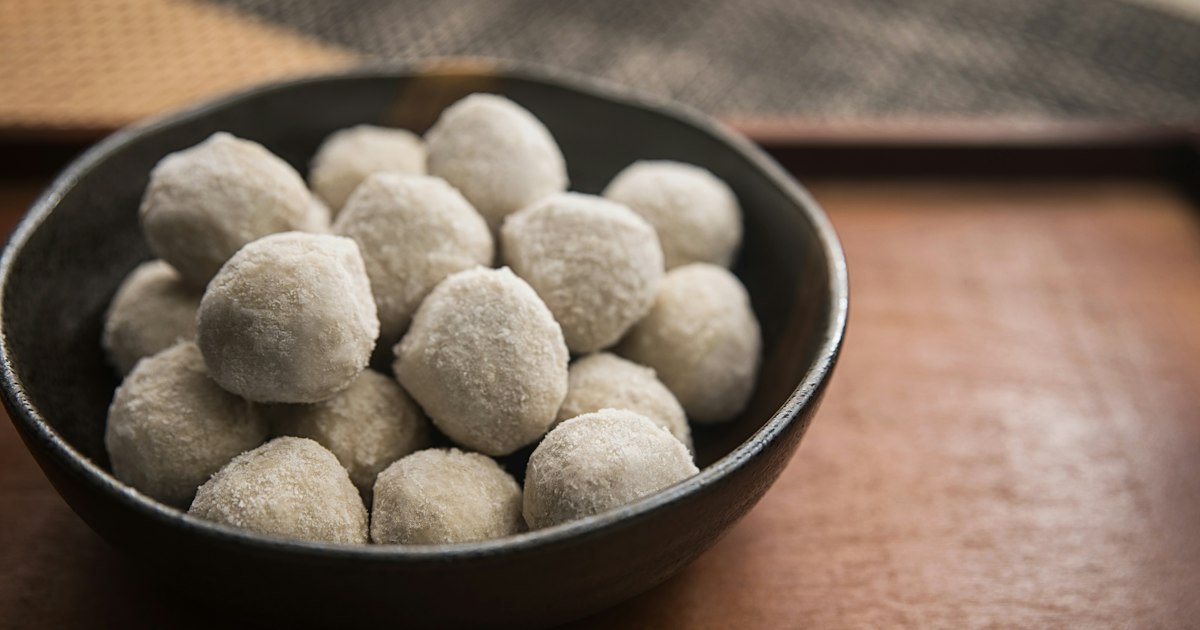
Photo by Charles Chen on Unsplash
If you’ve ever stood outside a Japanese convenience store watching rice crumble out of a seaweed-wrapped triangle while nori sticks to your fingers instead of the rice, you’re not alone. The plastic wrapper on a conbini onigiri looks like a simple snack bag, but it’s actually a small feat of packaging engineering — and it only works if you pull the tabs in the right order. Get it right and the nori stays crisp, wraps itself around the rice automatically, and your hands never touch a single grain. Get it wrong and you end up eating rice off the pavement. Here’s exactly how it works.
Why the Wrapper Is So Complicated in the First Place
Standard onigiri sold at 7-Eleven, Lawson, FamilyMart, and train station kiosks like NewDays are built so the nori (dried seaweed) sheet never touches the rice until the moment you eat it. Nori goes soggy and loses its snap within minutes of contact with moist rice, so Japanese packaging engineers in the early 1980s designed a wrapper that keeps the seaweed sealed against a layer of plastic film instead, sitting just millimeters away from the rice but never touching it. When you pull the tabs correctly, the plastic peels away and the nori falls onto the rice at the last second — the onigiri equivalent of a self-assembling sandwich. It’s genuinely clever once you see it work, which is exactly why getting the sequence wrong is so frustrating.
The Three-Step Pull, In Order
Almost every triangle onigiri (sankaku musubi) uses the same basic numbered system, printed right on the wrapper:
- Step 1 — Find the tab marked “1.” It’s usually on the back of the triangle, running horizontally across the middle. Hold the onigiri flat in one hand and pull this tab straight across, splitting the wrapper into a top half and bottom half. This is the step people skip or do too fast, and it’s the one that matters most — it separates the plastic from the nori cleanly instead of yanking them apart.
- Step 2 — Pull the tab marked “2.” It’s on one side, usually with an arrow showing the direction. Pull it out and away from the rice, not up. This peels back one flap of plastic and lets the nori drape onto that side of the triangle.
- Step 3 — Pull the tab marked “3” on the opposite side, same motion. The second plastic flap comes free, the nori falls fully into place around the rice, and you’re left holding a finished onigiri with the plastic wrapper coming away in two clean pieces.
The whole process takes about five seconds once you’ve done it twice. Round or cylindrical onigiri (the tube-shaped ones used for mentaiko or tarako fillings) usually skip this three-step system entirely and use a single pull-tab instead — those are far less fussy and nearly impossible to mess up.
Common Mistakes That Wreck It
The single biggest error is pulling tab 2 or 3 before tab 1. Without that first horizontal split, the side tabs drag the entire wrapper diagonally and tear straight through the rice. The second most common mistake is pulling too hard or too fast — the tabs are designed for a slow, steady pull, not a yank, especially in cold weather when the plastic film gets slightly stiffer. Third, people often hold the onigiri upright instead of flat in the palm, which lets the rice shift and crack along the fold lines as the plastic comes off. Finally, don’t try to “help” the nori into place with your fingers; it’s engineered to fall exactly where it needs to go, and touching it usually just transfers rice to your hand instead.
Where to Buy and What to Expect to Pay
Every convenience store in Japan sells onigiri, and nearly all locations are open 24 hours. Prices cluster into three tiers:
- Budget (around ¥120–¥160): Plain salted rice (shio), pickled plum (umeboshi), dried bonito flakes (okaka), and tuna mayo (tsuna mayo) are the everyday staples and the cheapest options at any chain.
- Mid-range (around ¥150–¥220): Grilled rice balls (yaki onigiri), mentaiko (spicy cod roe), salmon, and seasonal mixed-grain varieties fall here. FamilyMart and Lawson both rotate seasonal flavors roughly monthly, so the mid-range shelf changes more than the budget one.
- Splurge (¥250–¥400+): Chains periodically run premium or collaboration lines — wagyu beef, uni, ikura, or chef-collab flavors — usually sold in smaller batches and often gone by evening. If you want a sit-down version of the experience, Onigiri Bongo in Tokyo’s Otsuka neighborhood is a dedicated onigiri specialty restaurant with a far more elaborate (and pricier) menu than anything on a conbini shelf.
Pay with cash or tap your IC card at the register — if you haven’t picked one up yet, our guide to Suica Penguin and IC card mascot goods covers where to find Suica cards and their collectible merchandise beyond just tapping through train gates.
Best Times to Buy for Freshness
Convenience stores in Japan typically restock three times a day: early morning (around 6–7am), late morning before the lunch rush (around 11am), and again in the early evening (around 5–6pm) to cover dinner and the after-work crowd. Shelves are usually fullest and freshest right after these delivery windows. Later at night, especially after 9–10pm, some locations start discounting onigiri nearing their sell-by time with a yellow sticker — a legitimate way to save a little money, though the selection by then is often down to whatever didn’t sell during the day.
Pairing It Like a Local
Onigiri is a grab-and-go staple, but it’s also a common pairing with hot conbini counter food — fish cake skewers, fried chicken, or a cup of miso soup. If you want the home-style version of that pairing after your trip, our guide to tonjiru, Japan’s hearty pork and vegetable miso soup, is the closest thing to what locals eat alongside rice balls on a cold day. And if the whole experience gets you curious about cooking rice at home, Japanese kitchens use a specific kind of airtight container to keep rice fresh and bug-free between uses — our piece on kome bitsu rice storage containers explains how to buy one and bring it home.
Beyond the Triangle
Once you’ve mastered the basic triangle, keep an eye out for other convenience-store snack formats that use their own wrapping logic — steamed buns, sandwich triangles, and regional specialties sold at station kiosks all have their own quirks. If you’re traveling through Kyushu, for instance, the chick-shaped buns covered in our guide to Hiyoko Manju from Fukuoka make a good non-rice companion snack for the trip. But the onigiri wrapper remains the one most visitors actually need to learn, since it’s sold absolutely everywhere, costs less than a coffee, and — once you’ve got the three-step pull down — opens perfectly every single time.