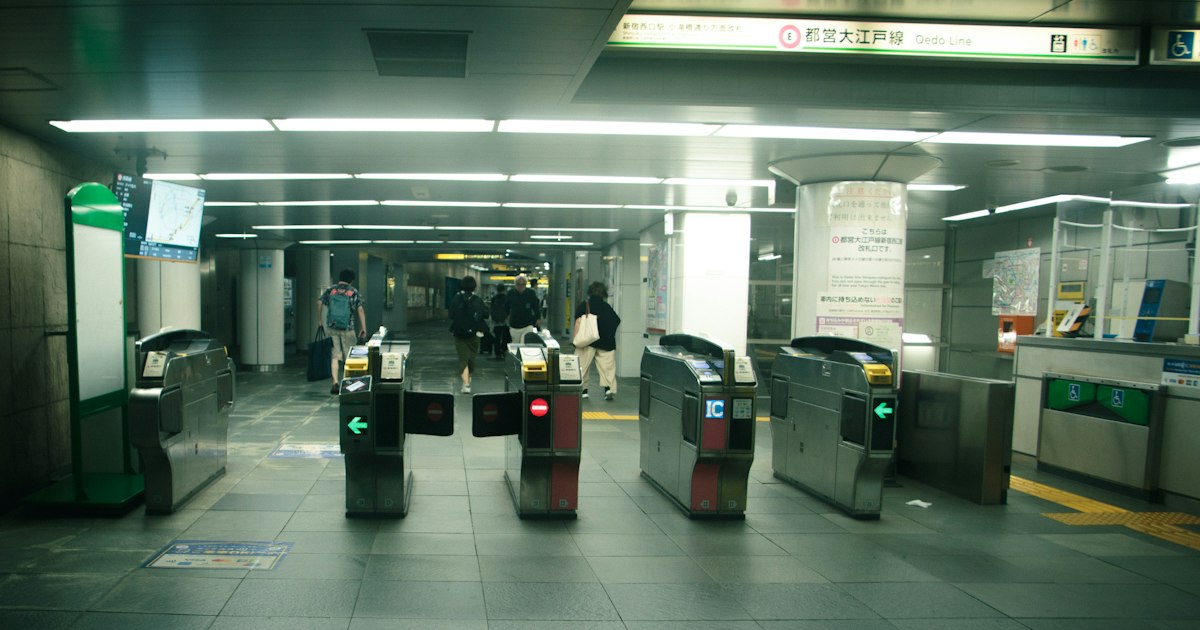
Photo by Thiago Yonamine on Unsplash
If you’re flying into Tokyo and dreading the ticket machine line, there’s good news: you can set up a working Suica or Pasmo card on your iPhone before you even board the plane. No kiosk, no Japanese-language menus, no 500-yen deposit. This guide walks through exactly which devices work, how to add the card, how to keep it topped up, and the mistakes that trip up first-timers.
Do You Even Need a Physical Card?
Suica (issued by JR East) and Pasmo (issued by Tokyo’s private railways and bus operators) are the two main prepaid IC cards used across Japan’s trains, subways, and buses. They’re also accepted as e-money at convenience stores, vending machines, and many shops nationwide — handy if you’re grabbing a bowl of oden at a convenience store counter and don’t want to fumble for coins. For most visitors with a compatible iPhone, there’s no real reason to bother with the plastic version anymore — the digital card works identically at every gate and reader, costs nothing to create, and can be topped up from your phone at 2am in your hotel room.
The one caveat: physical Suica cards have occasionally been in short supply at stations over the past couple of years due to IC chip shortages, with JR East periodically restricting walk-up sales to residents. That makes the Apple Wallet route even more reliable for tourists right now, since it sidesteps station inventory entirely.
Which iPhones and Apple Watches Actually Support This
You need an iPhone 8 or later, or an Apple Watch Series 3 or later — and this works regardless of which country or region your device (or Apple ID) is set to. That region-lock used to be a real headache before 2017, but Apple opened FeliCa transit cards up to all markets, not just Japan-sold phones. The only common exception is the first-generation iPhone SE, which lacks the needed NFC hardware. If your phone is newer than about 2017, you’re almost certainly fine.
Step-by-Step: Adding Suica or Pasmo in Wallet
- Open the Wallet app and tap the + in the top corner.
- Select “Travel Cards,” then choose Suica or Pasmo from the list.
- Tap “Create” to set up a brand-new digital card, or “Transfer Existing Card” if you already own a physical one and want to move its balance onto your phone (this fully deactivates the physical card, so don’t do it until you’re sure).
- Choose an initial top-up amount — you’ll be asked to load funds via Apple Pay as part of setup, typically in 1,000-yen increments.
- Confirm, and the card appears in Wallet within seconds, ready to tap at any gate.
The whole process takes about two minutes and can be done from your home country before you fly, as long as you have a working internet connection and an Apple Pay–eligible card.
Topping Up: Cards, Cash, and Limits
For years, only Japan-issued credit cards could reload a mobile Suica or Pasmo through Apple Pay, which frustrated a lot of visitors. That changed in late 2023: most Visa and Mastercard credit cards issued outside Japan can now top up directly in the Wallet app, no Japanese bank account required. Open the card in Wallet, tap “Top Up,” enter an amount, and authenticate with Face ID or Touch ID.
If your card isn’t accepted for some reason, you can still add cash. Look for the green multi-function ticket machines at JR stations — select the “Mobile Suica / Apple Pay” charge option on the touchscreen, insert cash, and hold your iPhone against the reader pad to load the funds. Maximum balance on either card is 20,000 yen, and top-ups are generally accepted in round amounts like 1,000, 2,000, 3,000, 5,000, or 10,000 yen.
Using It at Gates, Buses, and Shops
Go to Settings > Wallet & Apple Pay > Express Transit Card, and set your Suica or Pasmo as the default. This is the single most important setup step — with Express Transit enabled, you tap your phone or watch directly on the reader with no Face ID, passcode, or double-click needed, exactly like a physical card. Skip this and you’ll be stuck authenticating at every single gate, which is slow and annoying during rush hour.
One underrated feature: even after your iPhone’s battery fully dies, Express Transit usually keeps working off reserve power for a few hours, so you can still get through a final gate on your way to a charger. The card also works as tap-to-pay at convenience stores, vending machines, and an increasing number of retail counters — useful at electronics megastores like those compared in our Bic Camera vs Yodobashi Camera guide, though note that tax-free purchases there still need a passport scan separately from your IC card payment.
Common Mistakes to Avoid
- Not setting Express Transit as default — leads to failed taps and Face ID prompts mid-gate.
- Adding both Suica and Pasmo — they’re functionally interchangeable for transit and shopping, so there’s no benefit to carrying both digitally; pick one and avoid Wallet confusing which card is default.
- Assuming it works everywhere — some rural and scenic lines, including parts of the route up to the Tateyama Kurobe Alpine Route or smaller legs near the Kurobe Gorge Railway, still require paper tickets. Always check before assuming a tap-in gate exists.
- Transferring a physical card too early — once you use “Transfer Existing Card,” the plastic version is dead. Only do this once you’re confident you won’t need a backup card for a travel companion.
- Switching phones mid-trip without transferring out first — if you get a new iPhone, move the card via Wallet’s transfer settings before wiping your old device, or you’ll need to go through JR East’s refund process, which is far more painful for a short-term visitor than for a resident.
Suica vs Pasmo: Does It Matter Which One You Pick?
For a tourist, barely. Both are accepted on essentially the same network of trains, subways, buses, and shops across the country, including on regional lines you might ride on an Izu Peninsula day trip from Tokyo. Suica has a slight edge for name recognition abroad and is the default choice if you’re flying into Haneda or Narita, since JR East runs those airport lines. Pasmo is backed by Tokyo’s subway and bus operators and feels marginally more “local” if you’re based in a neighborhood served mainly by private railways. Either one will get you around Tokyo, Osaka, Kyoto, and most other major cities without issue — the real decision is just making sure you set it up correctly in Wallet before your first train ride, not which brand name is on it.