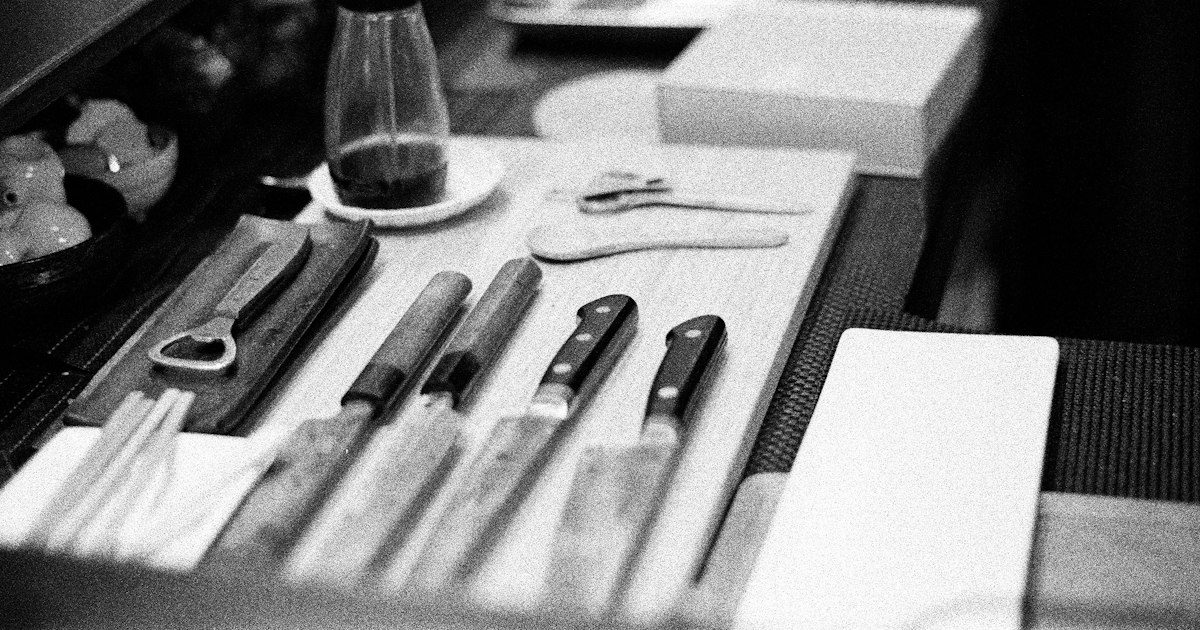
A good Japanese kitchen knife deserves a good edge, and nothing puts one on it like a traditional whetstone, or toishi. Unlike a pull-through sharpener, a whetstone doesn’t strip away metal indiscriminately — it lets you control angle, pressure, and finish, which is exactly why Japanese chefs have sharpened this way for centuries. If you’re bringing home a nice knife from a shop like Aritsugu in Kyoto or one of the specialty stores in Tokyo, learning to use a whetstone is what actually keeps that purchase worthwhile for years instead of months.
What Is a Toishi, and Why It’s Different
A toishi is a flat sharpening stone used with water rather than oil. Traditional Japanese stones come in two broad categories: natural stones (tennen toishi), quarried mostly from a handful of mountains near Kyoto and prized for centuries by carpenters and chefs alike, and synthetic stones made from bonded abrasive particles, which is what most home cooks actually use today. Natural stones are graded loosely by quarry name (Narutaki, Ozuku, Nakayama) and can be extraordinarily expensive; synthetic stones are graded by grit number, which is the more useful system for anyone starting out.
Japanese stones are typically water stones — you soak or splash them before use — as opposed to the oil stones common in Western sharpening traditions. Water stones cut faster and are far less messy, but they wear down (dish) more quickly, which is something to plan for.
Understanding Grit Numbers
Grit is the single most important number on the box. As a rough guide:
- #220–#600 (coarse): for repairing chips or reshaping a badly worn edge. Most home cooks never need this.
- #1000–#2000 (medium): the everyday sharpening stone. If you only buy one, buy a #1000.
- #3000–#6000 (fine): refines the edge after the medium stone, adds noticeable sharpness.
- #8000 and up (finishing/polishing): a mirror polish that also improves food release, popular for sashimi knives but not essential for general use.
Many beginners buy a combination stone with two grits fused back-to-back (commonly #1000/#6000) — a sensible, space-saving way to cover both medium sharpening and a finishing pass.
Where to Buy Whetstones in Japan
Tokyo’s Kappabashi district in Asakusa (nearest station: Tawaramachi on the Ginza Line) is the country’s best-known kitchenware street, lined with knife and stone specialists; note that a number of shops close on Sundays or keep irregular holiday hours, so a weekday visit is safer. In Kyoto, Nishiki Market is home to Aritsugu, a knife shop with roots going back to the 16th century that also stocks whetstones and offers in-store sharpening. Nihonbashi-based Kiya, founded in 1792, is another long-established option with a Ginza branch as well. Department stores in Tokyo and Osaka (Isetan, Takashimaya) also carry mid-range stones from major brands in their kitchenware floors, which is convenient if you’d rather not hunt down a specialty shop. If you enjoy browsing traditional craft and market goods generally, it’s worth pairing a whetstone hunt with a stop at somewhere like the Toji Temple flea market in Kyoto, where old tools — including vintage natural stones — occasionally turn up among the antiques.
Budget, Mid-Range, and Splurge Options
Budget (¥2,000–¥4,500): A King brand combination stone (#1000/#6000) is the standard beginner recommendation — widely available, forgiving, and genuinely good enough for most home kitchens.
Mid-range (¥5,000–¥15,000): Naniwa and Suehiro stones offer better consistency and faster cutting. Shapton’s glass-backed stones are popular with serious home cooks because they’re “splash-and-go” — a quick rinse instead of a long soak — and hold their flatness well.
Splurge (¥20,000–well into six figures): Natural Kyoto finishing stones, sold by quarry and grade, are collected the way some people collect watches. A quality natural finishing stone easily runs ¥30,000–¥100,000, and rare pieces go much higher. These are polishing stones used after a synthetic set, not a practical starting point, but seeing them at a specialty shop is worth it even if you don’t buy one.
Also worth adding to any purchase: a small nagura rubbing stone (¥1,000–¥2,000) to raise slurry on very fine stones, and a flattening stone (¥2,000–¥3,000) to keep your main stone’s surface true.
How to Sharpen a Knife: Step by Step
- Soak the stone. Submerge ceramic-bonded stones in water until bubbles stop rising (roughly 5–15 minutes). Glass-backed stones like Shapton just need a splash of water — check the packaging.
- Set your angle. Most Western-style double-bevel knives (santoku, gyuto) sharpen well at about 15–20 degrees per side. Traditional single-bevel Japanese knives (yanagiba, deba) are sharpened almost flat, closer to 10 degrees, on the bevel side only, with just a light touch on the back to remove the burr.
- Sharpen the coarser/medium stone first. Using light, even pressure, push the blade across the stone in smooth strokes, working the full length of the edge, heel to tip. Keep the angle consistent — this matters more than pressure.
- Check for a burr. Run a fingertip (carefully) along the opposite edge; a slight roughness means you’ve sharpened enough on that side. Flip and repeat.
- Move to the fine/finishing stone and repeat with lighter pressure to refine and polish the edge.
- Strop lightly on the stone with near-zero pressure to remove any remaining burr, then rinse and dry both the knife and the stone.
Common Mistakes to Avoid
- Skipping grits. Jumping from #1000 straight to #8000 wastes time — the medium stone does the real work of setting the edge.
- Inconsistent angle. Wobbling the angle mid-stroke is the single biggest reason home sharpening disappoints; many beginners use an inexpensive angle guide clip until muscle memory kicks in.
- Ignoring the stone’s flatness. Stones dish in the center with use. An unflattened stone will round your edge instead of sharpening it evenly — flatten every few sessions.
- Using a Western angle on a single-bevel knife (or vice versa). Sharpening a deba or yanagiba like a Western knife ruins its geometry; ask the shop which type you have if you’re unsure.
- Not drying stone and blade afterward. Left wet, carbon-steel knives rust quickly and stones can develop mildew or crack in freezing weather.
Bringing Your Whetstone Home
A whetstone itself isn’t a restricted item and travels fine in carry-on luggage — it’s just a dense rock. If you’re also buying a knife, that has to go in checked baggage, and both items together can add noticeable weight, so factor that into your packing. If you’re traveling onward by bullet train with a full haul of kitchenware, it’s worth checking the Shinkansen oversized luggage rules before you buy more than you can comfortably carry. And if whetstones get you interested in Japanese kitchen gear more broadly, our Japanese rice cooker buying guide covers the other major kitchen souvenir worth researching before you shop.
There’s no substitute for trying a stone by hand — the feel of a slurry building under a blade is part of why this method has survived so long. Budget an hour at a Kappabashi or Nishiki Market shop, ask questions, and you’ll leave with both a stone and enough technique to actually use it once you’re home.