Japan Trove

Category: Travel

Practical, up-to-date guides for traveling in Japan — itineraries, rail passes, eSIMs, where to stay, seasonal timing, etiquette, and the local know-how that makes a trip smoother. Written with real Japanese sources so you get the answer that actually works on the ground, not the recycled tourist one.

  • Narita & Haneda to Tokyo: How to Get into the City

    Narita & Haneda to Tokyo: How to Get into the City

    Some links below are affiliate links. If you book through them, Japan Trove may earn a small commission at no extra cost to you.

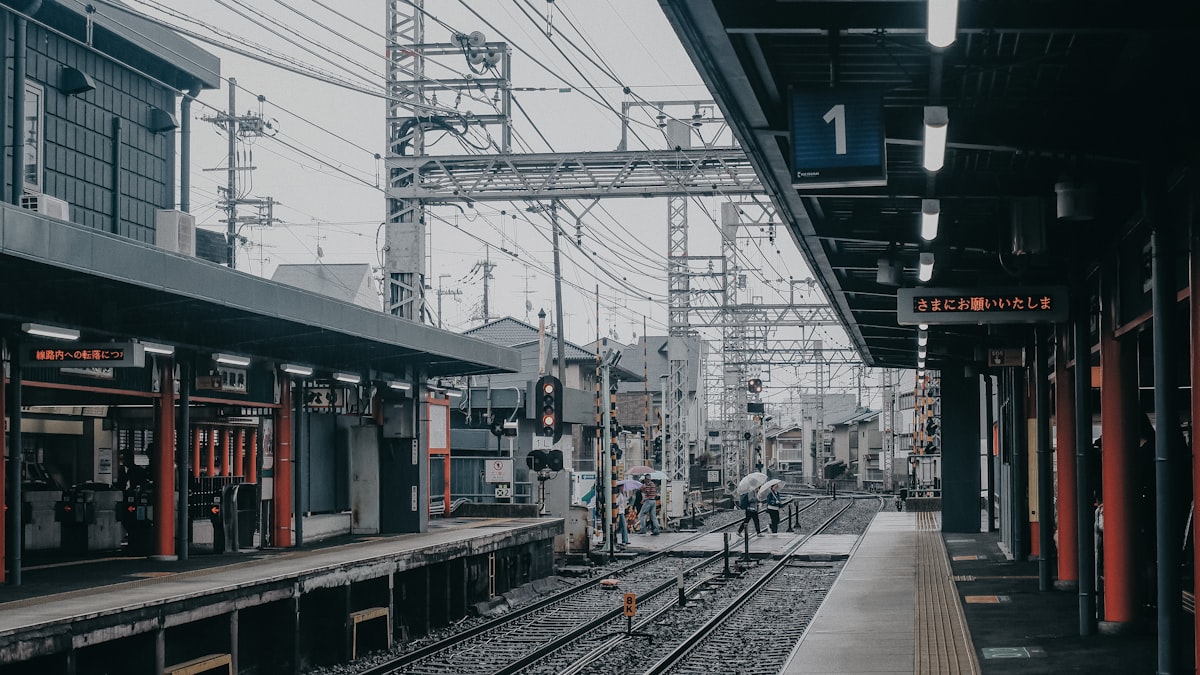
    Tokyo has two airports, and they’re very different distances from the city. Here’s the simple guide to getting from Narita and Haneda into central Tokyo without overpaying or getting lost.

    From Haneda (close — 30–45 min)

    Haneda is the closer, easier airport. Best options:

    • Keikyu Line / Tokyo Monorail — cheap and fast to Shinagawa/Hamamatsucho, then connect on the Yamanote line. Tap in with a Suica/Pasmo.
    • Airport Limousine Bus — direct to major hotels; great with luggage.
    • Taxi — reasonable at night if you’re a group heading to a central hotel.

    From Narita (far — 60–90 min)

    Narita is ~60 km out, so the transfer matters more:

    • Keisei Skyliner — fastest to Ueno/Nippori (about 40 min); buy discounted tickets in advance.
    • Narita Express (N’EX) — direct to Tokyo, Shibuya, Shinjuku, Yokohama; comfortable with big bags.
    • Airport Limousine Bus — door-to-hotel, no transfers.
    • Budget buses — cheapest to Tokyo Station if you’re watching every yen.

    You can pre-book Skyliner, N’EX, and bus tickets in English (often discounted) on Klook , which saves queueing at the airport counter.

    Which to choose

    • Light bags, want cheapest: trains + IC card.
    • Lots of luggage / late arrival: Limousine Bus or taxi straight to the hotel.
    • Narita to west Tokyo (Shinjuku/Shibuya): N’EX; to Ueno/Asakusa: Skyliner.

    Before you land

    Have your eSIM active so maps work immediately, know which neighborhood your hotel is in, and grab an IC card at the station. Then you’re ready for the 7-day itinerary.

    What each option typically costs

    • From Haneda, the Keikyu Line/Tokyo Monorail runs JPY 300-700 depending on your final destination, while an airport limousine bus runs JPY 1,200-1,500 to major hotel areas.
    • From Narita, the Skyliner runs about JPY 2,570 one-way to Ueno (discounted further with advance online booking), the Narita Express runs JPY 3,250-4,000 depending on destination, and budget buses can run as low as JPY 1,300-2,000 to Tokyo Station.
    • A taxi from Narita into central Tokyo runs JPY 20,000-25,000, dramatically more than any train option — reasonable only for very late arrivals with no other option or a large group splitting the cost evenly.

    Common mistakes to avoid

    • Assuming Narita and Haneda are interchangeable for planning purposes — the distance and cost difference is substantial; always confirm which airport your specific flight uses well before arrival, since assuming Haneda’s shorter transfer time when you’re actually flying into Narita can throw off tight connection plans.
    • Not pre-booking discounted Skyliner or N’EX tickets — online advance booking through official sites or platforms like Klook is often meaningfully cheaper than buying at the airport counter, and it also skips the ticket queue on arrival.
    • Choosing the cheapest bus option with heavy luggage and a late-night arrival — budget buses take longer and have less frequent departures late at night; the extra cost of a faster train option is often worth it when you’re jet-lagged and eager to reach your hotel.

    Timing your arrival transfer

    Both airports’ fastest train services (Skyliner, N’EX, Keikyu) run less frequently late at night, so a flight landing after 9-10pm may face longer waits or a switch to a taxi or airport hotel — checking the last train departure time for your specific route before booking flights avoids an unwelcome late-night surprise.

    Connecting between the two airports

    If your itinerary requires flying into one Tokyo airport and departing from the other, budget at least 90 minutes to two hours for the direct airport-to-airport bus, longer if you’re routing through the city instead — this connection is often overlooked when booking separate one-way flights into and out of Tokyo.
  • Best Time to Visit Japan: A Month-by-Month Guide

    Best Time to Visit Japan: A Month-by-Month Guide

    Some links below are affiliate links. If you book through them, Japan Trove may earn a small commission at no extra cost to you.

    There’s no single “best” month to visit Japan — it depends on whether you’re chasing cherry blossoms, autumn leaves, snow, or just fewer crowds and lower prices. Here’s an honest month-by-month breakdown.

    Season by season

    Spring (March–May) — cherry blossoms

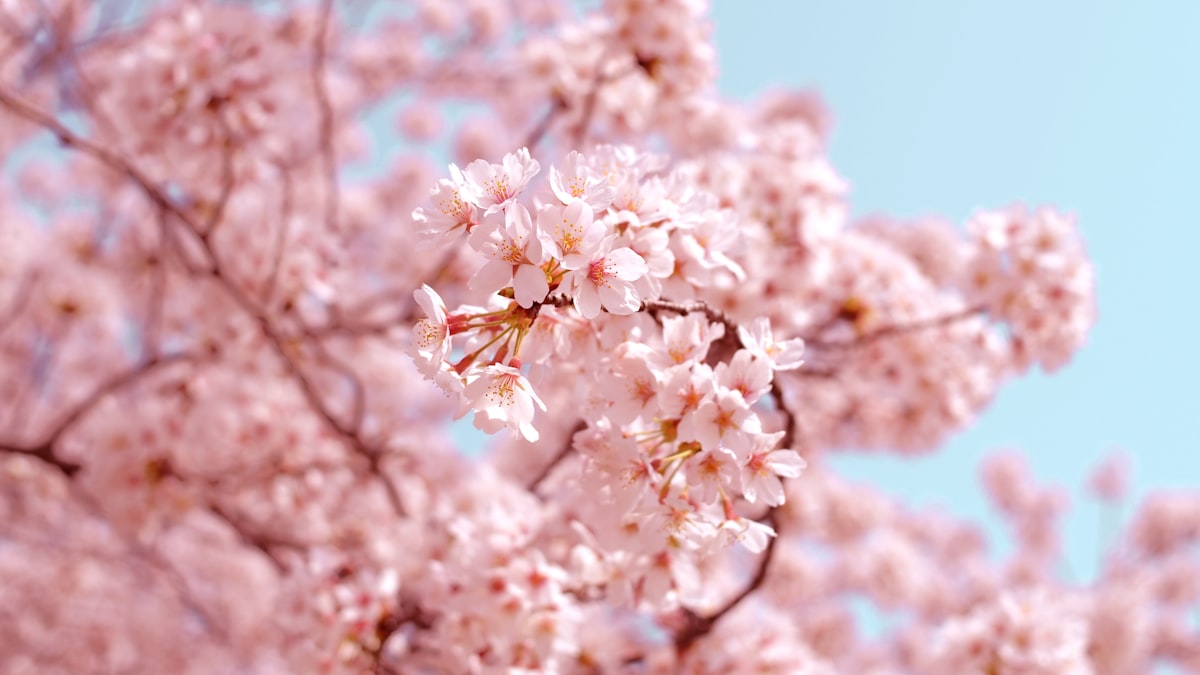
    The famous sakura bloom, usually late March to early April in Tokyo/Kyoto. Beautiful but the busiest and priciest window — book hotels months ahead. Late May is quieter and pleasant.

    Summer (June–August) — festivals & heat

    June is rainy season; July–August are hot and humid but full of fireworks and matsuri festivals. Great for northern Japan (Hokkaido) and mountains, tough in the cities.

    Autumn (September–November) — best all-rounder

    Comfortable temperatures and spectacular fall foliage (peaking Nov in Kyoto). Arguably the best mix of weather, scenery, and manageable crowds. Watch for typhoons in September.

    Winter (December–February) — snow & deals

    Cold but crisp and clear, world-class skiing in Hokkaido/Nagano, onsen in the snow, and the lowest prices and crowds (outside New Year). Illuminations everywhere.

    Quick picks

    • First trip, best weather: late October–November.
    • Cherry blossoms: late March–early April (book early).
    • Fewest crowds & cheapest: January–February (skip New Year week).
    • Skiing: January–February.

    Crowds & costs

    Avoid the three big domestic holidays when everything is packed and pricey: New Year (late Dec–early Jan), Golden Week (late April–early May), and Obon (mid-August). Traveling just outside these saves money and stress. Whenever you go, lock in central hotels early via Booking.com .

    Once you’ve picked your month, map out the days with our 7-day itinerary and sort trains and an eSIM.

    What seasonal pricing swings look like

    • Peak cherry blossom week and Golden Week can push hotel rates 30-50% above baseline, while January-February (outside New Year) often sees the lowest rates of the year alongside genuinely pleasant, crisp weather for city sightseeing.
    • Flight prices follow a similar pattern — booking for late October/November or January/February shoulder-season windows frequently costs meaningfully less than flying during the three big domestic holiday clusters.
    • Ski season (Dec-Mar) sees Hokkaido and Nagano resort accommodation priced at a premium, but city hotels elsewhere in the country often stay at winter’s generally lower baseline rate during the same months.

    Common mistakes to avoid

    • Fixating on a specific bloom or foliage date without flexibility — both cherry blossoms and autumn leaves shift by 1-3 weeks year to year depending on weather; a rigid single-week plan risks missing peak entirely, while a flexible window improves your odds substantially.
    • Assuming summer is universally bad for a Japan trip — while central and southern cities get genuinely hot and humid, Hokkaido and mountain regions offer a comfortable, less crowded summer alternative that many travelers overlook.
    • Not checking the specific year’s Golden Week and Obon dates — these shift slightly year to year and can extend with adjacent weekends; verify current dates rather than assuming a fixed calendar week.

    Matching the season to your trip priorities

    If photogenic scenery matters most, spring and autumn win outright; if budget and quiet matter most, winter (avoiding New Year) is hard to beat; and if festivals and lively atmosphere matter most, summer’s matsuri season — despite the heat — delivers an energy the other seasons don’t match.

    Regional timing differences worth knowing

    Okinawa and Hokkaido effectively run on their own seasonal calendars — Okinawa’s beach season peaks when much of the mainland is uncomfortably hot and humid, while Hokkaido’s summer offers cool relief and its winter brings some of the best powder snow in the world, making both worth considering specifically to counter whatever the mainland’s current season is doing.

  • First Time in Japan: 20 Things to Know Before You Go

    First Time in Japan: 20 Things to Know Before You Go

    Some links below are affiliate links. If you buy or book through them, Japan Trove may earn a small commission at no extra cost to you.

    Japan is one of the easiest countries in the world to travel — once you know a handful of local rules. Here are the things first-timers most often wish someone had told them before landing.

    Money & payments

    • Carry some cash. Cards and IC cards work widely now, but small restaurants, shrines, and rural spots are still cash-only. Convenience-store ATMs (7-Eleven, Japan Post) accept foreign cards 24/7.
    • Get an IC card. Suica or Pasmo tap you through trains and buy things at konbini — see our IC card guide.
    • Tax-free shopping exists for tourists over a spend threshold — bring your passport.

    Trains

    • Use Google Maps — it’s excellent for Japanese trains, showing platforms and exact carriages.
    • Don’t overbuy the rail pass. After the 2023 price hike, singles are often cheaper — check our JR Pass guide.
    • Be quiet on trains. Phone calls are a no; keep your voice low.

    Etiquette that matters

    • No tipping. It can cause confusion — service is included.
    • Don’t eat while walking in most places; step aside.
    • Shoes off where you see a step up and slippers (ryokan, some restaurants, homes).
    • Trash bins are rare — carry a small bag and dispose at your hotel or a konbini.
    • Queue neatly and stand on the correct side of the escalator (left in Tokyo, right in Osaka).

    Connectivity & language

    • Set up data before you fly with an eSIM.
    • Download a translation app; camera translation is a lifesaver for menus.
    • A few words go a long way: arigatou (thanks), sumimasen (excuse me/sorry).

    Practical bits

    • Konbini are your friend — food, ATMs, tickets, clean toilets. Learn to shop Japan in general and you’ll never be stuck.
    • Luggage forwarding (takkyubin) lets you send bags hotel-to-hotel cheaply — travel light on transit days.
    • Book central hotels early — see where to stay in Tokyo.

    Ready to plan the days? Follow our 7-day first-timer itinerary.

    What surprises first-timers most

    • How quiet public spaces are — trains, restaurants, and streets are noticeably calmer than most major cities, and matching that energy (lower voices, phones on silent) helps you blend in faster than any single etiquette rule.
    • How much walking a typical day involves — 15,000-20,000 steps is common even on a “relaxed” sightseeing day, given the distances between train exits and attractions; comfortable, broken-in shoes matter more than most people expect before arriving.
    • How small hotel rooms can be compared to home — even mid-range hotels often have compact rooms by Western standards; checking the room size in square meters before booking sets more accurate expectations than photos alone.

    Common mistakes to avoid

    • Overpacking the itinerary — this is consistently the single biggest first-timer regret; fewer destinations with more time in each beats a checklist approach that leaves every day feeling rushed.
    • Assuming every attraction takes walk-in visitors — increasingly, popular museums, digital art shows, and even some restaurants require advance timed booking; checking ahead avoids a wasted trip to a sold-out venue.
    • Underestimating how cash-reliant some situations remain — small restaurants, temple donation boxes, and rural areas can still be cash-only even as cities modernize; running out of cash unexpectedly is a common, easily avoided hiccup.

    Building confidence before you land

    Spending even 20-30 minutes before departure learning to read a Japanese train platform board, practicing the handful of essential phrases, and setting up your IC card and eSIM in advance removes most of the friction first-timers report feeling in their first 24 hours on the ground.

    The one habit that helps the most

    Watching what locals around you do — which side of the escalator they stand on, how they queue, how loudly they speak on the train — and simply mirroring it resolves the vast majority of etiquette uncertainty without needing to memorize every rule in advance.

  • Where to Stay in Tokyo: Best Areas for First-Timers

    Where to Stay in Tokyo: Best Areas for First-Timers

    Some links below are affiliate links. If you book through them, Japan Trove may earn a small commission at no extra cost to you.

    Tokyo is huge, but you don’t need to overthink your hotel: pick a neighborhood on or near the Yamanote loop line and you can reach almost anything in 30 minutes. Here’s a first-timer’s map of the best areas to stay, and who each one suits.

    Best areas for first-timers

    Shinjuku — most convenient all-rounder

    The world’s busiest station, endless food, nightlife in Golden Gai and Kabukicho, and fast trains everywhere (including the airport). Great if you want energy and connectivity. Can be busy and loud.

    Shibuya — young, stylish, walkable

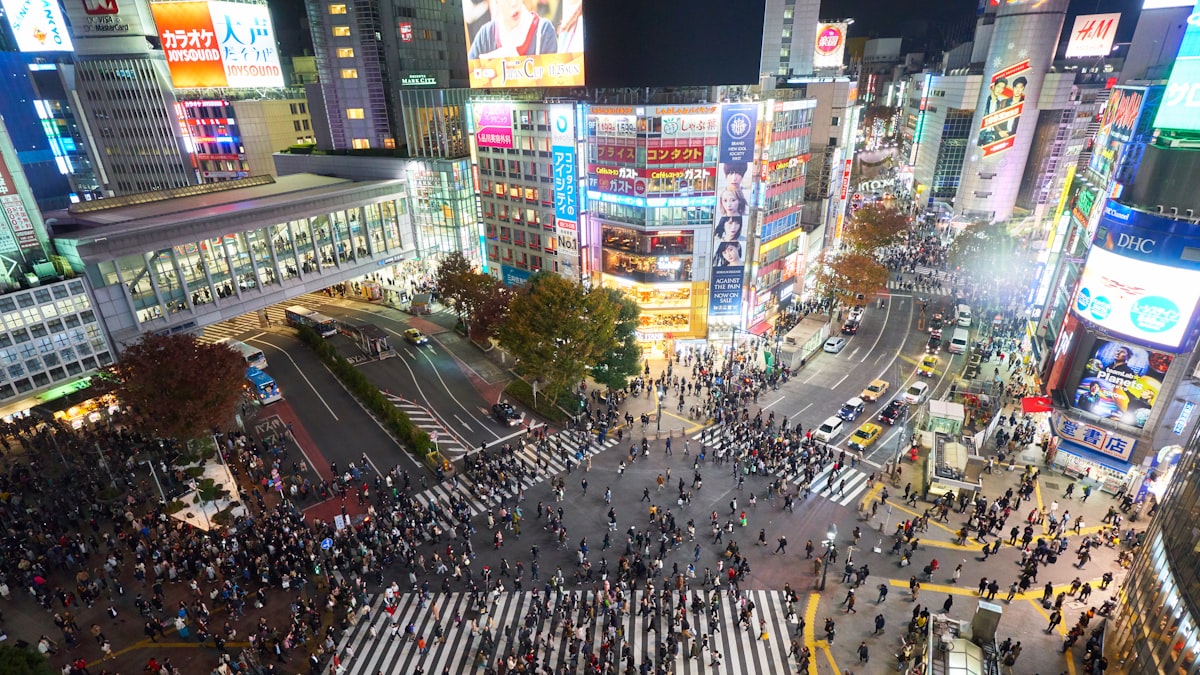
    The famous Scramble Crossing, shopping, and a short hop to Harajuku. Fun and central, slightly pricier.

    Tokyo Station / Marunouchi — polished and easy

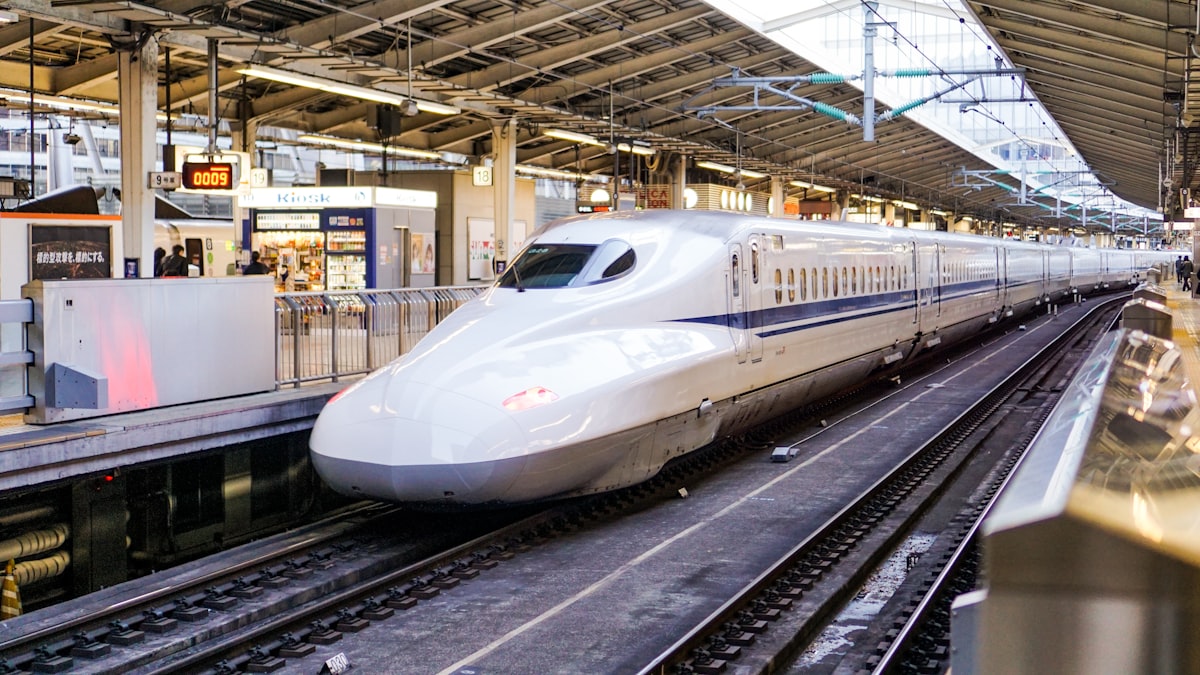
    Best for Shinkansen day trips (the bullet train leaves from here) and a calmer, upscale base. Quieter at night.

    Asakusa — traditional and affordable

    Old-town temples, riverside walks, and better-value hotels and ryokan-style stays. A little further from nightlife but full of character.

    Ueno — budget-friendly and connected

    Museums, a big park, great access to the airport (Keisei line) and northern day trips. Good value.

    What to book

    • Book early. The best-value central hotels sell out months ahead, especially in cherry blossom and autumn seasons.
    • Rooms are small. “Double” often means one small bed — check bed configuration and room size (m²).
    • Location beats size. A tiny room two minutes from a Yamanote station beats a big room far out.

    We compare rates for Japan on Booking.com and Agoda (Agoda often has strong Asia deals), then book whichever is cheaper for the exact dates.

    Getting in from the airport

    Your neighborhood affects your airport transfer. See how to get from Narita and Haneda into central Tokyo, and don’t forget an eSIM so your maps work on arrival.

    Planning the whole trip? Start with our 7-day Japan itinerary.

    What accommodation typically costs by area

    • Shinjuku and Shibuya business hotels run JPY 12,000-22,000/night, reflecting their central, high-demand locations near major transit hubs.
    • Asakusa and Ueno offer comparable quality for JPY 8,000-15,000/night, genuinely better value for travelers willing to trade a few extra minutes of train time for lower rates.
    • Tokyo Station/Marunouchi area hotels often run at a premium (JPY 15,000-30,000+) reflecting the polished, business-district positioning, but are worth it specifically if minimizing shinkansen transfer time matters for your itinerary.

    Common mistakes to avoid

    • Choosing a hotel based on price alone without checking train access — a cheaper room far from a Yamanote line station can cost more in lost time and transfer hassle than the savings are worth; prioritize proximity to a major line even if it means a slightly smaller or pricier room.
    • Booking a “double” room expecting two beds — in Japan this commonly means one bed for two people, sometimes smaller than expected; if you need two beds, specifically search for “twin” rooms instead.
    • Waiting too long to book during peak seasons — the best-value, well-located hotels near Yamanote stations sell out 2-3 months ahead during cherry blossom and autumn leaf season specifically.

    Choosing based on trip style, not just first impressions

    A high-energy, first-time visitor drawn to nightlife and constant activity often does best in Shinjuku or Shibuya, while a first-time visitor prioritizing culture and a calmer pace tends to enjoy Asakusa more, even though Shinjuku gets more attention in generic “best areas” lists — match the neighborhood to your actual trip style rather than the most commonly recommended option.

    Splitting a stay across two areas

    For a longer trip, some travelers deliberately split their Tokyo stay — a few nights in Shinjuku or Shibuya for energy and nightlife, then a switch to Asakusa or Ueno for a calmer, more budget-friendly finish — getting a feel for genuinely different sides of the city rather than committing to one neighborhood for the entire visit.

  • Best eSIM for Japan (2026): Airalo vs Holafly vs Pocket Wi-Fi

    Best eSIM for Japan (2026): Airalo vs Holafly vs Pocket Wi-Fi

    Some links below are affiliate links. If you buy through them, Japan Trove may earn a small commission at no extra cost to you.

    Japan is not a place you want to land without data — you’ll need maps, train apps, and translation from minute one. The easiest fix in 2026 is an eSIM: you install it before you fly and your phone connects the moment you touch down, no picking up a pocket Wi-Fi at the airport. Here’s how the main options compare.

    eSIM vs pocket Wi-Fi vs physical SIM

    • eSIM — best for most solo travelers and couples. Instant, cheap, nothing to return.
    • Pocket Wi-Fi — best for families or groups sharing one connection, or if your phone doesn’t support eSIM.
    • Physical SIM — fine, but you have to swap your home SIM and can’t receive normal texts/calls on it.

    First, check your phone supports eSIM (most iPhones since XS and recent Pixel/Galaxy do) and is carrier-unlocked.

    The main eSIM providers for Japan

    Airalo

    The biggest global eSIM store. Cheap data-only plans, huge range of sizes, and a clean app. Great value if you’re a light-to-moderate data user. → Airalo

    Holafly

    Known for unlimited-data plans and 24/7 support. Costs more than Airalo per day, but if you stream, tether, or just don’t want to think about running out, it’s the stress-free pick. → Holafly

    Ubigi & Sakura Mobile

    Ubigi offers strong native-network speeds; Sakura Mobile is a Japan-specialist with English support and both eSIM and pocket Wi-Fi. → Sakura Mobile

    How much data do you actually need?

    • Light (maps, messaging, occasional browsing): ~1 GB per 3–4 days.
    • Typical tourist: ~3–5 GB per week.
    • Heavy (video, tethering a laptop, lots of uploads): unlimited plan.

    Set-up tip

    Install and activate the eSIM before you leave home, but set it to turn on when you arrive (the app explains this). That way you’re connected at the airport without burning data early. Turn on data roaming for the eSIM line and set it as your data line, keeping your home number for texts.

    With data sorted, plan the rest of the trip: our 7-day Japan itinerary, whether the JR Pass is worth it, and where to stay in Tokyo.

    What each option typically costs

    • Airalo’s data-only plans for Japan run roughly $4.50-$25 depending on data size (1GB to 20GB), among the cheapest options for light-to-moderate users.
    • Holafly’s unlimited plans run roughly $19-$60 depending on trip length, a flat rate that removes any need to monitor usage — worth the premium specifically for heavy streamers or anyone tethering a laptop.
    • Pocket Wi-Fi rentals run roughly $5-$10/day, which becomes cost-competitive with individual eSIMs once you’re splitting one device across 3+ people in a family or group.

    Common mistakes to avoid

    • Installing but not activating the eSIM correctly before departure — most providers require you to install the profile ahead of time but leave the actual data plan inactive until arrival; check your specific provider’s activation instructions rather than assuming it works identically to a previous trip elsewhere.
    • Forgetting to set the new eSIM as your primary data line — your phone may default to trying your home SIM for data (incurring roaming charges) unless you specifically switch the data line setting after installing the eSIM.
    • Buying too little data for a longer trip assuming light usage — offline map caching, translation apps, and photo backups all consume more data than pure messaging; err slightly higher than your first estimate, especially for trips over a week.

    Backup options if your eSIM has issues

    Free wifi at konbini, train stations, and many cafes can serve as an emergency backup if an eSIM fails to activate on arrival, though it’s inconsistent enough that it shouldn’t be your primary plan — keeping your eSIM provider’s support chat or email accessible (via that same wifi) is the fastest way to resolve activation problems on the ground.

    Choosing between multiple short trips and one long one

    If you’re visiting Japan multiple times in a year or making a single extended trip, comparing the per-day cost of a longer unlimited plan against buying several smaller data packages separately can reveal meaningful savings one way or the other — worth a quick calculation specific to your provider’s pricing tiers before defaulting to whichever plan size looks simplest.

  • Is the Japan Rail Pass Worth It in 2026? (Honest Math + Better Alternatives)

    Is the Japan Rail Pass Worth It in 2026? (Honest Math + Better Alternatives)

    Some links below are affiliate links. If you book through them, Japan Trove may earn a small commission at no extra cost to you.

    The Japan Rail Pass used to be an automatic “yes.” Then, in October 2023, the price jumped roughly 70% — and the easy answer disappeared. Here’s the honest 2026 math so you can decide in five minutes whether the nationwide pass, a regional pass, or just single tickets is cheapest for your trip.

    What the JR Pass is (and isn’t)

    The nationwide Japan Rail Pass gives you unlimited travel on most JR trains — including most Shinkansen — for 7, 14, or 21 consecutive days. It does not cover the fastest Nozomi and Mizuho bullet trains without paying extra, and it doesn’t cover non-JR subways and private railways. You activate it on a start date and it runs on calendar days, not “days you travel.”

    The break-even test

    Because the price rose, the pass now only pays off if you cover a lot of long-distance ground in a short window. A simple way to check: add up what your planned long trips would cost as single tickets, then compare to the 7-day pass price.

    • Tokyo ⇄ Kyoto/Osaka round trip: roughly ¥27,000–28,000 in single reserved tickets.
    • 7-day nationwide pass: around ¥50,000 (ordinary class).

    So the classic first-timer route in our 7-day Tokyo–Kyoto–Osaka itinerary — one round trip on the Shinkansen plus local trains — is usually cheaper without the nationwide pass. The pass wins when you add a far leg like Hiroshima, Kanazawa, or a Tokyo–Kyoto–Hiroshima–back loop inside seven days.

    The better option most people miss: regional passes

    JR sells regional passes that are far cheaper and often perfect for a focused trip:

    • JR Kansai / Kansai-Hiroshima Area Pass — great if you stay around Osaka, Kyoto, Nara, Himeji, Hiroshima.
    • JR Tokyo Wide Pass — covers day trips from Tokyo (Nikko, Karuizawa, Mt. Fuji area).
    • JR East / West passes — for one-region deep dives.

    If your trip stays in one region, a regional pass usually beats both single tickets and the nationwide pass.

    How to buy

    You can buy the nationwide and regional passes online before you travel and pick them up (or use a QR code) in Japan. Comparison and booking in English is easiest through Klook , which also sells individual Shinkansen tickets and airport transfers if you decide to skip the pass.

    Quick verdict

    • One round trip (Tokyo–Kyoto–Osaka)? Skip the nationwide pass — buy single tickets or a Kansai pass.
    • Covering 3+ far cities in 7 days? The nationwide pass likely pays off.
    • Staying in one region? Get the matching regional pass.

    Next, sort your data before you land — see our best eSIM for Japan guide — and lock in central hotels with our where to stay in Tokyo picks.

    Common mistakes when deciding on the JR Pass

    • Buying the pass out of habit or old advice — much online guidance predates the 2023 price increase and still recommends the pass reflexively; always run the specific math for your own route rather than trusting general “always get the JR Pass” advice.
    • Forgetting to factor in seat reservation fees and non-JR lines — the pass doesn’t cover every train you might use in a city (subways, some private railways), so your actual out-of-pocket savings can be smaller than a simple shinkansen-only calculation suggests.
    • Not considering the regional pass option before defaulting to nationwide or nothing — many travelers assume the choice is binary (nationwide pass or plain tickets) when a regional pass frequently beats both for trips confined to Kansai or Kanto.

    How to actually run the math for your trip

    List every planned long-distance train leg with its single-ticket price (available on Japan’s official rail-fare lookup tools or apps like Navitime), sum them, and compare directly against the relevant pass price for your trip length — this five-minute exercise, done before booking anything, is the only reliable way to know which option genuinely saves money on your specific route rather than a generic one.

    What if your plans change mid-trip

    Nationwide and regional JR Passes are activated on a fixed start date and can’t be paused or extended once running, so if your itinerary shifts significantly after purchase, you may end up with unused days — buying the pass only once your route is reasonably firm, rather than very early in the planning process, reduces this risk.

  • The Perfect 7-Day Japan Itinerary for First-Timers (Tokyo, Kyoto & Osaka)

    The Perfect 7-Day Japan Itinerary for First-Timers (Tokyo, Kyoto & Osaka)

    Some links below are affiliate links. If you book or buy through them, Japan Trove may earn a small commission at no extra cost to you. We only recommend things we’d use ourselves.

    Planning your first trip to Japan and staring at a blank map? This is the itinerary we give friends: seven days that hit Tokyo, Kyoto, and Osaka without rushing, using the fast trains that make Japan so easy to cross. It’s built for first-timers who want the highlights plus a few local corners the tour buses skip.

    The 7-day plan at a glance

    • Days 1–3 — Tokyo: Shibuya & Shinjuku, Asakusa & the old town, a day trip to Hakone or Nikko.
    • Day 4 — Travel + Kyoto: Morning Shinkansen to Kyoto, afternoon in Higashiyama.
    • Days 5–6 — Kyoto: Fushimi Inari at dawn, Arashiyama, plus one hidden temple most visitors miss.
    • Day 7 — Osaka: Street food in Dotonbori and Kuromon Market before you fly home.

    Days 1–3: Tokyo

    Base yourself somewhere on the Yamanote loop line so you can hop on and off easily — Shinjuku, Shibuya, or Tokyo Station areas all work. (We break down the exact neighborhoods in our guide to where to stay in Tokyo.)

    Day 1 is for the neon: the Shibuya Scramble Crossing, Harajuku’s Takeshita Street, and a sunset from a free observation deck at the Tokyo Metropolitan Government Building. Day 2, go old-town: Senso-ji temple in Asakusa in the early morning before the crowds, then the kitchenware shops of Kappabashi. Day 3 is a day trip — Hakone for hot springs and Mt. Fuji views, or Nikko for shrines in the mountains. Both are easy round trips, and you can book skip-the-line passes and tours in English on Klook .

    Day 4: Tokyo → Kyoto by Shinkansen

    The bullet train covers Tokyo to Kyoto in about 2 hours 15 minutes. Reserve a seat on the right-hand side (seat E) and you’ll get a Mt. Fuji view on a clear day. Before you buy any rail ticket, do the quick math in our guide to whether the JR Pass is worth it in 2026 — after the price change, a single round trip often costs less than the nationwide pass.

    Days 5–6: Kyoto

    Kyoto rewards early risers. Get to Fushimi Inari at sunrise to walk the red torii gates almost alone. Spend an afternoon in Arashiyama (bamboo grove plus the monkey park above it), and give yourself one slow morning in the Higashiyama lanes around Kiyomizu-dera. For a hidden corner, the moss garden temples of northern Kyoto stay quiet even in peak season.

    Day 7: Osaka

    Osaka is 15 minutes from Kyoto by rapid train and is all about food. Do Dotonbori at night for the giant signs and takoyaki, and Kuromon Ichiba market in the morning for fresh seafood. Both Kansai and Itami airports are an easy ride out.

    Before you go: the three things to sort early

    1. Data. Get an eSIM so your phone works the moment you land — compare options in our best eSIM for Japan guide.
    2. Trains. Decide on a rail pass (or not) using the JR Pass guide.
    3. Beds. Book central hotels early; the best-value places in Kyoto sell out months ahead. We use Booking.com and Agoda for Japan.

    That’s the whole week. Save this page, and when you’re ready to fine-tune, follow the linked guides above for the money-saving details.

    What this 7-day trip typically costs

    • A mid-range budget for the full week (hotels, food, local transport, a handful of paid attractions, excluding flights) runs roughly JPY 150,000-220,000 per person — see our fuller Japan budget guide for budget and splurge variations on this same route.
    • The single Tokyo-Kyoto shinkansen leg runs about JPY 14,000 one-way in an unreserved seat — with only one long-distance leg in this itinerary, single tickets beat the nationwide JR Pass for nearly everyone following this exact route.
    • Luggage forwarding between Tokyo and Kyoto (roughly JPY 2,000-3,000 per bag) is worth the cost on Day 4’s transfer, letting you enjoy Higashiyama that afternoon without hauling suitcases around.

    Common mistakes to avoid on this route

    • Scheduling the Hakone or Nikko day trip for Day 3 right before a travel day — if the day trip runs long or weather disrupts plans, it eats into your Tokyo-Kyoto transfer buffer; treat Day 3 as flexible and build in slack rather than a tight back-to-back schedule.
    • Trying to add a fourth city (commonly Hiroshima or Nara as a full extra base, not a day trip) into this exact 7-day frame — it’s the single most common way this itinerary gets overstuffed; if a fourth city matters to you, our 10-day itinerary handles it with proper breathing room.
    • Visiting Fushimi Inari or Arashiyama outside the early-morning window recommended above — both are dramatically more crowded by mid-morning, and this is the single easiest schedule tweak to protect the quality of your Kyoto days.

    Adjusting the pace for your travel style

    This route assumes a first-timer wanting a taste of all three cities; if you’d rather go deeper into fewer places, consider dropping the Day 3 side trip in favor of a fourth Tokyo day, or trimming Osaka to a half-day and adding that time to Kyoto instead — the itinerary’s structure flexes easily around whichever city interests you most.