Japan Trove

Category: Travel

Practical, up-to-date guides for traveling in Japan — itineraries, rail passes, eSIMs, where to stay, seasonal timing, etiquette, and the local know-how that makes a trip smoother. Written with real Japanese sources so you get the answer that actually works on the ground, not the recycled tourist one.

  • Japan Cherry Blossom Guide: When & Where to See Sakura

    Japan Cherry Blossom Guide: When & Where to See Sakura

    Some links below are affiliate links. If you book through them, Japan Trove may earn a small commission at no extra cost to you.

    Cherry blossom season (sakura) is Japan at its most beautiful — and its most crowded. With a little planning you can catch the bloom and still enjoy it. Here’s how the season works and how to plan around it.

    When do the cherry blossoms bloom?

    It varies by year and region, but as a rough guide:

    • Tokyo & Kyoto: late March to early April.
    • Southern Japan (Fukuoka): a little earlier, from mid–late March.
    • Northern Japan (Tohoku, Hokkaido): late April into May.

    Full bloom (“mankai”) lasts only about a week, and rain or wind can end it fast — so build in flexibility.

    How to plan around the forecast

    • Watch the forecasts published each spring, but treat them as estimates.
    • Chase the bloom by latitude: if you miss it in Kyoto, it may still be going north.
    • Book everything early. This is peak season — hotels and flights sell out months ahead. Lock in your base via Booking.com .

    Where to see them

    • Tokyo: Ueno Park, Chidorigafuchi (rowboats under the blossoms), Meguro River.
    • Kyoto: the Philosopher’s Path, Maruyama Park, Arashiyama.
    • Beyond: Himeji Castle, Yoshino (mountains of cherry trees), Hirosaki in the north.

    Hanami etiquette

    Hanami (flower viewing) is a picnic tradition. Bring a mat, take your trash with you, don’t shake the trees or pick blossoms, and claim only the space you need. See our etiquette guide for the basics.

    Prefer fewer crowds?

    If sakura isn’t a must, autumn foliage is just as stunning with less pressure — compare seasons in our best time to visit Japan guide. Either way, plan the days with the 7-day itinerary.

    What a sakura trip costs

    • Peak cherry blossom week hotel rates in Tokyo and Kyoto can run 30-50% above baseline, and the best rooms with a view or garden setting sell out 2-3 months ahead — book lodging before finalizing other trip details during this window.
    • Hanami picnic supplies (a tarp, snacks, drinks) cost very little if bought at a konbini, making the classic blossom-viewing experience one of the cheapest things to do during an otherwise expensive travel week.
    • Paid evening illumination events at gardens and temples run JPY 300-600 extra on top of standard admission, worth it for the genuinely different atmosphere of blossoms lit up after dark.

    Common mistakes to avoid

    • Fixating on a single city’s forecast — bloom dates shift by 2-3 weeks between Kyushu and Hokkaido; a rigid single-destination plan risks missing peak entirely if the forecast shifts, while a flexible route can chase the bloom north or south as needed.
    • Trying to picnic at the most famous, most photographed spots without arriving early — popular hanami parks fill from dawn on weekends, with groups reserving tarp space hours ahead; a quieter neighborhood park is often more relaxing and still beautiful.
    • Underpacking for cool mornings — late March and early April mornings can sit near 8-10°C even when afternoons feel mild; a packable layer matters even during a “warm” spring visit.

    Sakura beyond the famous cities

    Yoshino’s mountainside, covered in an estimated 30,000 cherry trees across different elevations, blooms in a rolling wave over roughly two weeks rather than all at once — a genuinely different, less crowded way to experience the season compared to a single park’s week-long peak in Tokyo or Kyoto.

    Cherry blossom trees beyond the famous varieties

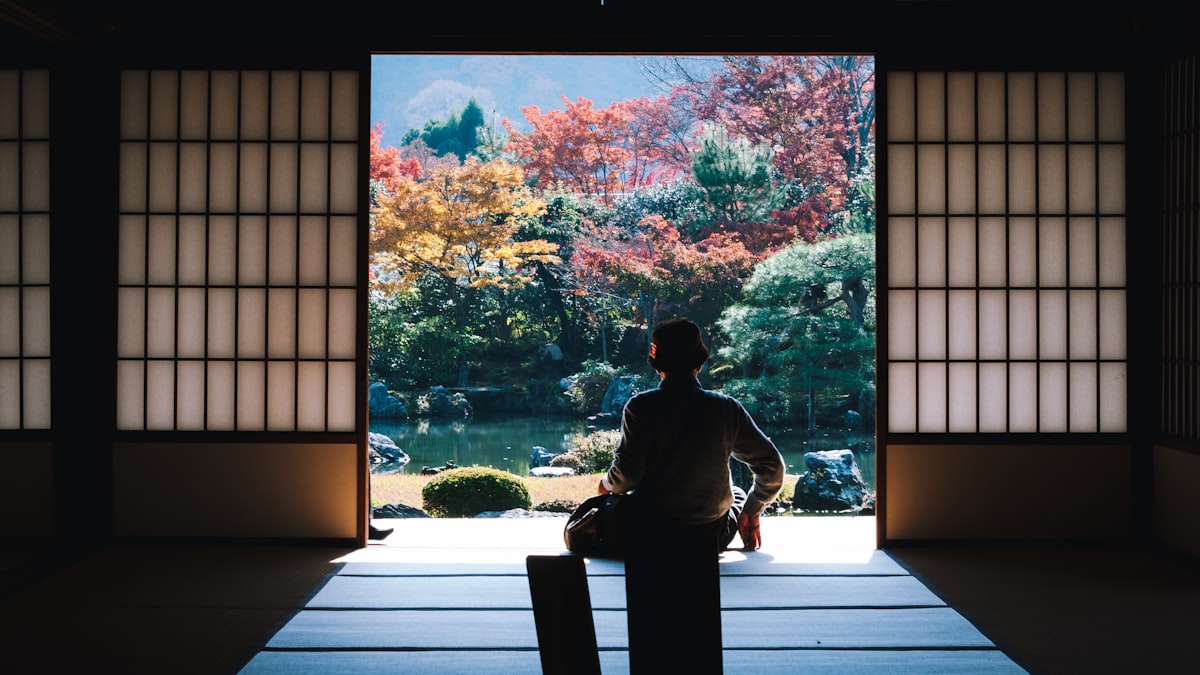
    Most people picture the pale pink Somei Yoshino variety that dominates parks and forecasts, but Japan has over 100 cultivated cherry varieties — some, like the deeper pink Kanzan, bloom up to two weeks later, giving a second, less-publicized viewing window for travelers who miss the main Somei Yoshino peak.
  • Best Things to Do in Kyoto: A First-Timer’s Guide

    Best Things to Do in Kyoto: A First-Timer’s Guide

    Some links below are affiliate links. If you book through them, Japan Trove may earn a small commission at no extra cost to you.

    Kyoto is Japan’s cultural heart — over a thousand temples and shrines, geisha districts, and gardens that define the seasons. It’s also busy, so a little planning goes a long way. Here’s what’s genuinely worth your time.

    The essentials

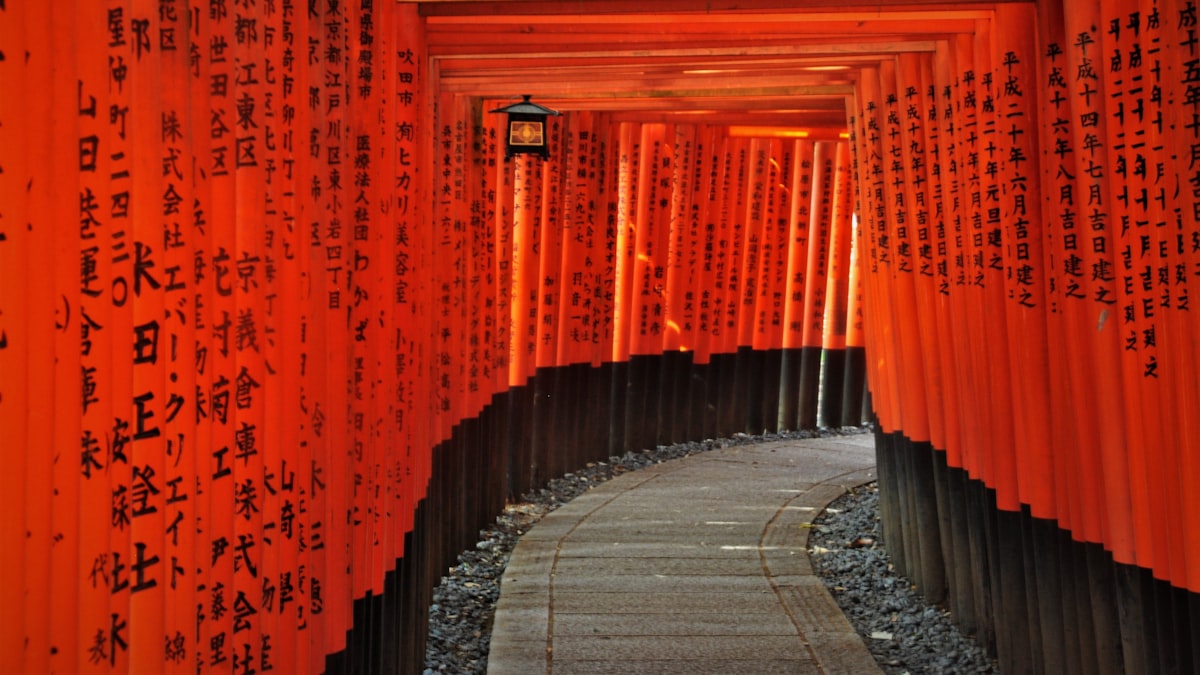
    • Fushimi Inari Taisha — the endless red torii gates; go at sunrise to have them nearly to yourself.
    • Kiyomizu-dera — a hillside temple with sweeping views; wander the old Higashiyama lanes below.
    • Arashiyama Bamboo Grove — plus the monkey park and riverside; again, early is best.
    • Kinkaku-ji — the Golden Pavilion, dazzling on a clear day.
    • Gion — the geisha district; stroll the lantern-lit streets in the evening (respectfully — no chasing geiko for photos).

    Beat the crowds

    • Start at dawn. The famous spots are magical and empty before 8am.
    • Go north. The moss temples and Ohara in the northern hills stay quiet.
    • Pick a theme per day (east Kyoto, west Kyoto, north) to cut down on backtracking.

    Experiences

    • A tea ceremony or matcha experience — book in English on Klook .
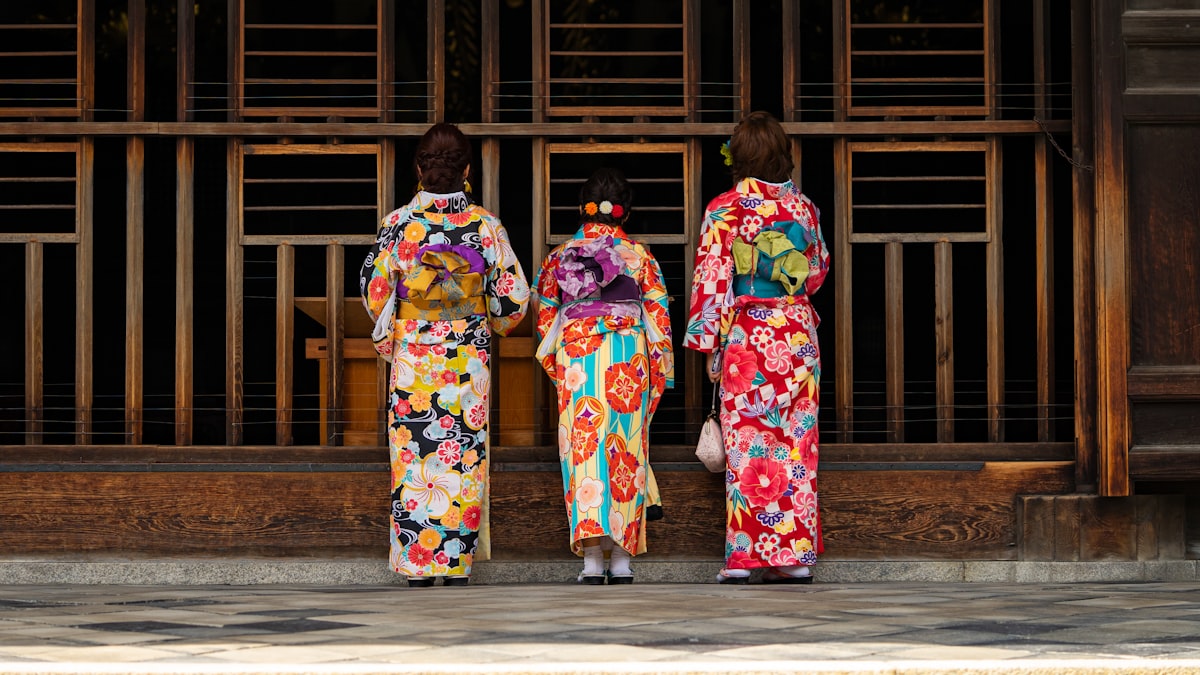
    • Kimono rental for a day of photos in Higashiyama.
    • Nishiki Market for street food and — see our Japanese green tea guide — excellent tea to take home.

    Where to sleep & how to get around

    Kyoto relies on buses, so stay central — see where to stay in Kyoto. Coming from Tokyo, check whether the JR Pass is worth it; a Kansai regional pass is often better. And Kyoto pairs naturally with Osaka and Nara.

    Slot it all into our 7-day Japan itinerary.

    What things typically cost

    • Most major temples charge JPY 400-600 entry; Fushimi Inari is free and open 24 hours, one of the best-value major sights in the entire country.
    • A kimono rental for a Higashiyama photo walk runs JPY 4,000-8,000 for a basic half-day set, more with hair styling add-ons.
    • A tea ceremony experience runs JPY 3,000-6,000 for a beginner-friendly session, typically including a sweet and a bowl of whisked matcha as part of the demonstration.

    Common mistakes to avoid

    • Trying to see all five essentials in one rushed day — Kyoto’s sights are spread across the city, and cramming Fushimi Inari, Kiyomizu-dera, Arashiyama, Kinkaku-ji, and Gion into one day means mostly transit time; grouping by geographic area across 2-3 days works far better.
    • Visiting Arashiyama’s bamboo grove at midday — it’s one of the most crowded single photo spots in Kyoto by late morning; arriving at opening gives you a genuinely different, peaceful version of the same path.
    • Approaching Gion hoping to photograph geiko or maiko up close — this is treated as harassment in parts of the district and some lanes now ban tourist photography entirely; admire respectfully from a distance or book a proper cultural performance instead.

    Grouping sights by area to save time

    A geographic day-by-day structure — east Kyoto (Kiyomizu-dera, Higashiyama lanes, Gion) one day, west Kyoto (Arashiyama, bamboo grove) another, and north Kyoto (Kinkaku-ji, quieter temples) a third — cuts backtracking dramatically compared to jumping between areas based on a list of “must-sees” without regard to location.

    A quiet alternative to the big five

    If the essential sights feel too crowded even with good timing, Kyoto’s northern hills around Ohara and the moss temples of the western hills offer a genuinely quieter, equally beautiful alternative — worth a half-day for travelers on a second or third Kyoto visit who’ve already covered the headline sights.

  • Japan Packing List: What to Bring (by Season)

    Japan Packing List: What to Bring (by Season)

    Some links below are affiliate links. If you buy through them, Japan Trove may earn a small commission at no extra cost to you.

    Japan is a “pack light” country: you’ll walk a lot, hotel rooms are small, and you’ll want space for shopping. Here’s a practical packing list, plus the season-specific extras that actually matter.

    The essentials (any season)

    • Comfortable walking shoes — you’ll easily do 15,000+ steps a day.
    • Slip-on shoes help at temples, ryokan, and restaurants where you remove them.
    • Type A power adapter (Japan uses 100V, flat two-pin) and a power bank.
    • An eSIM so your phone works on arrival.
    • A small day bag and a foldable tote for shopping (and carrying trash — bins are rare).
    • Cash card that works at 7-Eleven ATMs, plus a coin purse (you’ll accumulate coins).
    • Any prescription meds — check Japan’s rules, as some common ingredients are restricted.

    Season-specific

    • Spring/Autumn: layers and a light jacket; mornings and evenings are cool.
    • Summer: breathable clothes, a good sunscreen, a hand fan, and a small towel (locals carry them). It’s hot and humid.
    • Winter: a warm coat, layers, and Uniqlo Heattech-style base layers; it’s cold but rarely snowy in the big cities.
    • Rainy season (June): a compact umbrella (or buy a cheap clear one at any konbini).

    What you can leave at home

    • Too many toiletries — Japanese drugstores and konbini have everything, often better.
    • Heavy guidebooks — Google Maps and your phone do the job.
    • Lots of cash from home — withdraw yen as you go from konbini ATMs.

    Leave room for the trip home

    You will buy things — snacks, skincare, stationery. Consider luggage forwarding (takkyubin) between hotels, and read how to buy from Japan for anything you spot but can’t carry.

    Most items above are easy to grab on Amazon before you fly. Then follow the first-timer tips and 7-day itinerary.

    What packing essentials typically cost if bought locally

    • A clear konbini umbrella costs about JPY 500-700 — genuinely fine to buy on arrival rather than pack, especially during rainy season when you may want a backup anyway.
    • A Type A power adapter runs JPY 500-1,500 at any electronics store if you forget one, though buying one before departure is usually cheaper and saves a stop upon arrival.
    • Basic toiletries (travel-size shampoo, toothpaste, sunscreen) run JPY 300-800 each at any drugstore, often better formulated than what you’d pack from home, making it reasonable to travel with less and restock on day one.

    Common mistakes to avoid

    • Packing a full toiletry kit “just in case” — Japanese drugstores and konbini stock everything you’d need, often at lower prices and higher quality than what most travelers pack; use the space for souvenirs instead.
    • Bringing shoes that aren’t broken in — with 15,000+ daily steps common on a Japan trip, new or stiff shoes can genuinely derail a trip through blisters; break in any new walking shoes for at least a few weeks before departure.
    • Forgetting a physical copy of key documents — while apps handle most things, having a backup photo or printout of your passport, hotel confirmations, and insurance details saves stress if your phone dies or gets lost.

    Packing differently by trip length

    A short 5-7 day trip supports packing lighter and doing laundry rarely if at all, while a 2+ week trip benefits from planning at least one laundry stop (many hotels and konbini-adjacent laundromats make this easy) rather than packing enough clothing for the entire trip, which usually means an overweight, overstuffed suitcase for no real benefit.

    A carry-on-only strategy

    Given how much shopping most travelers do in Japan, many experienced visitors deliberately pack a smaller bag than they think they need on the way out, planning to either buy a cheap additional bag or use luggage forwarding for the return trip — a strategy that avoids paying for excess space you won’t fill until the final days anyway.

  • Best Things to Do in Osaka (Beyond Dotonbori)

    Best Things to Do in Osaka (Beyond Dotonbori)

    Some links below are affiliate links. If you book through them, Japan Trove may earn a small commission at no extra cost to you.

    Osaka is Japan’s kitchen and its friendliest big city — louder, funnier, and hungrier than Tokyo. Most visitors only see Dotonbori, but there’s a lot more. Here’s what to do, eat, and where to look beyond the neon.

    The must-sees

    • Dotonbori — yes, do it: the giant signs, the Glico runner, and street food at night.
    • Kuromon Ichiba Market — a fresh-food market; go in the morning for seafood and fruit.
    • Osaka Castle — the park is lovely, especially in cherry blossom season.
    • Umeda Sky Building — a striking floating-garden observatory.

    Beyond Dotonbori (the local side)

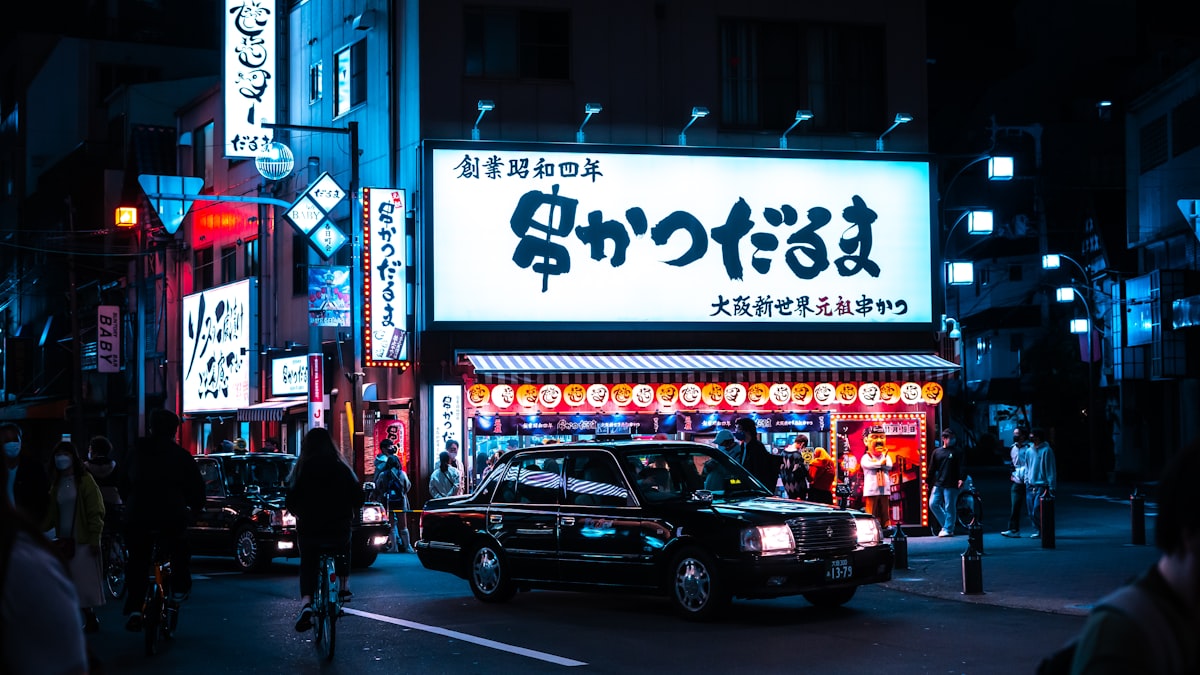
    • Shinsekai & Tsutenkaku — retro, gritty, and full of kushikatsu (deep-fried skewers).
    • Nakazakicho — a hipster pocket of indie cafés and vintage shops.
    • Hozenji Yokocho — a tiny lantern-lit alley just off the chaos of Dotonbori.

    Eat like an Osakan

    • Takoyaki (octopus balls) and okonomiyaki (savory pancake) — Osaka’s signatures.
    • Kushikatsu in Shinsekai — remember: no double-dipping the sauce.
    • Kitsune udon — Osaka claims it as its own.

    Day trips from Osaka

    Osaka is a great base for the Kansai region: Nara (bowing deer and a giant Buddha), Kobe (beef and port views), and of course Kyoto — see where to stay in Kyoto if you split your nights. Book tours easily on Klook .

    Practical tips

    • Kansai has its own regional passes — often better value than the nationwide one; see the JR Pass guide.
    • Grab an IC card and an eSIM on arrival.

    Osaka usually closes out our 7-day Japan itinerary — a tasty way to end the trip.

    What things typically cost

    • Kuromon Ichiba Market street food runs JPY 300-1,500 per item, with premium seafood skewers (like grilled scallop or a small portion of wagyu) at the higher end of that range.
    • Osaka Castle’s main tower entry costs JPY 600, though the surrounding park and moat views are free and arguably just as photogenic, especially during cherry blossom season.
    • Kushikatsu in Shinsekai runs JPY 100-300 per skewer, with a satisfying meal of 8-10 skewers plus a drink costing JPY 1,500-2,500.

    Common mistakes to avoid

    • Double-dipping kushikatsu skewers in the shared sauce — this is one of the most commonly cited etiquette slips in Osaka specifically; use the provided cabbage to scoop extra sauce instead of re-dipping a bitten skewer.
    • Only visiting Dotonbori and missing Shinsekai — the retro, slightly gritty neighborhood around Tsutenkaku Tower offers a genuinely different, less polished side of Osaka that many visitors find more memorable than the more famous neon strip.
    • Visiting Kuromon Ichiba Market in the late afternoon — like most fresh food markets, the best selection and liveliest atmosphere are in the morning; many stalls wind down or close by mid-afternoon.

    Osaka as a food-first city break

    Osaka rewards visitors who prioritize eating over sightseeing checklists — a day built around Kuromon Ichiba Market breakfast, a Dotonbori street food crawl, and a Shinsekai kushikatsu dinner covers more of what makes the city special than trying to fit in every landmark on a tight schedule.

    Combining Osaka with a wider Kansai loop

    Osaka’s central position makes it a genuinely practical base for day trips beyond Nara, Kobe, and Kyoto — Wakayama’s Koyasan and Himeji Castle are both within a comfortable day-trip radius, meaning a longer Osaka stay can anchor an entire Kansai region exploration rather than just the city itself.

  • Best Things to Do in Tokyo: A First-Timer’s Guide

    Best Things to Do in Tokyo: A First-Timer’s Guide

    Some links below are affiliate links. If you book through them, Japan Trove may earn a small commission at no extra cost to you.

    Tokyo can feel overwhelming — it’s really dozens of distinct neighborhoods stitched together by trains. Here’s a first-timer’s shortlist of the things genuinely worth your time, mixing the icons with a few local favorites.

    The icons (do at least these)

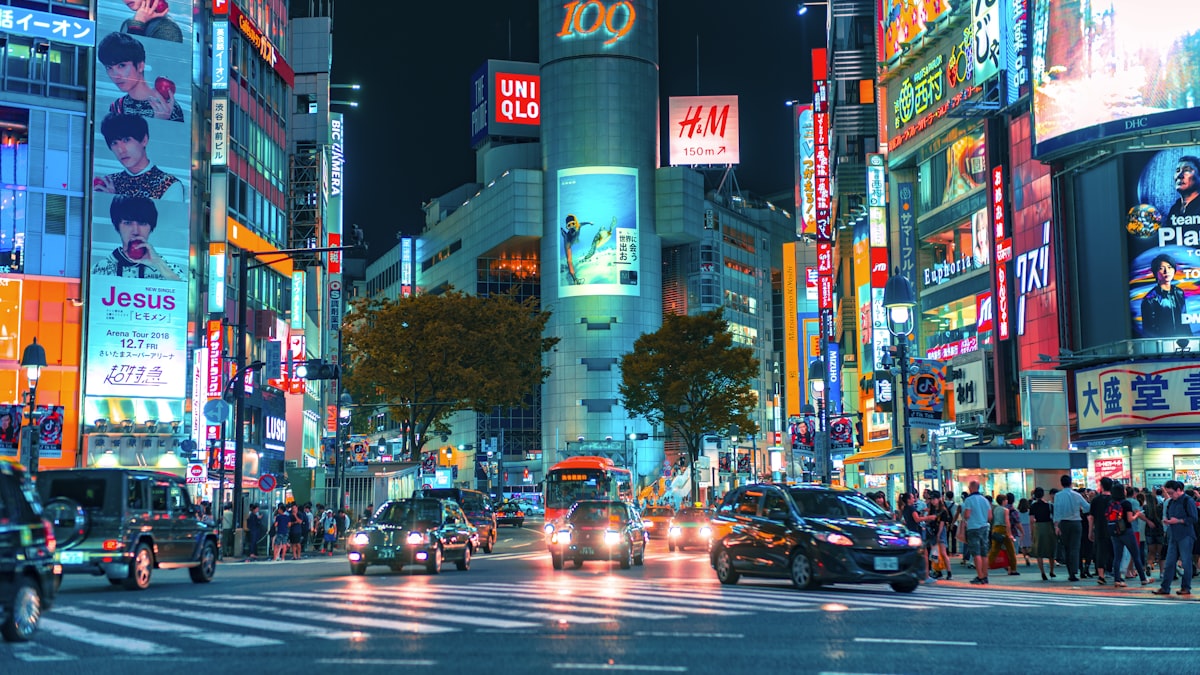
    • Shibuya Scramble Crossing — the famous intersection; view it from above at a nearby café or Shibuya Sky.
    • Senso-ji, Asakusa — Tokyo’s oldest temple; go early to beat crowds, then explore the old-town lanes.
    • Meiji Shrine + Harajuku — a forest shrine next to Tokyo’s wildest street fashion.
    • teamLab — the immersive digital-art museum; book tickets in advance.

    Neighborhoods to wander

    • Shinjuku — nightlife, Golden Gai, and the free observation deck at the Metro Government Building.
    • Shimokitazawa — vintage shops and cafés, relaxed and local.
    • Yanaka — old Tokyo alleys that survived the wars; quiet and charming.
    • Akihabara — anime, games, and electronics; see how to buy figures.

    Food experiences

    • Tsukiji Outer Market for a seafood breakfast.
    • Standing sushi, ramen shops, and depachika (department-store food halls) — some of the best cheap eats anywhere.
    • Konbini snacks count too — see our konbini must-buys.

    Easy escapes

    When you want a break from the city, Tokyo has brilliant day trips (Hakone, Nikko, Mt. Fuji).

    Practical tips

    Fitting Tokyo into a bigger trip? Use our 7-day Japan itinerary.

    What things typically cost

    • teamLab tickets run JPY 3,800-4,800, and Shibuya Sky runs JPY 2,000-2,500 — both benefit from advance booking not just for availability but sometimes slightly better online pricing than day-of purchase.
    • Senso-ji is free, and the free observation deck at the Tokyo Metropolitan Government Building in Shinjuku offers a comparable city view to paid decks costing JPY 2,000-3,000 elsewhere.
    • A satisfying half-day of neighborhood wandering (Yanaka, Shimokitazawa) costs very little beyond transport and snacks, a good budget balance against pricier ticketed attractions elsewhere in the itinerary.

    Common mistakes to avoid

    • Trying to cover too many distant neighborhoods in one day — Tokyo is vast, and grouping sights geographically (Asakusa with Akihabara, or Harajuku with Shibuya and Shinjuku) saves significant transit time compared to jumping between opposite sides of the city.
    • Booking teamLab or Shibuya Sky for a midday slot when a sunset or evening slot would show the venue at its best — both are considerably more atmospheric after dark, and tickets cost the same regardless of time.
    • Skipping neighborhood wandering entirely in favor of only “must-see” landmarks — some of the best Tokyo experiences (a quiet Yanaka alley, an unplanned Shimokitazawa cafe stop) aren’t on any top-10 list but define what makes the city rewarding beyond checklist sightseeing.

    Building a realistic first Tokyo day

    A well-paced first day might start in Asakusa for temples and old-town atmosphere, move to Akihabara for an afternoon of electronics and anime culture, and end back near your hotel for an early dinner and rest — resisting the urge to also squeeze in Shibuya or Harajuku on the same day, which is easily its own separate, equally full day.

    Tokyo in bad weather

    Tokyo’s extensive underground shopping arcades beneath Tokyo, Shinjuku, and Ginza stations let you cover real ground and shopping without stepping outside on a rainy day, and teamLab’s digital art is arguably better suited to a rainy afternoon than any outdoor sightseeing alternative you’d be skipping.

  • Japanese Convenience Store Must-Buys: Konbini Snacks & Essentials

    Japanese Convenience Store Must-Buys: Konbini Snacks & Essentials

    Some links below are affiliate links. If you buy through them, Japan Trove may earn a small commission at no extra cost to you.

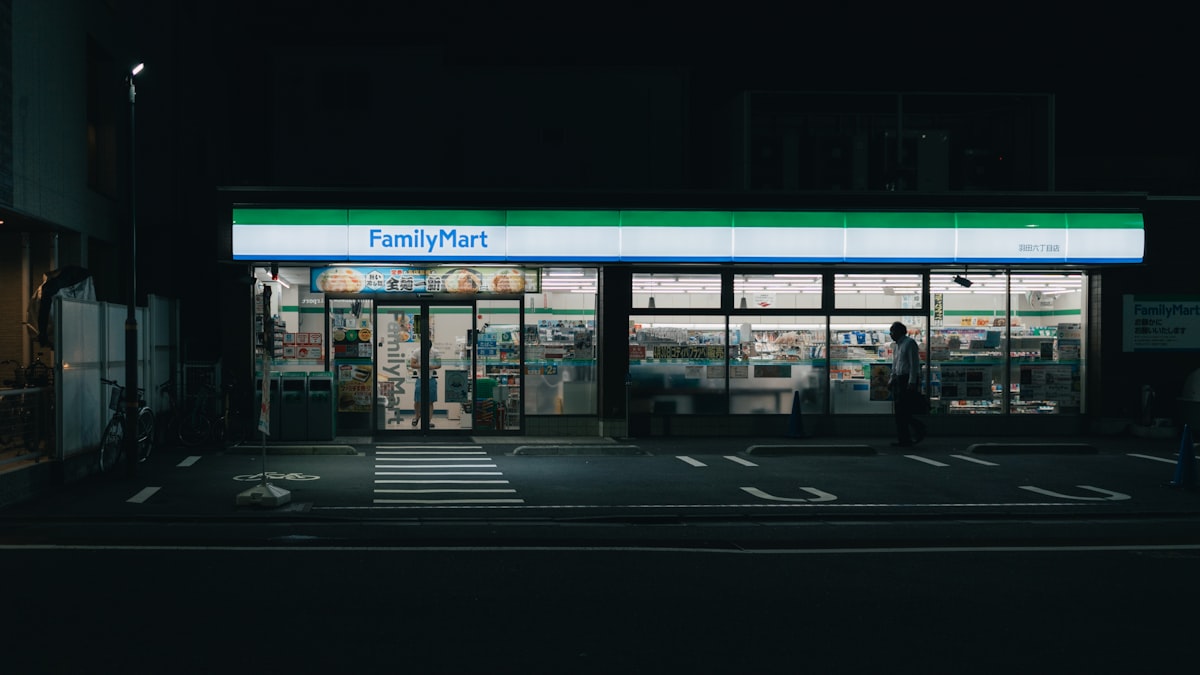
    Japan’s convenience stores (“konbini”) — 7-Eleven, FamilyMart, and Lawson — are a genuine highlight of any trip. The quality is astonishing and prices are low. Here’s what to grab on your first konbini run, from meals to snacks to little life-savers.

    Meals & hot food

    • Onigiri (rice balls) — cheap, delicious, and the wrapper keeps the seaweed crisp; tuna-mayo and salmon are classics.
    • Sandwiches — the egg salad (“tamago sando”) is legendary.
    • Hot counter — FamilyMart’s fried chicken (“Famichiki”) and Lawson’s karaage-kun are must-tries.
    • Oden (winter) and fresh bento boxes — surprisingly good for the price.

    Snacks & sweets

    • Seasonal Kit Kats and chocolate — see our Kit Kat guide.
    • Konbini sweets — the pudding, roll cake, and mochi desserts rival dedicated shops.
    • Umaibo, Jagariko, and regional chips — cheap, fun, and shareable.

    Drinks

    • Bottled green tea and barley tea — unsweetened and refreshing.
    • Canned coffee (hot or cold from the machine) and unique sodas.
    • Chilled dashi/soup and vitamin drinks for when you’re worn out.

    Non-food life-savers

    • ATMs (7-Eleven and Japan Post accept foreign cards), ticket machines, and clean toilets.
    • Umbrellas, phone chargers, socks, toiletries — whatever you forgot.
    • Tax-free at some larger stores if you spend enough — bring your passport.

    Want konbini snacks at home?

    You can recreate the experience abroad with a Japanese snack box, or order specific items via a proxy service. New to Japan? Start with our first-timer tips and 7-day itinerary.

    What things typically cost

    • Onigiri run JPY 130-180 each, sandwiches JPY 250-450, and hot counter items like Famichiki or karaage-kun run JPY 180-250 — a filling konbini meal for one person typically totals JPY 500-800.
    • Bento boxes run JPY 500-900 depending on contents, often discounted 20-50% in the evening as stores mark down items nearing their sell-by time, a genuinely good budget dinner strategy.
    • Drinks (bottled tea, canned coffee) run JPY 120-160, and most konbini stock a wide enough range that a full day’s meals and drinks can realistically run under JPY 2,500 per person.

    Common mistakes to avoid

    • Skipping the hot counter because it looks like ordinary fast food — Famichiki and karaage-kun are genuinely well-regarded, not just convenient; many visitors rank them among their favorite quick meals of the whole trip.
    • Not checking discount timing — many konbini mark down perishable food in the evening (often after 7-8pm), and timing a visit for this window can mean a genuinely good meal at a steep discount.
    • Assuming all three chains are identical — 7-Eleven, FamilyMart, and Lawson each have their own signature items and slightly different strengths (7-Eleven’s onigiri, FamilyMart’s fried chicken, Lawson’s desserts are commonly cited favorites), so trying all three is worth it rather than sticking to whichever is closest.

    Konbini as a genuine meal solution, not just snacks

    For budget-conscious or time-pressed days, building a full breakfast, lunch, or dinner entirely from a konbini run is a completely normal and satisfying choice in Japan, not a compromise — many locals eat this way regularly, and the quality bar is high enough that it holds up to repeated use across a multi-day trip.

    Konbini for practical travel needs

    Beyond food, a konbini run often solves an unexpected travel problem in one stop — a forgotten charger cable, a dead phone needing a portable battery, a sudden rain shower needing an umbrella, or simply needing cash from a reliable ATM — making it worth building a mental habit of “check the nearest konbini first” for small trip hiccups.

  • Japanese Etiquette: 15 Rules Every Visitor Should Know

    Japanese Etiquette: 15 Rules Every Visitor Should Know

    Japan is famously polite, but the “rules” are mostly common sense once you know them. You won’t offend anyone by making an honest mistake — locals are forgiving with visitors — but knowing these will help you blend in and travel smoothly.

    Trains & public spaces

    • Keep quiet on trains. No phone calls; set your phone to silent (“manner mode”).
    • Queue neatly on the marked lines, and let people off before you board.
    • Escalators: stand on one side (left in Tokyo, right in Osaka), walk on the other.
    • Backpacks off in crowded trains; hold them in front or on the rack.

    Eating & drinking

    • No tipping — it’s not expected and can confuse staff.
    • Say “itadakimasu” before eating if you like; “gochisousama” after.
    • Chopstick manners: don’t stick them upright in rice or pass food chopstick-to-chopstick (funeral symbolism).
    • Slurping noodles is fine — even encouraged.
    • Don’t eat while walking in most places; step aside or eat where you bought it.

    Shoes, temples & onsen

    • Shoes off where you see a step up and slippers (ryokan, some restaurants, homes, temples).
    • At shrines/temples, be quiet and respectful; follow posted photo rules.
    • Onsen (hot springs): wash thoroughly before entering; no swimsuits; keep the small towel out of the water. Tattoos can be an issue at some places — check ahead.

    Everyday courtesy

    • Carry your trash; public bins are rare. A small bag helps.
    • Cash handling: place money on the little tray, not into the hand.
    • A small bow or nod goes a long way; “arigatou” and “sumimasen” cover a lot.

    That’s it — nothing scary. For more practical basics, see our first-time-in-Japan tips, then start planning with the 7-day itinerary.

    Situations that trip up first-timers

    • Elevators and doorways: Japan generally follows a “let others exit first” norm more strictly than many countries; hanging back a beat before entering an elevator or train car is a small habit that reads as considerate.
    • Business cards (meishi): if you’re on any kind of business trip, receive a card with both hands, look at it before putting it away, and don’t write on it in front of the giver — a formal ritual worth knowing even for a brief professional encounter.
    • Pointing: use an open hand rather than a single finger when indicating direction or an object, a subtle but noticeable difference in politeness.

    Common mistakes to avoid

    • Overcorrecting into rigid formality — most etiquette “rules” are about basic consideration, not strict ceremony; visibly relaxed, polite behavior is received far better than stiff, anxious over-formality.
    • Assuming a mistake will cause real offense — locals are consistently described by visitors as forgiving of honest tourist errors; the goal is smoother travel, not flawless performance.
    • Forgetting regional differences — the escalator-standing side (left in Tokyo, right in Osaka) is a good reminder that even “rules” can vary by region; watching what locals around you do is always a safe fallback.

    When you inevitably make a mistake

    A quick, sincere “sumimasen” covers nearly every minor etiquette slip — it functions as both apology and acknowledgment, and using it promptly when you realize an error (wrong escalator side, phone ringing on a train) resolves the moment far better than an elaborate explanation or embarrassed silence.

    Etiquette that varies by generation and setting

    Some traditional rules (like strict silence on trains) are followed more consistently by older generations and in formal settings, while younger crowds in nightlife districts are noticeably more relaxed — reading the room, rather than treating every rule as universally rigid in every context, is often the more accurate approach.

  • Where to Stay in Kyoto: Best Areas & Ryokan for First-Timers

    Where to Stay in Kyoto: Best Areas & Ryokan for First-Timers

    Some links below are affiliate links. If you book through them, Japan Trove may earn a small commission at no extra cost to you.

    Kyoto’s sights are spread out, so where you sleep really matters. Pick the right base and you’ll walk to temples in the morning and reach the train easily. Here’s a first-timer’s guide to Kyoto’s best neighborhoods and what to book.

    Best areas to stay

    Near Kyoto Station — most convenient

    Best for easy arrivals/departures (the Shinkansen stops here), buses to everywhere, and a wide range of hotels. Less atmospheric but the most practical base, especially for short stays.

    Downtown (Kawaramachi / Gion) — central & atmospheric

    Walkable to shopping, restaurants, the Nishiki food market, and the geisha district of Gion. The best all-round location if you want to stroll in the evening. Pricier.

    Higashiyama — traditional & scenic

    Steps from Kiyomizu-dera and the old lanes. Quieter at night and full of character; ideal for early temple mornings.

    Arashiyama — nature retreat

    The bamboo grove and riverside. Beautiful and calm, but further from the center — great for a night, less ideal for your whole stay.

    Stay in a ryokan at least once

    Kyoto is the place to try a ryokan (traditional inn) with tatami rooms, a kaiseki dinner, and sometimes a private onsen. Even one night is memorable. Filter for ryokan and machiya (townhouse) stays on Booking.com and Agoda .

    Booking tips

    • Book very early. Kyoto sells out first in cherry blossom and autumn seasons.
    • Mind the buses. Kyoto relies on buses; staying central saves a lot of transit time.
    • One-night ryokan + central hotel is a great combo: splurge once, stay practical otherwise.

    Coming from Tokyo? See whether the JR Pass is worth it, and slot Kyoto into your 7-day itinerary. Staying in Tokyo too? Here’s where to stay in Tokyo.

    What accommodation typically costs

    • Business hotels near Kyoto Station run JPY 8,000-15,000/night for a comfortable double, while the same quality in Downtown Kawaramachi/Gion runs JPY 12,000-20,000 given the more central, atmospheric location.
    • A ryokan or machiya townhouse stay runs JPY 20,000-50,000+ per person with dinner and breakfast, with Higashiyama-area properties commanding a premium for their proximity to the famous temple lanes.
    • Arashiyama accommodation, being further from the center, often prices slightly lower than downtown for comparable quality, a reasonable trade-off if you’re prioritizing a quiet, scenic night over central convenience.

    Common mistakes to avoid

    • Choosing Kyoto Station for a longer, exploration-focused stay — it’s genuinely the most convenient area for arrivals and departures, but staying there for multiple nights while exploring Higashiyama and Gion means longer daily bus or train rides than a more central base would require.
    • Underestimating how much Kyoto relies on buses rather than a dense subway network — unlike Tokyo, getting around Kyoto efficiently depends more on bus routes, and staying somewhere with easy bus access matters more here than in most other Japanese cities.
    • Booking a Higashiyama ryokan without confirming late check-in flexibility — some traditional properties have earlier check-in windows than standard hotels; if your arrival time is uncertain, confirm this before booking a traditional-style stay.

    A practical two-base strategy

    Splitting a Kyoto stay between one night at a special ryokan in Higashiyama and the remaining nights at a practical, well-located hotel downtown gives you both the memorable traditional experience and the convenience needed for day-to-day sightseeing and transit, without paying ryokan prices for every night of a longer stay.

    Booking timing for peak seasons

    Kyoto’s cherry blossom and autumn leaf seasons see hotels and ryokan booked out 2-3 months ahead for the best properties, sometimes longer for particularly famous ryokan — if your travel dates fall in either window, treat accommodation booking as the very first task on your planning list, before flights or a detailed itinerary.

  • Best Day Trips from Tokyo: Hakone, Nikko & Mt. Fuji

    Best Day Trips from Tokyo: Hakone, Nikko & Mt. Fuji

    Some links below are affiliate links. If you book through them, Japan Trove may earn a small commission at no extra cost to you.

    Tokyo is amazing, but some of Japan’s best experiences are a short train ride away. These three day trips — Hakone, Nikko, and the Mt. Fuji area — are all doable as round trips and give you mountains, hot springs, and shrines without changing hotels.

    Hakone — hot springs & Mt. Fuji views

    About 90 minutes from Shinjuku, Hakone is the classic onsen escape. Do the scenic “loop”: mountain railway, cablecar, a pirate ship across Lake Ashi, and (on a clear day) Fuji views. Soak in an onsen before heading back. The Hakone Free Pass covers most of the transport and is easy to buy in English on Klook .

    Nikko — shrines in the mountains

    Two hours north of Tokyo, Nikko is a UNESCO World Heritage town of ornate shrines set in cedar forest, plus waterfalls and a scenic lake up the mountain. Toshogu Shrine is the highlight. Best in autumn for the foliage.

    Mt. Fuji area (Kawaguchiko) — the iconic view

    For that postcard Fuji shot reflected in a lake, head to the Fuji Five Lakes (Kawaguchiko). Great for photos, a ropeway, and lakeside cafés. Note: Fuji is clearest in the colder months and early mornings; summer often hides it in cloud.

    How to choose

    • Want hot springs + Fuji + variety? Hakone.
    • Love temples & nature? Nikko.
    • Chasing the perfect Fuji photo? Kawaguchiko.

    Tips

    • Go early. First train out beats the crowds and the afternoon clouds.
    • Check the pass math. Regional day passes usually beat singles — related: is the JR Pass worth it?
    • Book guided tours if you want zero logistics; compare on GetYourGuide or Klook.

    Fitting these into a week? See our 7-day Japan itinerary and sort your eSIM and Tokyo base first.

    What each day trip costs

    • The Hakone Free Pass runs about JPY 6,100 (2-day) from Shinjuku, covering round-trip transport plus unlimited use of the local loop — generally cheaper than piecing together individual tickets for the train, cablecar, ropeway, and boat.
    • Nikko’s combined shrine ticket runs JPY 1,300-1,600 for the main three sites, plus JPY 1,150-1,700 each way for the bus up to Lake Chuzenji and Kegon Falls if you extend beyond the shrine complex.
    • Kawaguchiko round-trip bus fare from Shinjuku runs about JPY 4,000-4,400, with the Kachi Kachi Ropeway (JPY 900-1,000 round-trip) as a worthwhile add-on for elevated lake views.

    Common mistakes to avoid

    • Trying to combine two of these three destinations in one day — each is a genuine day-trip commitment on its own; attempting Hakone and Nikko together, for instance, means rushing both and spending most of the day in transit.
    • Choosing Kawaguchiko on a whim during summer haze season — Fuji’s visibility drops significantly in summer humidity; if seeing the mountain itself is the entire point, autumn and winter mornings offer far better odds.
    • Underestimating Nikko’s UNESCO shrine complex as “just shrines” — Toshogu’s carvings and scale genuinely surprise many first-time visitors expecting a modest religious site rather than an elaborately decorated mausoleum complex.

    Turning any of these into an overnight

    All three destinations reward an overnight stay more than a rushed round trip — a Hakone or Kawaguchiko ryokan lets you soak in an onsen and catch an early clear-morning Fuji view, while Nikko’s highland lake area feels genuinely different once day-trippers have left for the evening.

    Booking guided tours versus DIY

    A guided day tour typically costs more than the equivalent regional pass and self-guided transport, but removes all logistics planning — a reasonable trade for travelers on their first trip or short on planning time, while the self-guided route rewards those comfortable navigating Japanese transport and wanting more flexibility over timing at each stop.

  • Suica vs Pasmo: Which IC Card to Get (and How)

    Suica vs Pasmo: Which IC Card to Get (and How)

    Some links below are affiliate links. If you book through them, Japan Trove may earn a small commission at no extra cost to you.

    An IC card is the single most useful thing you’ll get in Japan. Tap it to ride any train, subway, or bus, and use it to pay at convenience stores, vending machines, and lots of shops. Here’s how Suica, Pasmo, and the tourist versions compare.

    Suica vs Pasmo — what’s the difference?

    Honestly, almost none. Both are rechargeable tap cards that work nationwide on nearly all transit and at the same shops. Suica is run by JR East, Pasmo by the private railways. Pick whichever you can get first.

    Mobile Suica/Pasmo — the best option for many

    If you have an iPhone (or Apple Watch), you can add a Suica or Pasmo straight into Apple Wallet and top it up with your credit card — no physical card, no queue, no deposit. This is often the easiest route for visitors. Some Android/Google Pay setups support it too, depending on region.

    Physical cards for tourists

    Due to a chip shortage, standard plastic Suica/Pasmo have had limited availability at times. Tourist versions to look for:

    • Welcome Suica — no deposit, valid 28 days, for visitors.
    • Pasmo Passport — similar tourist card.

    You buy these at airport stations and major terminals. If mobile Suica works on your phone, though, you may not need a physical card at all.

    How to use it

    • Top up at any station machine (cash) or, on mobile, with your card.
    • Tap in and out at train gates — it calculates the fare automatically.
    • Pay at konbini by saying the card name and tapping.

    Do you still need a rail pass?

    IC cards handle city travel and short hops perfectly. For long-distance Shinkansen trips, that’s a separate decision — see whether the JR Pass is worth it. For everything else, an IC card plus an eSIM covers your day-to-day. New to Japan? Start with our first-timer tips.

    What an IC card typically costs

    • A physical Suica or Pasmo requires a JPY 500 deposit (refunded when you return the card before leaving Japan, along with any remaining balance minus a small handling fee).
    • Mobile Suica/Pasmo through Apple Wallet has no deposit at all, and top-ups happen instantly via your linked credit card rather than requiring a station machine.
    • Welcome Suica and Pasmo Passport tourist cards skip the deposit but expire after a fixed period (typically 28 days), after which any remaining balance is simply lost — fine for a single trip, but worth knowing if you’re a repeat visitor who might want a card usable across future trips.

    Common mistakes to avoid

    • Buying a physical card unnecessarily when mobile Suica would work — if you have a compatible iPhone, setting up Mobile Suica before you land is genuinely faster and avoids ever needing to find a card issuing machine or queue at the airport.
    • Forgetting to refund a physical card’s deposit before departure — station service counters (not ticket machines) process the deposit-and-balance refund, and this isn’t available at every station, so plan the return for a major hub before your final departure.
    • Assuming a low balance will always work — while it’s largely true that IC cards handle any short trip fare, an insufficient balance at some gates can trigger a stop; keeping a small buffer (JPY 1,000+) avoids this friction.

    Using your IC card beyond trains

    Nearly every konbini, many vending machines, and a growing number of restaurants and shops accept IC card taps for payment, not just transit — treating it as a general-purpose tap-to-pay card for small purchases throughout the day, not only for train fares, makes it even more valuable during a trip.

    What happens if your card gets lost

    A registered (named) physical Suica or Pasmo can have its remaining balance transferred to a replacement card if lost, while an anonymous or mobile card generally cannot be recovered the same way — registering your card at purchase, where offered, is a small extra step worth taking if you’re loading a significant balance.