Japan Trove

Category: Travel

Practical, up-to-date guides for traveling in Japan — itineraries, rail passes, eSIMs, where to stay, seasonal timing, etiquette, and the local know-how that makes a trip smoother. Written with real Japanese sources so you get the answer that actually works on the ground, not the recycled tourist one.

  • Pocket WiFi vs eSIM in Japan: Which to Choose

    Pocket WiFi vs eSIM in Japan: Which to Choose

    Some links below are affiliate links. If you buy through them, Japan Trove may earn a small commission at no extra cost to you.

    Staying connected in Japan is easy — the question is pocket wifi or eSIM? For most travelers the answer is now clear. Here’s the honest comparison.

    Quick answer

    For solo travelers and couples with modern phones, an eSIM is usually cheaper, simpler, and nothing to carry or return. Pocket wifi still wins for families/groups sharing one connection, older phones, or if you need to connect laptops and cameras.

    eSIM — pros & cons

    • ✅ Cheap, instant (install before you fly), nothing to pick up or return.
    • ✅ Keeps your home number active for calls/texts.
    • ❌ Needs an eSIM-compatible, unlocked phone.
    • ❌ Only connects that one device (unless you hotspot).

    See our full best eSIM for Japan guide.

    Pocket wifi — pros & cons

    • ✅ Connects several devices at once — great for families and groups.
    • ✅ Works with any phone/laptop; often higher data allowances.
    • ❌ A device (and charger) to carry, keep charged, and return.
    • ❌ Everyone stays together (the wifi walks off with whoever holds it).
    • ❌ Usually pricier per person for solo travelers.

    Which should you pick?

    • Solo / couple, modern phone → eSIM.
    • Family or group sharing → pocket wifi (one rental covers everyone).
    • Old/locked phone or need laptop data → pocket wifi.
    • Heavy data user → compare unlimited plans on both.

    How to get each

    • eSIM: buy online and install before departure — compare on Klook .
    • Pocket wifi: reserve online, pick up at the airport, return by mail/airport drop.

    Whichever you choose, pair it with an IC card and our first-timer tips.

    What each option actually costs

    • eSIM: unlimited or high-data plans for a 1-2 week trip typically run JPY 1,500-4,000 total per person, activated instantly online before departure.
    • Pocket wifi: a similar-length rental runs JPY 500-1,200 per day, so a 7-day trip lands around JPY 3,500-8,000 for the device — but that single cost covers everyone sharing it, which changes the math fast for a family of four.
    • Break-even point: for solo and couple trips, eSIM is almost always cheaper; for groups of three or more sharing one device, pocket wifi frequently comes out ahead per person.

    Common mistakes to avoid

    • Buying an eSIM without checking phone compatibility first — older or carrier-locked phones (especially some purchased on installment plans) can’t install a second eSIM profile; check your phone’s settings for eSIM support before buying.
    • Forgetting to return pocket wifi on time — most rentals require drop-off at the airport or a postbox before a specific date, and late fees can add up if you lose track of the return window during a busy final travel day.
    • Assuming free airport or station wifi will cover your needs — it’s inconsistent and often requires repeated re-registration, making it a poor primary solution for a full trip.

    A quick decision shortcut

    If you’re traveling alone or as a couple with unlocked modern phones (iPhone XS or newer, most recent Android flagships), buy an eSIM before you fly and skip pocket wifi entirely. If you’re traveling with kids, older relatives, or need to keep a laptop connected on the road, a single pocket wifi rental removes the hassle of managing multiple individual data plans.

    Combining both for a longer trip

    Some travelers on trips longer than two weeks buy a cheap eSIM for personal use while also renting pocket wifi during a specific stretch (like a multi-day group tour) where several devices genuinely need to connect at once — the two options aren’t mutually exclusive if your trip has distinctly different phases.
  • Japanese Toilets Explained: Washlets, Buttons & Squat

    Japanese Toilets Explained: Washlets, Buttons & Squat

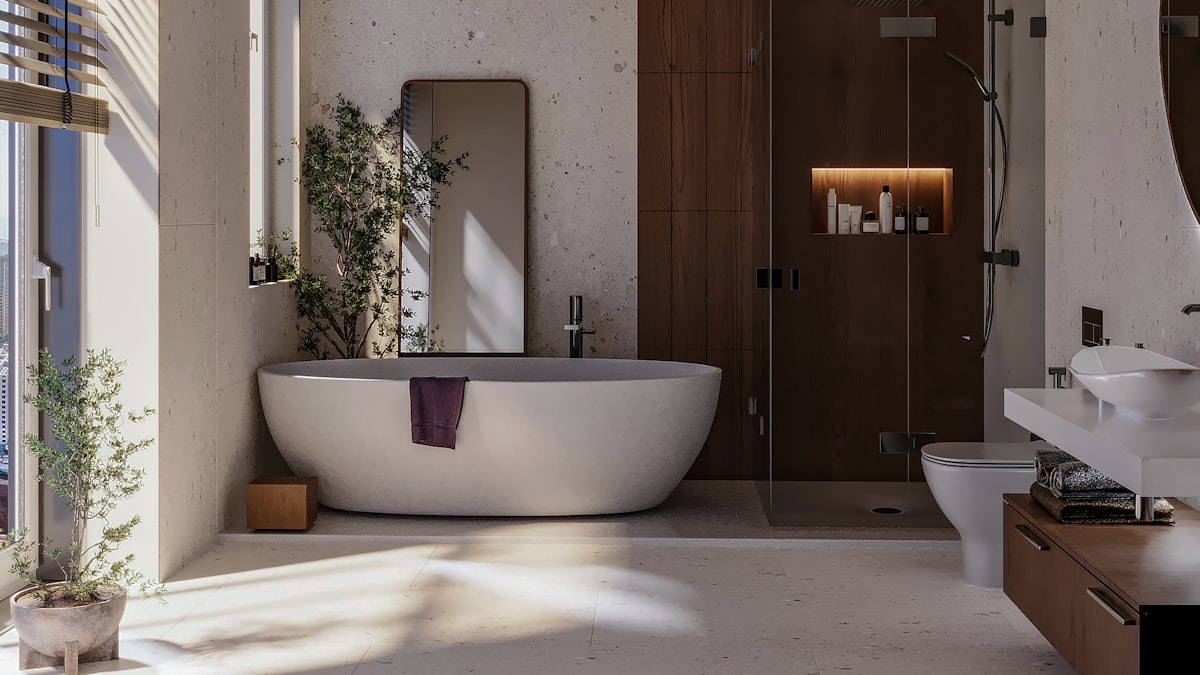
    Japanese toilets are a genuine travel highlight — heated seats, bidets, and buttons galore. But they can baffle first-timers. Here’s your friendly guide to Japan’s famous washlets (and the occasional squat toilet).

    The high-tech washlet

    Many toilets are washlets with a control panel of buttons. The essentials:

    • Flush — look for 大 (big/large) and 小 (small) for full or light flush. It may be a lever, a wall panel, or a sensor — not always on the seat panel.
    • Bidet buttons — おしり (rear wash) and ビデ (front wash); often with pressure/position controls.
    • Stop — 止 (stop) ends the spray. This is the button you’ll want to find first.
    • Heated seat, dryer, and deodorizer on fancier models.

    The “privacy sound” button

    A button labeled 音 (sound) or a musical note plays a flushing sound to mask any noise — a beloved feature (especially in women’s restrooms, sometimes as an automatic sensor called Otohime).

    Squat toilets (still around)

    Older stations, parks, and rural spots may have squat toilets. Face the hood/flush end, feet either side, and squat. Carry tissues — some don’t have paper.

    Good to know

    • Carry a small pack of tissues (often handed out free on the street) and a hand towel — some restrooms lack paper towels.
    • Public toilets are widespread, clean, and free — konbini, stations, and department stores are reliable.
    • Don’t flush anything but paper; sanitary bins are provided.
    • Toilet slippers exist in homes and ryokan — swap into them and back out. See our etiquette guide.

    Want one at home?

    Washlet seats are a popular souvenir/purchase — check voltage compatibility first; see our electronics buying guide. First trip? Read first-timer tips.

    Reading the buttons like a local

    • Most washlet panels group flush controls separately from bidet controls — the flush is often a small lever or separate wall-mounted button, not on the seat panel itself, which confuses many first-time users searching only the seat-side panel.
    • Pressure and nozzle position dials (if present) let you fine-tune the bidet spray — start on the lowest setting, since default factory settings can be stronger than expected.
    • A dryer function (if available) is usually a separate button from the bidet controls, often marked with a wind or fan icon.

    Common mistakes to avoid

    • Panicking and pressing random buttons — nearly every washlet has a clearly marked stop button (止 or a red icon); learning to spot it first removes most of the anxiety around trying the other functions.
    • Forgetting toilet slippers exist at ryokan and some homes — these are separate from the house slippers you wear elsewhere and should be swapped back out immediately after leaving the bathroom, a common etiquette slip for first-timers.
    • Assuming every public restroom has hand dryers or paper towels — many don’t, which is why locals carry a small hand towel; picking one up early in your trip (sold everywhere, including 100-yen shops) solves this permanently.

    Where to find reliably good public toilets

    Train stations, department stores, and konbini restrooms are consistently clean, free, and equipped with modern facilities, making them a reliable fallback anywhere in a city — unlike some countries, there’s no need to buy something or ask permission to use a station or konbini restroom while out sightseeing.

    Buying a washlet to take home

    If a trip converts you into a washlet believer, note that most models sold in Japan are built for Japan’s toilet bowl shapes and 100V electrical standard — check compatibility with your home country’s plumbing and voltage carefully before buying one as a souvenir, since not every model ships or installs easily overseas.

  • Do You Tip in Japan? Tipping Etiquette Explained

    Do You Tip in Japan? Tipping Etiquette Explained

    Short answer: no, you don’t tip in Japan — and trying to can cause confusion. Here’s exactly how it works so you’re never caught out.

    The rule

    Tipping is not part of Japanese culture. Good service is the standard and is already included in the price. Leaving extra cash at a restaurant, taxi, or hotel can genuinely confuse staff — someone may even chase after you to return the “forgotten” money.

    Situations travelers ask about

    • Restaurants & bars — no tip. Just pay the bill (often at a front register).
    • Taxis — no tip; round-ups aren’t expected. Doors open automatically — don’t touch them.
    • Hotels — no tip for standard service. A high-end ryokan may have a service charge already on the bill.
    • Tour guides — the one gray area; a private guide may accept a thank-you gift, but it’s not required.

    Service charges vs tips

    Some upscale restaurants, hotels, and izakaya add a service charge or a small otoshi (seating appetizer) to the bill. That’s not a tip you add — it’s already itemized.

    How to show appreciation instead

    • A sincere “gochisousama deshita” (thank you for the meal) or “arigatou gozaimasu.”
    • If you truly want to give a gift to a guide, present cash in an envelope with both hands — never loose bills.
    • Learn a few phrases — see our phrases guide.

    Bottom line

    Skip the tip, pay the exact bill, and say thanks — that’s perfect. More do’s and don’ts in our etiquette guide, money in Japan, and common travel mistakes.

    Why the no-tipping norm exists

    Japanese service culture treats attentiveness and quality as a baseline professional standard, not something that should require extra payment to unlock — the concept of tipping for better service can actually read as implying the standard service wasn’t already complete, which is part of why offering money can create genuine confusion rather than simple gratitude.

    Situations that trip travelers up

    • Ryokan staff carrying your bags or serving an elaborate kaiseki dinner — even this high-touch, personal service doesn’t expect a tip; the nightly rate already reflects it.
    • Bartenders at a cocktail bar after an exceptional round — rounding up or leaving change on the counter is unnecessary and will typically be returned to you.
    • Delivery or hotel staff bringing something to your room — a polite thank you is the complete, correct response.

    The one real exception: envelope gifts

    For an exceptional, personalized service like a private tour guide who went well beyond the norm, some travelers choose to offer a small thank-you gift rather than cash directly — if you do want to give money in this specific context, present it in a plain envelope, offered with both hands, rather than handing over loose bills, which can feel transactional and out of place.

    What to expect if you try to tip anyway

    Leaving cash on a restaurant table is likely to result in a server chasing you down the street to return it, genuinely believing you left it behind by accident — it happens often enough to first-time visitors that it’s worth expecting rather than being caught off guard by well-meaning staff insisting you take your money back.

  • Japan Travel Mistakes: What to Avoid on Your First Trip

    Japan Travel Mistakes: What to Avoid on Your First Trip

    Japan is easy and rewarding to travel — but first-timers make the same avoidable mistakes. Here are the big ones and how to sidestep them for a smoother trip.

    Planning mistakes

    • Cramming too much in. Distances and transfers eat time. Fewer places, more depth. See our 7-day itinerary.
    • Buying the JR Pass by default. It’s not always worth it now — do the math first: is the JR Pass worth it?
    • Traveling during peak weeks. Avoid Golden Week, Obon, and New Year if you can.

    Money & tech mistakes

    • Assuming cards work everywhere. Carry cash; many small places are cash-only. See money in Japan.
    • Renting pocket wifi when an eSIM is cheaper and simpler.
    • Not getting an IC card — it makes trains and konbini effortless.

    Etiquette mistakes

    On-the-ground mistakes

    • Over-packing. Hotel rooms are small; use luggage forwarding and our packing list.
    • Underestimating station complexity — note your exit name, not just the line.
    • Ignoring regional food — each area has specialties worth seeking out.

    The fix

    Slow down, carry cash, get an eSIM and IC card, mind a few manners, and pack light. Start with our first-timer tips.

    Costly mistakes worth avoiding

    • Buying the nationwide JR Pass without doing the math — since the 2023 price increase, it only pays off on itineraries with several long-distance legs; see our JR Pass guide before assuming it’s automatic value.
    • Booking hotels during Golden Week, Obon, or New Year without realizing rates can double or triple compared to a normal week — if your dates are flexible at all, shifting by even a week can mean dramatically better prices and availability.
    • Exchanging large amounts of cash at the airport at poor rates — Japan is increasingly card- and IC-card friendly, so exchanging a smaller amount and topping up as needed (or using a fee-free travel card at ATMs) usually beats one big airport exchange.

    Mistakes that cost time, not money

    • Not noting station exit names, only line names — big stations like Shinjuku and Tokyo have dozens of exits, and the wrong one can add a 10-15 minute walk aboveground.
    • Scheduling a tight connection through a transfer station during rush hour — crowds and walking distances between platforms can eat more time than a map suggests.
    • Assuming all restaurants take reservations or walk-ins equally well — some popular spots are reservation-only weeks ahead, while others are strictly first-come; a quick check avoids a wasted trip.

    The single biggest fix

    Most of these mistakes share one root cause: treating Japan like a country where local norms don’t need research, when in fact a little upfront reading (this guide, plus our first-timer tips) resolves nearly all of them before they become a problem on the ground.

    A mistake specific to food

    Sticking only to famous, heavily reviewed restaurants in guidebooks can mean missing genuinely better, less-touristed spots nearby — a queue of local office workers at lunchtime is often a more reliable quality signal than a five-star online rating aimed at tourists.

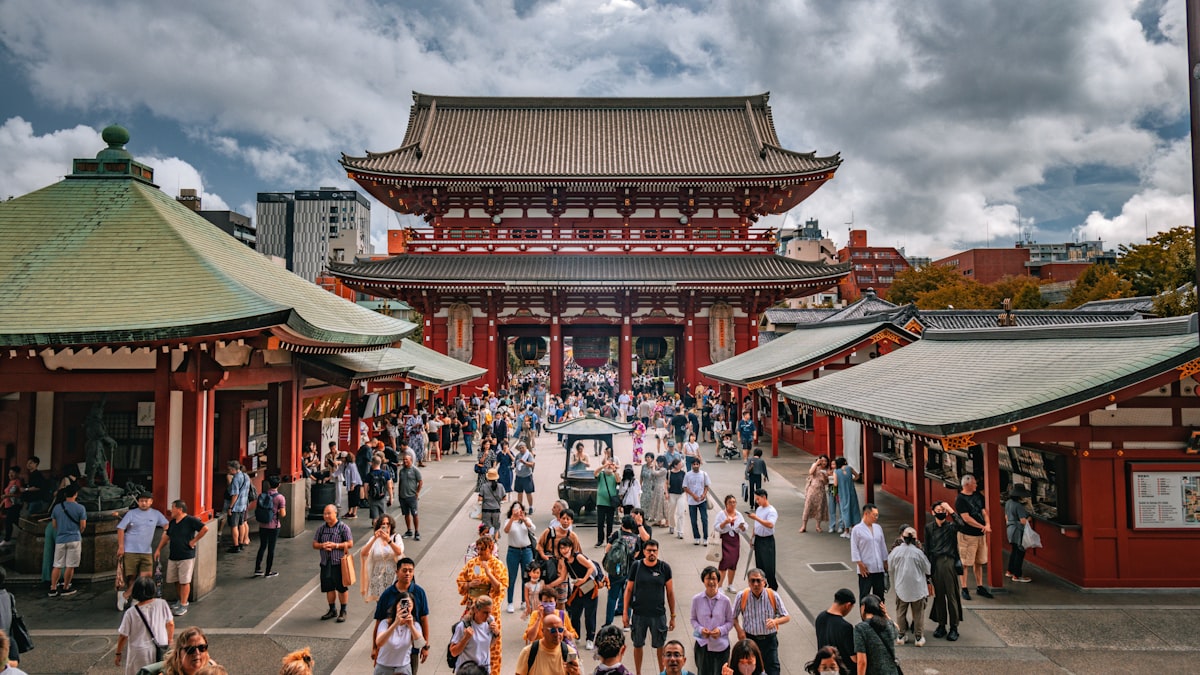
  • Asakusa Guide: Senso-ji, Old Tokyo & Skytree

    Asakusa Guide: Senso-ji, Old Tokyo & Skytree

    Asakusa is old Tokyo — home to the city’s most famous temple, rickshaws, traditional snacks, and craft shops. It’s the go-to district for a taste of pre-modern Japan. Here’s how to visit.

    What to see

    • Senso-ji — Tokyo’s oldest and most famous temple, with the giant red Kaminarimon “Thunder Gate” lantern.
    • Nakamise-dori — the bustling shopping street leading to the temple, full of snacks and souvenirs.
    • Tokyo Skytree — the towering broadcast tower is a short walk/ride away, with observation decks.
    • Sumida River — take a scenic river cruise from here toward Odaiba.

    Traditional experiences

    • Rent a kimono and stroll the old streets — see our kimono & yukata guide.
    • Rickshaw ride with an English-speaking puller.
    • Street snacks — melonpan, ningyo-yaki, senbei; more in must-try food.

    Shopping

    • Nakamise-dori for classic souvenirs (fans, chopsticks, yukata).
    • Nearby Kappabashi — the kitchenware street for knives and realistic food samples; see Japanese knives.

    Getting there & tips

    • Asakusa Station (several lines) — grab an IC card.
    • Go early morning to see Senso-ji before the crowds and get better photos.
    • Great half-day; pair with Skytree or a river cruise. See our Tokyo guide.

    What things cost in Asakusa

    • Senso-ji itself is free to enter; a rickshaw ride runs JPY 4,000-10,000 depending on length and number of passengers, priced per rickshaw rather than per person, which makes it more economical for pairs.
    • Nakamise-dori snacks run JPY 200-500 each — budget JPY 1,500-2,000 to graze your way down the street trying several without committing to a sit-down meal.
    • A basic kimono rental for a few hours runs JPY 3,000-6,000, while a full-day higher-end set with hair styling can run JPY 8,000-15,000.

    Common mistakes to avoid

    • Arriving at Senso-ji at midday — it’s one of the most visited sites in Japan and gets genuinely crowded by 10am; an early-morning visit (before 8am) gives you a completely different, peaceful experience of the same temple.
    • Skipping the smaller side streets around Nakamise — the main strip is the most crowded and touristy part of Asakusa; the quieter lanes just off it often have better craft shops and more authentic old-Tokyo atmosphere.
    • Not checking Skytree ticket tiers before buying — the lower Tembo Deck is meaningfully cheaper than the higher Tembo Galleria and offers a nearly identical view for most visitors.

    Combining with a river cruise

    A Sumida River cruise from near Azumabashi Bridge toward Odaiba or Hama-rikyu Gardens gives a completely different view of Tokyo than the street-level Asakusa experience, gliding past the Skytree and under a series of distinctive bridges — a relaxing way to transition from old Tokyo to the modern waterfront without another train ride.

    Kappabashi for cooks and collectors

    The kitchenware street just north of Senso-ji is worth a dedicated stop even if you’re not shopping for a knife — the shockingly realistic plastic food samples (sampuru), used as restaurant window displays across Japan, make an unusual and genuinely fun souvenir that photographs well and packs better than you’d expect.

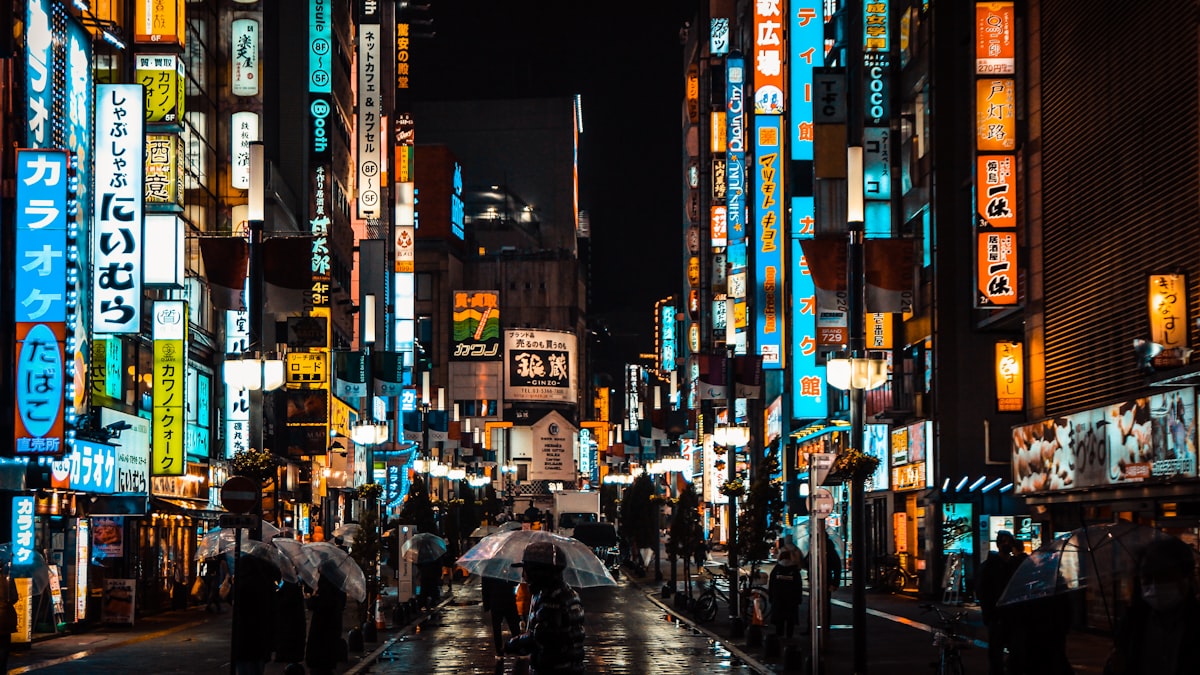
  • Shinjuku Guide: Skyscrapers, Nightlife & Gardens

    Shinjuku Guide: Skyscrapers, Nightlife & Gardens

    Shinjuku packs skyscrapers, neon nightlife, tranquil gardens, and the world’s busiest station into one district. It’s overwhelming and wonderful — here’s how to navigate it.

    What to see & do

    • Tokyo Metropolitan Government Building — free observation decks with panoramic city (and Fuji on clear days) views.
    • Shinjuku Gyoen — a gorgeous large garden, stunning in cherry blossom season.
    • Omoide Yokocho — “memory lane,” a nostalgic alley of tiny yakitori bars.
    • Golden Gai — a warren of tiny themed bars (some have cover charges/regulars-only).
    • Kabukicho — the famous nightlife/entertainment quarter (lively; stay aware at night).

    Shopping

    • Huge department stores and electronics giants (Yodobashi, Bic Camera) — see our electronics guide.
    • Don Quijote and countless fashion floors; bring your passport for tax-free.

    Navigating Shinjuku Station

    It’s the world’s busiest station with dozens of exits — note your exit name (e.g., “South” or “East”) rather than just the line. Grab an IC card and allow extra time when transferring.

    Tips

    • The free government-building observatory is a great budget alternative to paid decks.
    • Golden Gai is best late evening; some bars welcome tourists, others are locals-only — look for English-friendly signs.
    • Combine with nearby Harajuku and Shibuya; see our Tokyo guide.

    What things cost

    • The Tokyo Metropolitan Government Building’s observation decks are free — one of the best value-for-money views in the entire city, rivaling paid decks that charge JPY 2,000-3,000 elsewhere.
    • Omoide Yokocho yakitori skewers run JPY 150-350 each; a satisfying meal of several skewers and a drink runs JPY 2,000-3,000 per person in the tiny, atmospheric alley bars.
    • Golden Gai bars often charge a cover fee (JPY 500-1,500) on top of drink prices — ask before sitting down if a bar doesn’t post pricing, since policies vary widely bar to bar.

    Common mistakes to avoid

    • Wandering into a Golden Gai bar without checking for tourist-friendly signage — some of the tiny bars are genuinely locals/regulars-only and may turn away walk-ins; those welcoming visitors usually post English menus or signs near the door.
    • Losing track of which Shinjuku Station exit you need — with over 200 exits across the station complex, using a specific named exit (not just “Shinjuku Station”) in directions and maps saves real confusion.
    • Visiting Kabukicho alone late at night without normal city caution — it’s generally safe but has more aggressive touting than most of Tokyo; politely declining and continuing to walk is the standard, effective response.

    A one-day Shinjuku plan

    Morning at the free observatory for clear-day Fuji views, a relaxed midday walk through Shinjuku Gyoen, an early evening browse of the electronics and department stores, dinner in Omoide Yokocho, and a late-evening bar or two in Golden Gai if that scene appeals — a full, varied day without leaving one district.

    Shinjuku as a transit hub for day trips

    Shinjuku Station is also the departure point for several popular day trips, including direct buses and trains to Kawaguchiko and Hakone — if your itinerary includes a Fuji-area excursion, basing your hotel near Shinjuku can simplify those early-morning departures considerably.

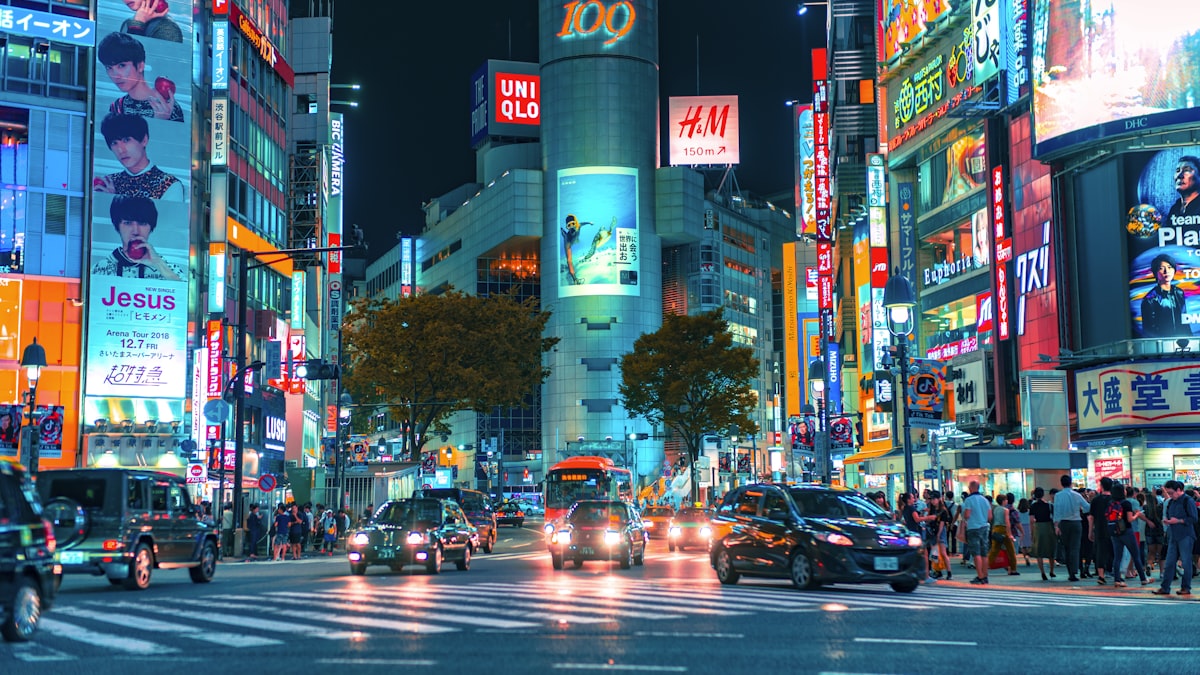
  • Shibuya Guide: Crossing, Shopping & Nightlife

    Shibuya Guide: Crossing, Shopping & Nightlife

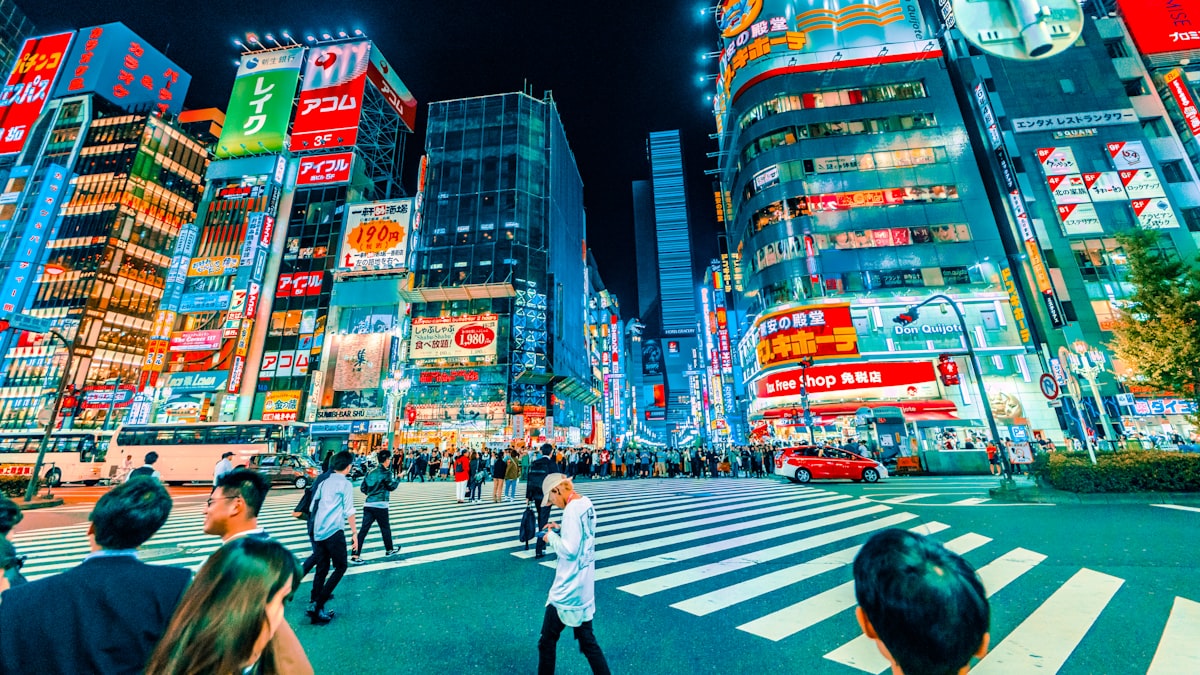
    Shibuya is Tokyo at its most electric — the famous scramble crossing, neon, shopping, and nightlife. Here’s how to make the most of this must-visit district.

    The essentials

    • Shibuya Crossing — the world’s busiest pedestrian crossing; watch it from the Starbucks or a viewing deck.
    • Hachiko statue — the famous loyal-dog meeting spot outside the station.
    • Shibuya Sky — a stunning open-air rooftop observation deck (book ahead).
    • Shibuya Scramble Square & Hikarie — shopping and city views.

    Shopping

    • Shibuya 109 — iconic youth-fashion tower.
    • Don Quijote — souvenirs and everything else; see our Donki guide.
    • Loft & department stores for lifestyle goods.
    • Nearby Harajuku is a short walk for more shopping.

    Food & nightlife

    • Nonbei Yokocho — a tiny alley of atmospheric bars.
    • Center Gai — packed with cheap eats and izakaya.
    • Everything from ramen to izakaya; see must-try Japanese food.

    Getting there & tips

    • Shibuya Station is a major hub — grab an IC card; the station is famously complex, so allow time.
    • The crossing and Shibuya Sky are best at dusk when the neon lights up.
    • Combine with Harajuku and Yoyogi Park for a full day; see our Tokyo guide.

    What things cost

    • Shibuya Sky costs JPY 2,000-2,500 for adults (advance online tickets are usually a bit cheaper than same-day); sunset time slots sell out first and are worth booking days ahead.
    • A meal at one of Center Gai’s casual chains runs JPY 800-1,500; Nonbei Yokocho’s tiny bars typically charge JPY 500-1,000 per drink with a modest table charge at some spots.
    • Shibuya 109’s stock skews toward Japanese youth fashion brands not widely sold abroad, with prices generally in line with mid-range fast fashion (JPY 2,000-8,000 per item).

    Common mistakes to avoid

    • Trying to photograph the crossing from ground level during peak times — the crowd itself blocks most good shots; the Starbucks second floor or Shibuya Sky’s lower observation areas give a much better angle without fighting the crowd for space.
    • Booking Shibuya Sky for a midday slot expecting the famous glowing city view — the sunset and post-sunset slots are dramatically more atmospheric than a daytime visit, and they cost the same.
    • Assuming Shibuya 109 has plus-size or larger Western sizing widely available — sizing runs smaller than many Western brands; trying items on before buying is worthwhile rather than assuming based on your usual size.

    Pairing with a Harajuku-Shibuya day

    Shibuya connects directly to Harajuku via a 10-15 minute walk through the backstreets of Cat Street, making it easy to combine Meiji Shrine’s forest calm, Harajuku’s youth fashion, and Shibuya’s energy into one well-paced day that moves from quiet to loud rather than the reverse.

    Late-night Shibuya

    The area around the station stays lively well past midnight, with izakaya and ramen shops that keep serving into the early hours — a useful thing to know if your flight schedule or jet lag has you wide awake at 1am and hunting for a hot meal, which is a genuinely normal thing to do in this part of Tokyo.

  • Harajuku Guide: Fashion, Street Food & Meiji Shrine

    Harajuku Guide: Fashion, Street Food & Meiji Shrine

    Harajuku is Tokyo’s capital of youth fashion, kawaii culture, and street snacks — a must-wander neighborhood. Here’s how to explore it, from the famous crepes to the calm of Meiji Shrine.

    The two sides of Harajuku

    • Takeshita Street — the packed, colorful heart of teen fashion, character shops, and rainbow cotton candy.
    • Omotesando — the elegant, tree-lined “Champs-Elysees of Tokyo” with flagship stores and striking architecture.
    • Ura-Harajuku (Cat Street) — backstreets of independent boutiques, streetwear, and cafes.

    What to do

    • Street snacks — Harajuku crepes, rainbow treats, and trendy sweets.
    • Shopping — from cheap teen fashion to Japanese fashion brands and vintage.
    • Meiji Shrine — a serene forest shrine right next door; a beautiful contrast to the buzz.
    • Yoyogi Park — great for people-watching, especially on weekends.

    Shopping tips

    • Takeshita Street is best on a weekday to avoid the crush.
    • Hunt vintage in the backstreets; flagship brands line Omotesando.
    • Bring your passport for tax-free at larger stores.
    • Grab beauty and drugstore buys and J-beauty makeup nearby.

    Getting there

    Harajuku Station (JR Yamanote line) and Meiji-jingumae drop you right in it. Grab an IC card. It pairs perfectly with neighboring Shibuya — see our Tokyo guide.

    Tips

    • Go late morning; combine with Meiji Shrine early before the crowds.
    • Weekends are peak for street fashion spotting but very busy.
    • Cash helps at small stalls — see money in Japan.

    What things typically cost

    • A Harajuku crepe runs JPY 500-900 depending on toppings; budget an extra crepe or drink stop since the street’s stalls are genuinely part of the experience, not just a photo backdrop.
    • Takeshita Street fashion runs cheap — JPY 500-3,000 for most character goods and teen fashion items — while Omotesando’s flagship boutiques sit at full international luxury pricing just a few minutes’ walk away.
    • Meiji Shrine and Yoyogi Park are both free, making Harajuku one of the more budget-friendly full-day Tokyo districts if you skip the shopping entirely and focus on people-watching and the shrine grounds.

    Common mistakes to avoid

    • Visiting Takeshita Street on a weekend afternoon expecting to move freely — it’s one of the most densely crowded streets in Tokyo at peak times; a weekday morning gives a completely different, walkable experience of the same shops.
    • Skipping Meiji Shrine because it seems like “just another shrine” — the approach through old-growth forest is a genuinely calming contrast to Takeshita Street’s crowds just a few minutes away, and most visitors are struck by how different the two areas feel.
    • Missing Ura-Harajuku (Cat Street) in favor of only the main strips — the backstreets have far better browsing for adult, less character-driven fashion and coffee shops away from the crowds.

    A half-day sequencing tip

    Visit Meiji Shrine first thing in the morning while it’s quiet and cool, then let the crowds build naturally as you move into Takeshita Street and Omotesando later — doing it in reverse means fighting shrine crowds after they’ve built up from tour groups arriving mid-morning.

    Combining with the rest of west Tokyo

    Harajuku sits within easy walking distance of both Shibuya and Shinjuku, making it natural to treat as the middle stop of a longer west-Tokyo day rather than a standalone destination — most visitors find one full morning-to-afternoon block here is enough before moving on to the next district’s different energy.

  • Japan in Winter: Snow, Onsen, Skiing & What to Pack

    Japan in Winter: Snow, Onsen, Skiing & What to Pack

    Some links below are affiliate links. If you book through them, Japan Trove may earn a small commission at no extra cost to you.

    Winter is one of Japan’s most magical (and underrated) seasons — world-class powder snow, steaming hot springs, illuminations, and far fewer crowds. Here’s what to do and know.

    Why visit in winter

    • Powder skiing — some of the best snow on earth.
    • Onsen in the snow — soaking outdoors while it snows is unforgettable; see best onsen towns.
    • Winter illuminations light up cities from November through February.
    • Fewer crowds & clear Fuji views — see how to see Mt. Fuji.

    Where to go

    • Hokkaido — Niseko’s powder, the Sapporo Snow Festival, and seafood; see things to do in Hokkaido.
    • Nagano & the Japan Alps — skiing plus the famous snow monkeys.
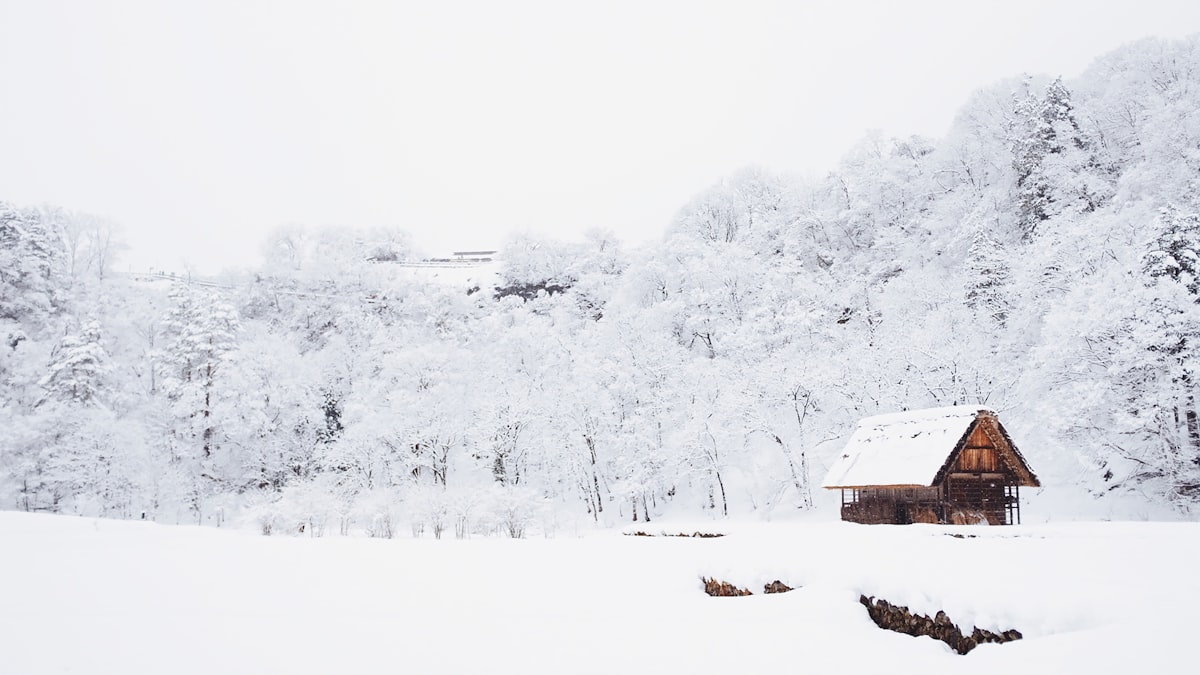
    • Shirakawa-go — thatched farmhouses under snow; see Takayama & Shirakawa-go.
    • Tokyo & Kyoto — cold but usually snow-light, great for illuminations and quiet temples.

    Skiing basics

    • Season runs roughly December to March/April; January–February is peak powder.
    • Resorts rent gear and offer English lessons — easy for beginners.
    • Book snow-season accommodation early — compare on Booking.com .

    What to pack

    Good to know

    • New Year (Dec 29–Jan 3) brings closures and busy travel — plan around it.
    • Northern regions get serious snow; check transport in bad weather.
    • Use luggage forwarding to send ski gear or bags ahead.

    What a winter trip typically costs

    • Ski resort lift passes run JPY 5,000-8,000/day at major Niseko and Nagano resorts, with multi-day passes offering a modest per-day discount; equipment rental adds another JPY 4,000-7,000/day for a full set.
    • Winter illuminations in cities are free to view, though some, like Tokyo’s larger displays, have a designated ticketed section for premium viewing at JPY 500-1,500.
    • Onsen ryokan rates in ski towns often run higher in peak January-February powder season than in the shoulder months either side, so booking December or March can mean meaningfully better rates for a similar snow experience.

    Common mistakes to avoid

    • Assuming Tokyo and Kyoto get heavy snow — both cities get cold but see relatively little snowfall most winters; travelers picturing snowy temple photos should look to Kanazawa, Takayama, or Tohoku instead.
    • Underpacking for indoor heat contrast — Japanese buildings and trains run warm indoor heating, so a system of easily removable layers matters more than one very heavy coat.
    • Not checking New Year closures — many restaurants, shops, and some attractions close for several days around January 1st; a New Year’s trip needs different research than a normal winter visit.

    Combining snow and city in one trip

    A popular winter structure pairs 2-3 nights in Hokkaido or Nagano for snow and onsen with the remainder of the trip in Tokyo or Kyoto for illuminations, museums, and indoor culture — giving you both the postcard powder shots and comfortable, less weather-dependent city days.

    Beginner skiing and snowboarding notes

    Major resorts like Niseko and those around Nagano run English-language lesson programs specifically built for the large number of foreign beginners who visit each winter — a half-day group lesson (roughly JPY 6,000-10,000) is a practical, safe way to try the sport for the first time rather than heading straight to a lift alone.

  • Tsukiji vs Toyosu: Tokyo’s Fish Markets & Best Sushi

    Tsukiji vs Toyosu: Tokyo’s Fish Markets & Best Sushi

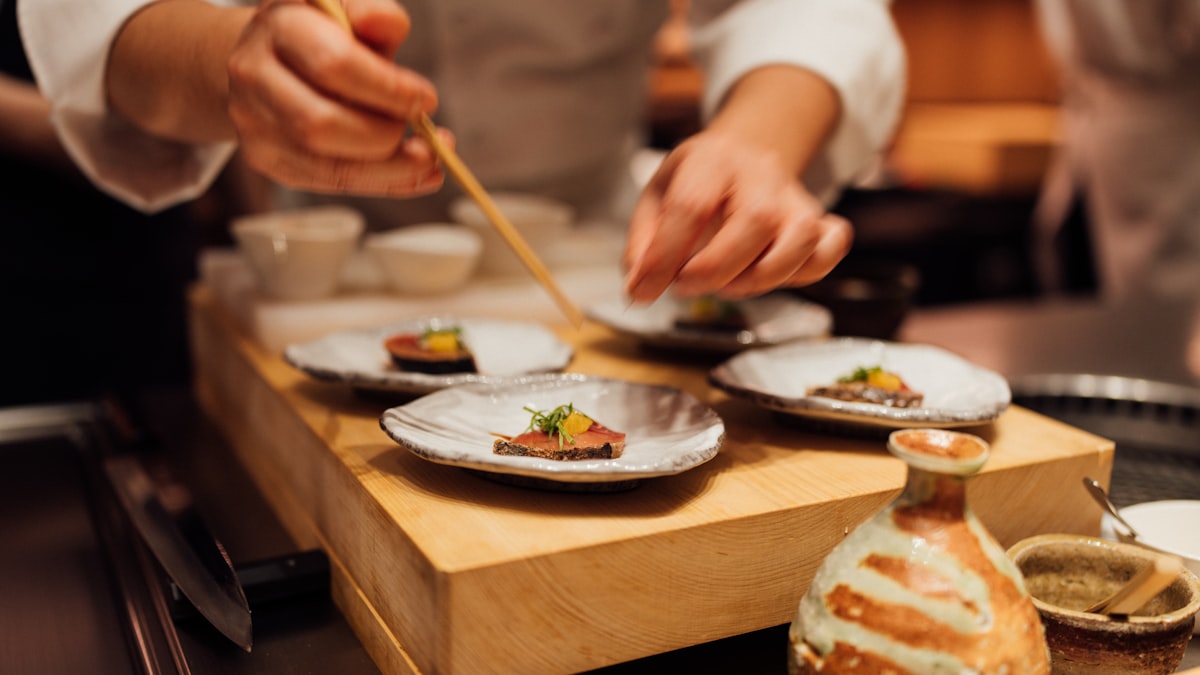
    Tokyo’s fish markets are a foodie pilgrimage — but there’s confusion about Tsukiji vs Toyosu since the big move. Here’s the clear guide to visiting both, and eating the best sushi breakfast of your life.

    Tsukiji vs Toyosu — what changed

    • Toyosu Market — the wholesale market (and famous tuna auction) relocated here. This is where the big trading and the auction viewing now happen.
    • Tsukiji Outer Market — the beloved street of food stalls, knife shops, and restaurants stayed in Tsukiji and is still thriving. This is the easy, fun one for most visitors.

    Tsukiji Outer Market (easiest)

    • Wander stalls selling fresh sushi, grilled seafood, tamagoyaki, and street snacks.
    • Buy Japanese kitchen knives and kitchenware.
    • Go early morning — many stalls wind down by early afternoon; some close Sundays/Wednesdays.

    Toyosu Market (the auction)

    • View the tuna auction from observation decks (early morning; advance registration may be required for the closest viewing).
    • Excellent sushi restaurants inside — expect queues for the famous ones.
    • It’s more sterile/modern than old Tsukiji, but it’s the real working market.

    Eating tips

    • Come hungry and early — a sushi or seafood-don breakfast here is unforgettable. More in must-try Japanese food.
    • Carry cash; many small stalls don’t take cards — see money in Japan.
    • Be respectful: it’s a working market — don’t block carts or touch produce.

    Getting there

    Tsukiji is central (Tsukiji/Tsukijishijo stations); Toyosu is on the Yurikamome line. Grab an IC card and add it to your Tokyo plan.

    What things cost

    • A sushi breakfast at Tsukiji’s outer market runs JPY 2,000-5,000 for a generous sit-down set, or JPY 1,000-2,000 for standing-bar or takeaway sushi from a stall.
    • Toyosu’s inner-market sushi restaurants, made famous by long pre-pandemic queues, still often require waiting 30-90 minutes even on weekday mornings for the best-known counters.
    • Tuna auction viewing at Toyosu is free but requires early registration (often via a lottery-style online booking released a couple of months ahead) for the closest observation deck — a general, more distant viewing deck is available without booking.

    Common mistakes to avoid

    • Going to Toyosu expecting Tsukiji’s old street-stall atmosphere — Toyosu is a modern, sterile wholesale facility built for efficiency, not tourism; if the atmosphere and street food matter more to you than the actual auction, stick to Tsukiji’s outer market.
    • Arriving after 10am expecting the same energy as opening hours — both markets wind down significantly by late morning, with many stalls and restaurants closing by early afternoon.
    • Visiting on a market holiday — both markets close on scheduled days (varying, often Sundays and some Wednesdays); check the current calendar before planning around this specific stop.

    Making the early start worthwhile

    Since both markets reward an early arrival, consider staying somewhere within a short taxi ride the night before — arriving groggy after a long train transfer undercuts much of the appeal of catching the market at its liveliest, freshest hours.

    Combining with a wider Tokyo food day

    A market breakfast pairs naturally with an afternoon in nearby Ginza, a short taxi or train ride away — treating the market as the start rather than the entirety of a food-focused day makes better use of the early start than heading back to the hotel right after.