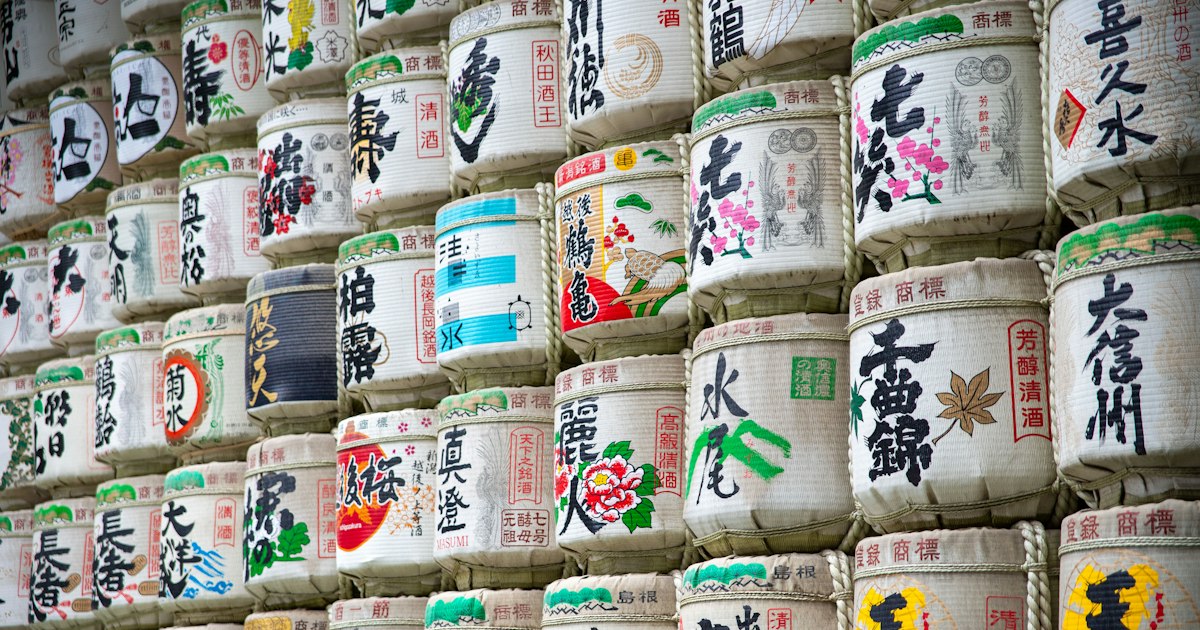
Most visitors taste Japanese sake in a restaurant without ever seeing where it comes from. But two of the country’s most important brewing districts sit within easy day-trip range of Osaka and Kyoto: Nada, on Kobe’s waterfront, and Fushimi, in southern Kyoto. Between them they produce roughly a third of all sake made in Japan, and both have turned their historic breweries into museums, tasting rooms, and walkable shopping streets. Here’s how to visit either one — or both — without wasting a day on closed doors.
Why Nada and Fushimi Became Sake Capitals
Sake quality comes down to water and rice, and both districts got lucky with water. Nada’s breweries draw on “miyamizu,” a mineral-rich, iron-poor hard water discovered in the Nishinomiya area in 1840 that produces drier, fuller-bodied sake — this is the home of big names like Hakutsuru, Kikumasamune, Ozeki, and Kenbishi. Fushimi’s water is the opposite: soft, low-mineral water nicknamed “Fushimizu,” which yields smoother, slightly sweeter sake, historically favored for its gentler style. Gekkeikan and Kizakura are the best-known Fushimi producers still brewing on-site today. If you’ve already read our guide to sake cups and tokkuri, this is the natural next stop — seeing where the liquid itself is made before you shop for the vessel to drink it from.
Nada: Kobe’s Hard-Water Sake Belt
Nada isn’t one museum but a strip of breweries spread across Kobe’s Higashinada and Nada wards, most within walking or short-taxi distance of each other along the coast.
- Hakutsuru Sake Brewery Museum (Hakutsuru Shuzo Shiryokan) — free admission, generally open 9:30–16:30 (closed New Year holidays). Housed in a preserved wooden kura, it uses life-size mannequins to show the pre-mechanized brewing process, and finishes with a small tasting counter and shop.
- Kikumasamune Sake Brewery Museum — also free, similar hours, closed Mondays (or the following day if Monday is a holiday). Smaller and more old-tool-focused than Hakutsuru’s.
- Sakura Masamune Kinenkan — a compact, low-key museum a short walk from the other two, worth combining rather than visiting alone.
Getting there: From Osaka (Umeda), take the JR Kobe Line rapid service to Sumiyoshi or Rokko Michi Station (about 15–20 minutes), or the Hanshin Railway to Uozaki Station, which sits closest to Hakutsuru and Kikumasamune. From Kyoto, figure roughly 45–55 minutes by JR. If you’re traveling from further afield and want extra legroom for the ride, our Green Car guide explains when the upgrade is worth it on these routes. Once in Nada, the museums are a 10–15 minute walk apart — comfortable on foot, or rentable bicycles are available near some stations.
Fushimi: Kyoto’s Canal-Side Sake Village
Fushimi’s brewing quarter centers on the Chushojima and Fushimi-Momoyama area, a neighborhood of white-walled kura and a preserved canal that once carried sake barrels to Osaka by boat.
- Gekkeikan Okura Sake Museum — admission is ¥600 for adults, which includes tastings of three sakes and a small souvenir cup to keep. Open roughly 9:30–16:30 (last entry 16:00); closed around New Year and a few irregular dates, so check ahead if visiting late December or early January.
- Kizakura Kappa Country — free to enter the gallery and shop; the attached brewery restaurant serves food alongside tasting flights for a few hundred yen per glass. Closed Wednesdays.
- Jikkoku-bune canal boat — a seasonal (roughly mid-March through early December) 55-minute ride along the old sake-transport canal, around ¥1,500 for adults, mostly running weekends and holidays with a midsummer break. It’s touristy but genuinely explains why this location mattered historically.
Getting there: From Kyoto Station, take the JR Nara Line to Momoyama Station (about 15 minutes), or ride the Keihan Main Line from Sanjo or Gion-Shijo to Fushimi-Momoyama Station (roughly 20 minutes). The Kintetsu Kyoto Line’s Momoyama-Goryomae Station also works. Everything worth seeing is within a 15–20 minute walk of these stations. Note this is a different “Fushimi” experience than Fushimi Inari Shrine’s torii gates a few kilometers north — don’t assume one visit covers both, since the shrine and the sake district are separate trips.
Best Time to Visit
Both districts’ museums operate year-round, but two windows matter. Actual brewing happens in the cooler months, roughly December through March, when some breweries (not the general-admission museums, but select ones offering tour bookings) allow closer looks at active fermentation tanks — worth asking about if you read Japanese or book through a local tour operator, since these aren’t drop-in experiences. For general visiting, spring (March–April) pairs well with Fushimi because Fushimi-Momoyama’s castle grounds and nearby canal are pleasant during cherry blossom season, and Nada’s coastal walk is comfortable in the same weeks. Avoid the peak of summer if possible — Kansai’s August heat makes the outdoor canal and walking routes between breweries unpleasant, and the Jikkoku-bune boat sometimes pauses in the hottest stretch.
Tasting, Buying, and Shipping Sake Home
Every museum and most brewery shops sell bottles on-site, often including limited releases not distributed nationally, at prices ranging from about ¥1,000 for a standard 720ml bottle to several thousand yen for premium ginjo or daiginjo grades. A few practical notes: liquids over 100ml can’t go in carry-on luggage, so plan to pack bottles in checked bags (wrap them well — brewery shops usually sell protective bottle bags for a few hundred yen) or ship them separately via a courier service like Yamato Transport, which most shops can arrange for domestic addresses or, at some larger shops, international shipping. If you’re also carrying medication through customs on this trip, it’s worth reviewing our guide to Japan’s customs rules for medicine separately, since sake and pharmaceutical restrictions are handled by different rules entirely.
Common Mistakes to Avoid
- Assuming every brewery offers walk-in tours. Most of what’s open to casual visitors is the museum/shop portion, not the working brewery floor. Actual production tours typically require advance reservation, often in Japanese, and aren’t available at every facility.
- Visiting on a Monday without checking. Kikumasamune and several smaller sites close Mondays; Kizakura closes Wednesdays. A five-minute check before you go saves a wasted trip.
- Trying to do both districts in one day. Nada and Fushimi are roughly an hour apart by train with a transfer, and each deserves at least half a day. Pick one per day if you want to actually taste and shop rather than just transit.
- Skipping food. Sake tastes different with food than sipped alone at a counter — Kizakura’s restaurant and several small izakaya near both districts serve dishes built around the local sake, which makes the tasting much more informative.
Planning by Budget
Budget (under ¥2,000): Stick to the free museums (Hakutsuru, Kikumasamune, Kizakura’s gallery) and buy one modest bottle to take home.
Mid-range (¥3,000–6,000): Add the Gekkeikan Okura Museum’s ¥600 tasting ticket, the Jikkoku-bune boat ride, and lunch at a brewery restaurant.
Splurge (¥8,000+): Book a guided sake-pairing tour through a local operator that includes a reserved brewery visit, a multi-course meal matched to different sake styles, and a premium daiginjo bottle to take home — these run from around ¥8,000–15,000 per person depending on the operator and season.