Japan Trove

Category: Travel

Practical, up-to-date guides for traveling in Japan — itineraries, rail passes, eSIMs, where to stay, seasonal timing, etiquette, and the local know-how that makes a trip smoother. Written with real Japanese sources so you get the answer that actually works on the ground, not the recycled tourist one.

  • Shibuya Guide: Crossing, Shopping & Nightlife

    Shibuya Guide: Crossing, Shopping & Nightlife

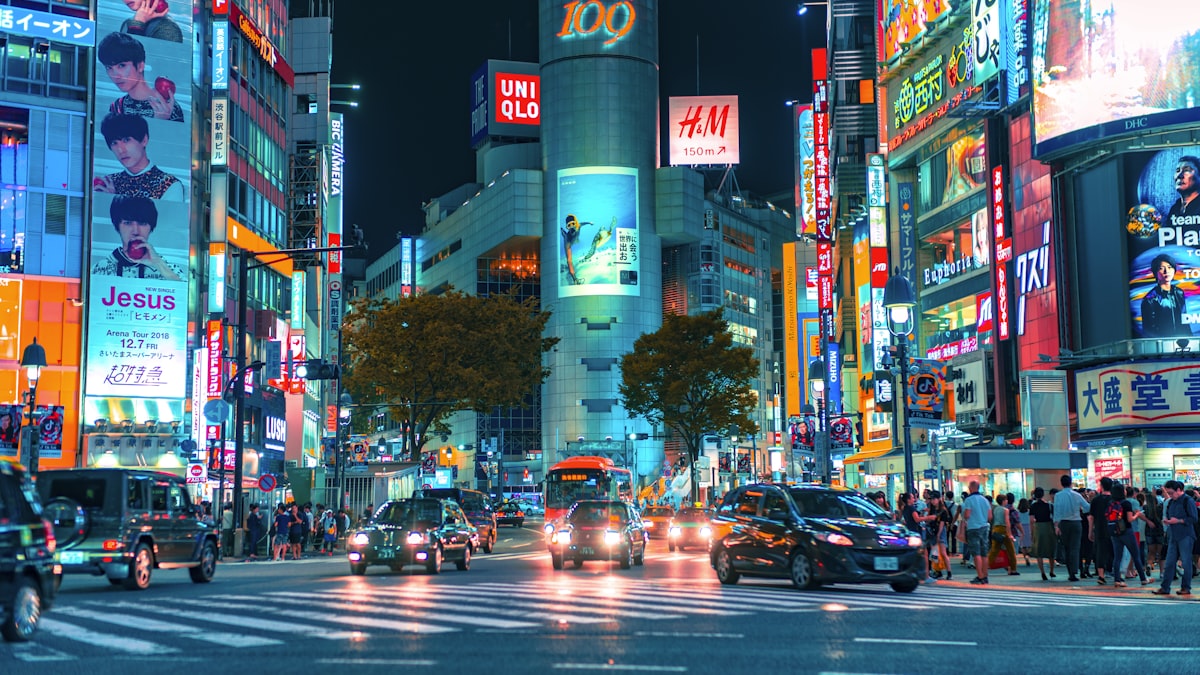
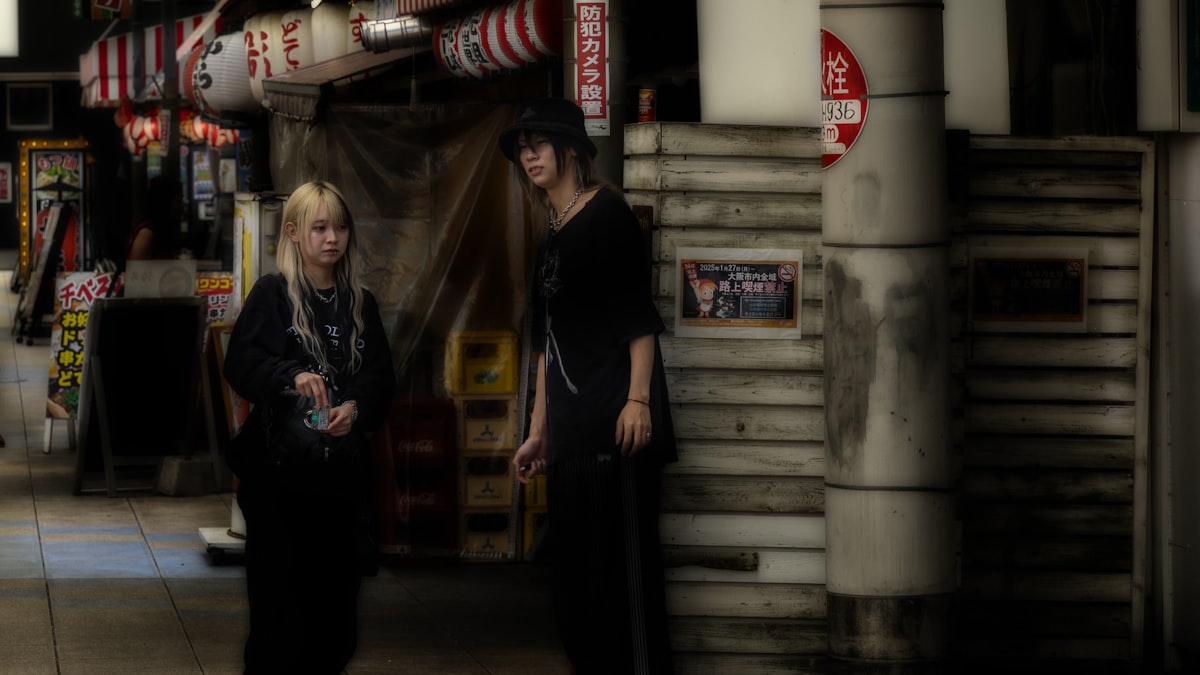
    Shibuya is Tokyo at its most electric — the famous scramble crossing, neon, shopping, and nightlife. Here’s how to make the most of this must-visit district.

    The essentials

    • Shibuya Crossing — the world’s busiest pedestrian crossing; watch it from the Starbucks or a viewing deck.
    • Hachiko statue — the famous loyal-dog meeting spot outside the station.
    • Shibuya Sky — a stunning open-air rooftop observation deck (book ahead).
    • Shibuya Scramble Square & Hikarie — shopping and city views.

    Shopping

    • Shibuya 109 — iconic youth-fashion tower.
    • Don Quijote — souvenirs and everything else; see our Donki guide.
    • Loft & department stores for lifestyle goods.
    • Nearby Harajuku is a short walk for more shopping.

    Food & nightlife

    • Nonbei Yokocho — a tiny alley of atmospheric bars.
    • Center Gai — packed with cheap eats and izakaya.
    • Everything from ramen to izakaya; see must-try Japanese food.

    Getting there & tips

    • Shibuya Station is a major hub — grab an IC card; the station is famously complex, so allow time.
    • The crossing and Shibuya Sky are best at dusk when the neon lights up.
    • Combine with Harajuku and Yoyogi Park for a full day; see our Tokyo guide.

    What things cost

    • Shibuya Sky costs JPY 2,000-2,500 for adults (advance online tickets are usually a bit cheaper than same-day); sunset time slots sell out first and are worth booking days ahead.
    • A meal at one of Center Gai’s casual chains runs JPY 800-1,500; Nonbei Yokocho’s tiny bars typically charge JPY 500-1,000 per drink with a modest table charge at some spots.
    • Shibuya 109’s stock skews toward Japanese youth fashion brands not widely sold abroad, with prices generally in line with mid-range fast fashion (JPY 2,000-8,000 per item).

    Common mistakes to avoid

    • Trying to photograph the crossing from ground level during peak times — the crowd itself blocks most good shots; the Starbucks second floor or Shibuya Sky’s lower observation areas give a much better angle without fighting the crowd for space.
    • Booking Shibuya Sky for a midday slot expecting the famous glowing city view — the sunset and post-sunset slots are dramatically more atmospheric than a daytime visit, and they cost the same.
    • Assuming Shibuya 109 has plus-size or larger Western sizing widely available — sizing runs smaller than many Western brands; trying items on before buying is worthwhile rather than assuming based on your usual size.

    Pairing with a Harajuku-Shibuya day

    Shibuya connects directly to Harajuku via a 10-15 minute walk through the backstreets of Cat Street, making it easy to combine Meiji Shrine’s forest calm, Harajuku’s youth fashion, and Shibuya’s energy into one well-paced day that moves from quiet to loud rather than the reverse.

    Late-night Shibuya

    The area around the station stays lively well past midnight, with izakaya and ramen shops that keep serving into the early hours — a useful thing to know if your flight schedule or jet lag has you wide awake at 1am and hunting for a hot meal, which is a genuinely normal thing to do in this part of Tokyo.
  • Harajuku Guide: Fashion, Street Food & Meiji Shrine

    Harajuku Guide: Fashion, Street Food & Meiji Shrine

    Harajuku is Tokyo’s capital of youth fashion, kawaii culture, and street snacks — a must-wander neighborhood. Here’s how to explore it, from the famous crepes to the calm of Meiji Shrine.

    The two sides of Harajuku

    • Takeshita Street — the packed, colorful heart of teen fashion, character shops, and rainbow cotton candy.
    • Omotesando — the elegant, tree-lined “Champs-Elysees of Tokyo” with flagship stores and striking architecture.
    • Ura-Harajuku (Cat Street) — backstreets of independent boutiques, streetwear, and cafes.

    What to do

    • Street snacks — Harajuku crepes, rainbow treats, and trendy sweets.
    • Shopping — from cheap teen fashion to Japanese fashion brands and vintage.
    • Meiji Shrine — a serene forest shrine right next door; a beautiful contrast to the buzz.
    • Yoyogi Park — great for people-watching, especially on weekends.

    Shopping tips

    • Takeshita Street is best on a weekday to avoid the crush.
    • Hunt vintage in the backstreets; flagship brands line Omotesando.
    • Bring your passport for tax-free at larger stores.
    • Grab beauty and drugstore buys and J-beauty makeup nearby.

    Getting there

    Harajuku Station (JR Yamanote line) and Meiji-jingumae drop you right in it. Grab an IC card. It pairs perfectly with neighboring Shibuya — see our Tokyo guide.

    Tips

    • Go late morning; combine with Meiji Shrine early before the crowds.
    • Weekends are peak for street fashion spotting but very busy.
    • Cash helps at small stalls — see money in Japan.

    What things typically cost

    • A Harajuku crepe runs JPY 500-900 depending on toppings; budget an extra crepe or drink stop since the street’s stalls are genuinely part of the experience, not just a photo backdrop.
    • Takeshita Street fashion runs cheap — JPY 500-3,000 for most character goods and teen fashion items — while Omotesando’s flagship boutiques sit at full international luxury pricing just a few minutes’ walk away.
    • Meiji Shrine and Yoyogi Park are both free, making Harajuku one of the more budget-friendly full-day Tokyo districts if you skip the shopping entirely and focus on people-watching and the shrine grounds.

    Common mistakes to avoid

    • Visiting Takeshita Street on a weekend afternoon expecting to move freely — it’s one of the most densely crowded streets in Tokyo at peak times; a weekday morning gives a completely different, walkable experience of the same shops.
    • Skipping Meiji Shrine because it seems like “just another shrine” — the approach through old-growth forest is a genuinely calming contrast to Takeshita Street’s crowds just a few minutes away, and most visitors are struck by how different the two areas feel.
    • Missing Ura-Harajuku (Cat Street) in favor of only the main strips — the backstreets have far better browsing for adult, less character-driven fashion and coffee shops away from the crowds.

    A half-day sequencing tip

    Visit Meiji Shrine first thing in the morning while it’s quiet and cool, then let the crowds build naturally as you move into Takeshita Street and Omotesando later — doing it in reverse means fighting shrine crowds after they’ve built up from tour groups arriving mid-morning.

    Combining with the rest of west Tokyo

    Harajuku sits within easy walking distance of both Shibuya and Shinjuku, making it natural to treat as the middle stop of a longer west-Tokyo day rather than a standalone destination — most visitors find one full morning-to-afternoon block here is enough before moving on to the next district’s different energy.

  • Japan in Winter: Snow, Onsen, Skiing & What to Pack

    Japan in Winter: Snow, Onsen, Skiing & What to Pack

    Some links below are affiliate links. If you book through them, Japan Trove may earn a small commission at no extra cost to you.

    Winter is one of Japan’s most magical (and underrated) seasons — world-class powder snow, steaming hot springs, illuminations, and far fewer crowds. Here’s what to do and know.

    Why visit in winter

    • Powder skiing — some of the best snow on earth.
    • Onsen in the snow — soaking outdoors while it snows is unforgettable; see best onsen towns.
    • Winter illuminations light up cities from November through February.
    • Fewer crowds & clear Fuji views — see how to see Mt. Fuji.

    Where to go

    • Hokkaido — Niseko’s powder, the Sapporo Snow Festival, and seafood; see things to do in Hokkaido.
    • Nagano & the Japan Alps — skiing plus the famous snow monkeys.
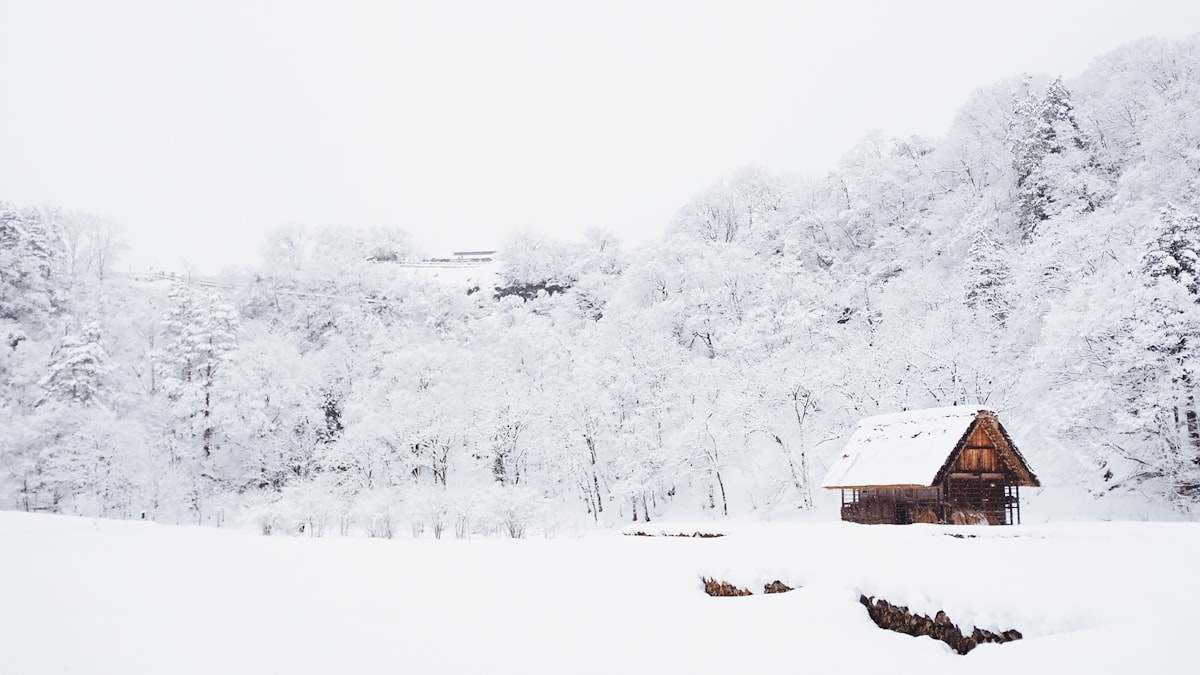
    • Shirakawa-go — thatched farmhouses under snow; see Takayama & Shirakawa-go.
    • Tokyo & Kyoto — cold but usually snow-light, great for illuminations and quiet temples.

    Skiing basics

    • Season runs roughly December to March/April; January–February is peak powder.
    • Resorts rent gear and offer English lessons — easy for beginners.
    • Book snow-season accommodation early — compare on Booking.com .

    What to pack

    Good to know

    • New Year (Dec 29–Jan 3) brings closures and busy travel — plan around it.
    • Northern regions get serious snow; check transport in bad weather.
    • Use luggage forwarding to send ski gear or bags ahead.

    What a winter trip typically costs

    • Ski resort lift passes run JPY 5,000-8,000/day at major Niseko and Nagano resorts, with multi-day passes offering a modest per-day discount; equipment rental adds another JPY 4,000-7,000/day for a full set.
    • Winter illuminations in cities are free to view, though some, like Tokyo’s larger displays, have a designated ticketed section for premium viewing at JPY 500-1,500.
    • Onsen ryokan rates in ski towns often run higher in peak January-February powder season than in the shoulder months either side, so booking December or March can mean meaningfully better rates for a similar snow experience.

    Common mistakes to avoid

    • Assuming Tokyo and Kyoto get heavy snow — both cities get cold but see relatively little snowfall most winters; travelers picturing snowy temple photos should look to Kanazawa, Takayama, or Tohoku instead.
    • Underpacking for indoor heat contrast — Japanese buildings and trains run warm indoor heating, so a system of easily removable layers matters more than one very heavy coat.
    • Not checking New Year closures — many restaurants, shops, and some attractions close for several days around January 1st; a New Year’s trip needs different research than a normal winter visit.

    Combining snow and city in one trip

    A popular winter structure pairs 2-3 nights in Hokkaido or Nagano for snow and onsen with the remainder of the trip in Tokyo or Kyoto for illuminations, museums, and indoor culture — giving you both the postcard powder shots and comfortable, less weather-dependent city days.

    Beginner skiing and snowboarding notes

    Major resorts like Niseko and those around Nagano run English-language lesson programs specifically built for the large number of foreign beginners who visit each winter — a half-day group lesson (roughly JPY 6,000-10,000) is a practical, safe way to try the sport for the first time rather than heading straight to a lift alone.

  • Tsukiji vs Toyosu: Tokyo’s Fish Markets & Best Sushi

    Tsukiji vs Toyosu: Tokyo’s Fish Markets & Best Sushi

    Tokyo’s fish markets are a foodie pilgrimage — but there’s confusion about Tsukiji vs Toyosu since the big move. Here’s the clear guide to visiting both, and eating the best sushi breakfast of your life.

    Tsukiji vs Toyosu — what changed

    • Toyosu Market — the wholesale market (and famous tuna auction) relocated here. This is where the big trading and the auction viewing now happen.
    • Tsukiji Outer Market — the beloved street of food stalls, knife shops, and restaurants stayed in Tsukiji and is still thriving. This is the easy, fun one for most visitors.

    Tsukiji Outer Market (easiest)

    • Wander stalls selling fresh sushi, grilled seafood, tamagoyaki, and street snacks.
    • Buy Japanese kitchen knives and kitchenware.
    • Go early morning — many stalls wind down by early afternoon; some close Sundays/Wednesdays.

    Toyosu Market (the auction)

    • View the tuna auction from observation decks (early morning; advance registration may be required for the closest viewing).
    • Excellent sushi restaurants inside — expect queues for the famous ones.
    • It’s more sterile/modern than old Tsukiji, but it’s the real working market.

    Eating tips

    • Come hungry and early — a sushi or seafood-don breakfast here is unforgettable. More in must-try Japanese food.
    • Carry cash; many small stalls don’t take cards — see money in Japan.
    • Be respectful: it’s a working market — don’t block carts or touch produce.

    Getting there

    Tsukiji is central (Tsukiji/Tsukijishijo stations); Toyosu is on the Yurikamome line. Grab an IC card and add it to your Tokyo plan.

    What things cost

    • A sushi breakfast at Tsukiji’s outer market runs JPY 2,000-5,000 for a generous sit-down set, or JPY 1,000-2,000 for standing-bar or takeaway sushi from a stall.
    • Toyosu’s inner-market sushi restaurants, made famous by long pre-pandemic queues, still often require waiting 30-90 minutes even on weekday mornings for the best-known counters.
    • Tuna auction viewing at Toyosu is free but requires early registration (often via a lottery-style online booking released a couple of months ahead) for the closest observation deck — a general, more distant viewing deck is available without booking.

    Common mistakes to avoid

    • Going to Toyosu expecting Tsukiji’s old street-stall atmosphere — Toyosu is a modern, sterile wholesale facility built for efficiency, not tourism; if the atmosphere and street food matter more to you than the actual auction, stick to Tsukiji’s outer market.
    • Arriving after 10am expecting the same energy as opening hours — both markets wind down significantly by late morning, with many stalls and restaurants closing by early afternoon.
    • Visiting on a market holiday — both markets close on scheduled days (varying, often Sundays and some Wednesdays); check the current calendar before planning around this specific stop.

    Making the early start worthwhile

    Since both markets reward an early arrival, consider staying somewhere within a short taxi ride the night before — arriving groggy after a long train transfer undercuts much of the appeal of catching the market at its liveliest, freshest hours.

    Combining with a wider Tokyo food day

    A market breakfast pairs naturally with an afternoon in nearby Ginza, a short taxi or train ride away — treating the market as the start rather than the entirety of a food-focused day makes better use of the early start than heading back to the hotel right after.

  • teamLab Tokyo: Borderless vs Planets & How to Visit

    teamLab Tokyo: Borderless vs Planets & How to Visit

    Some links below are affiliate links. If you book through them, Japan Trove may earn a small commission at no extra cost to you.

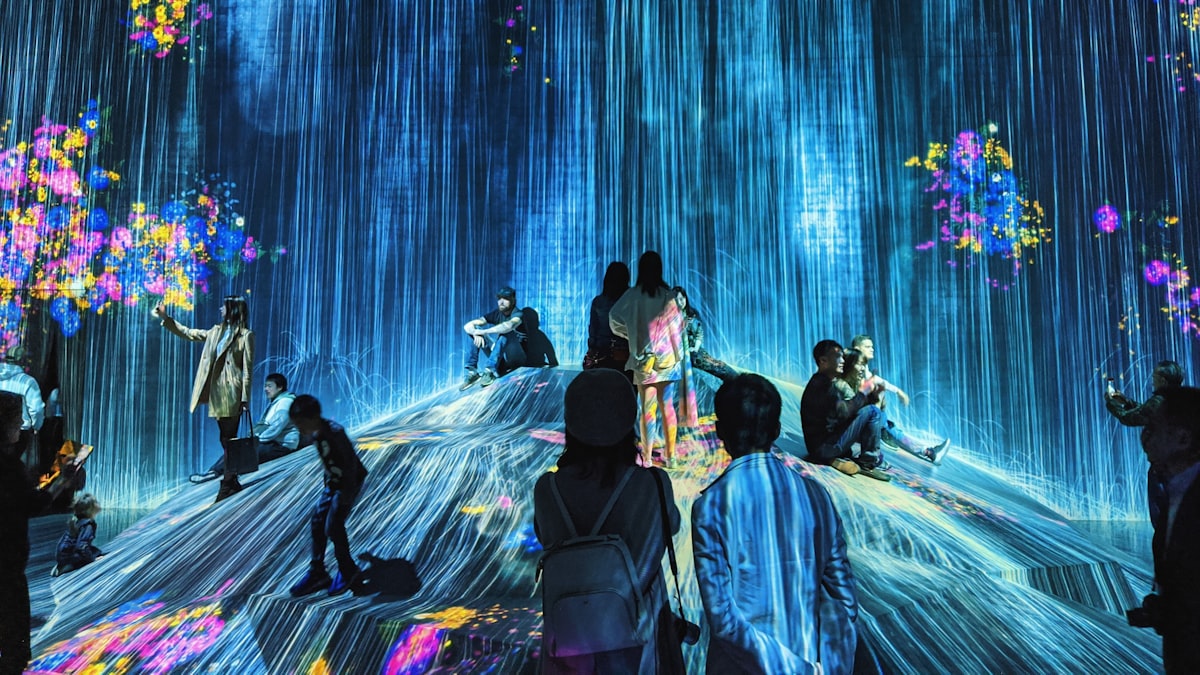
    teamLab’s digital art museums are among Tokyo’s most Instagrammed experiences — immersive rooms of light, water, and projections you walk right through. Here’s how to visit.

    The two Tokyo museums

    • teamLab Borderless — a maze-like world of artworks that move between rooms, with no fixed map; endlessly explorable.
    • teamLab Planets — a barefoot experience where you wade through water and soft moss gardens; often the more popular of the two.

    They’re different museums in different locations — check which one you’re booking. (Venues and locations occasionally change, so confirm the current details.)

    Tickets — book ahead

    • These sell out; buy timed-entry tickets in advance, not at the door.
    • Book via the official site or on Klook .
    • Arrive on time — entry is by slot.

    What to wear & know

    • teamLab Planets: you’ll walk through knee-deep water — wear or bring shorts/rollable pants; you go barefoot (lockers provided).
    • Mirrored floors are common — skirts aren’t ideal (wraps are usually offered).
    • Great for photos, but be present too — the experience is the point.

    Who it’s for

    Fantastic for couples, families, and photography lovers; see Japan with kids if traveling with little ones. It’s a 1.5–2 hour highlight to slot into a Tokyo day.

    Getting there

    Both are reachable by train around Tokyo Bay — grab an IC card and an eSIM, and pair it with the rest of our Tokyo guide.

    What tickets cost

    • Standard adult tickets run JPY 3,800-4,800 depending on the venue and date, with weekday tickets sometimes priced lower than weekends and holidays.
    • Budget 2-3 hours minimum at either venue — Borderless especially rewards a slower pace since rooms shift and move over time, meaning a second pass through the same room can look completely different.
    • A locker is included in admission for storing shoes and bags at Planets, so there’s no extra cost beyond the ticket itself for the barefoot, wet-floor sections.

    Common mistakes to avoid

    • Booking the wrong venue by mistake — Borderless and Planets are separate museums with different art and different rules (Planets requires bare feet and rolled-up pants due to water; Borderless doesn’t); double-check which one you actually booked before arrival.
    • Wearing a long skirt or dress to Planets — the water walking sections make this impractical, and while wraps are sometimes offered, arriving already dressed appropriately avoids relying on them.
    • Rushing through in under an hour — both museums are designed for slow, repeated wandering; visitors who treat it as a quick photo stop rather than lingering in each room tend to leave less satisfied.

    Getting the best photos without missing the experience

    It’s tempting to spend the whole visit through a phone screen, but staff and repeat visitors consistently note that the most striking rooms are best experienced by putting the phone away for a few minutes first, then returning for photos once you’ve actually taken in the scale and movement of the installation.

    Visiting with kids versus a date-night crowd

    Both venues genuinely work for either audience — families with young kids tend to gravitate toward Planets’ hands-on water and moss areas, while couples often prefer Borderless’s more atmospheric, dimly lit rooms; if you’re choosing just one venue for a mixed-age group, Planets’ interactive nature usually holds children’s attention longer.

  • Hakone Travel Guide: Onsen, Mt. Fuji Views & the Loop

    Hakone Travel Guide: Onsen, Mt. Fuji Views & the Loop

    Some links below are affiliate links. If you book through them, Japan Trove may earn a small commission at no extra cost to you.

    Hakone is the classic hot-spring escape from Tokyo — onsen ryokan, Mt. Fuji views, open-air art, and a fun loop of quirky transport. It’s a perfect one- or two-night trip. Here’s how to do it.

    The Hakone loop

    Half the fun is the circuit of transport that links the sights: train, switchback railway, cablecar, ropeway, and a pirate-ship cruise on Lake Ashi. The Hakone Free Pass covers most of it and saves money.

    What to see & do

    • Onsen — the whole point; soak at a ryokan or day-use bath. Tattooed? See our tattoo & onsen guide.
    • Owakudani — a volcanic valley with steam vents and black eggs boiled in the springs.
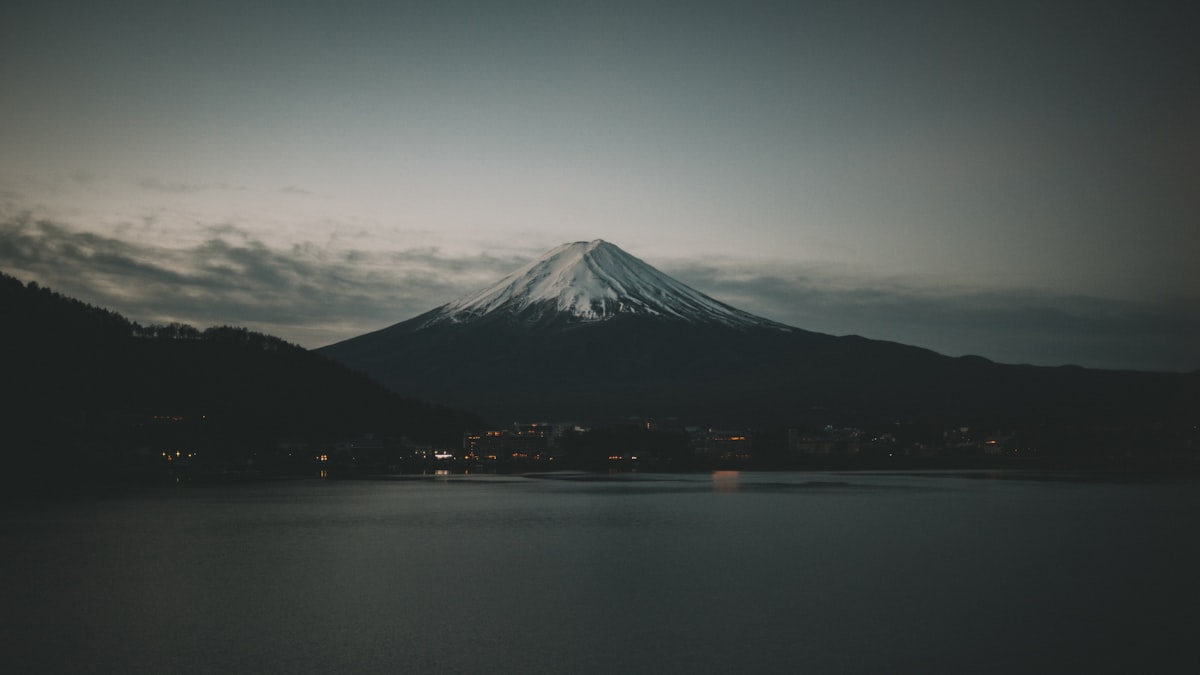
    • Lake Ashi — Fuji views and the Hakone Shrine torii on the water.
    • Hakone Open-Air Museum — sculptures and a Picasso collection.
    • Mt. Fuji views — on clear days; see how to see Mt. Fuji.

    Where to stay

    Hakone is ryokan country — book one with an onsen (private baths help if you have tattoos). Reserve early for weekends and autumn; compare on Booking.com .

    Getting there

    • About 1.5 hours from Shinjuku on the Odakyu line (the Romancecar is a comfy direct option).
    • The Hakone Free Pass bundles the round trip plus the loop transport.
    • Grab an eSIM for maps and timetables.

    Day trip vs overnight

    You can loop Hakone as a long day trip, but staying overnight lets you enjoy the onsen properly and catch clearer morning Fuji views. Fold it into a 7-day itinerary.

    What things cost

    • The Hakone Free Pass runs about JPY 6,100 from Shinjuku (2-day) and covers the round-trip Odakyu train plus unlimited use of the local loop transport — generally cheaper than paying for the train, cablecar, ropeway, and boat separately if you’re using more than two or three of them.
    • A ryokan stay with dinner and breakfast runs JPY 20,000-45,000 per person depending on the property and whether the room has a private bath — Hakone’s proximity to Tokyo means it commands slightly higher prices than more remote onsen towns.
    • Owakudani’s famous black eggs (kuro-tamago) cost about JPY 500 for a pack of five, said to add years to your life — a fun, inexpensive stop at the volcanic valley regardless of whether you believe the legend.

    Common mistakes to avoid

    • Trying to do the full loop in a single rushed day trip — while technically possible, cramming the train, cablecar, ropeway, boat cruise, and museum into one day from Tokyo leaves little time to actually enjoy any single stop; an overnight ryokan stay changes the whole pace of the visit.
    • Skipping ropeway operation checks — the Owakudani section occasionally closes due to volcanic gas activity; check current status before planning your day around it specifically.
    • Booking a ryokan without confirming bath type if you have tattoos — private in-room baths sidestep any policy question entirely; see our tattoo and onsen guide if choosing a shared bath instead.

    Best season for Fuji views from Hakone

    Winter and early spring mornings offer the clearest odds of an unobstructed Mt. Fuji view from Lake Ashi’s pirate ship cruise or the Hakone Shrine torii gate, since summer humidity and haze frequently obscure the mountain even on otherwise clear days.

    Day trip vs overnight, revisited

    If time genuinely only allows a day trip, prioritize either the Owakudani-Lake Ashi loop or a single onsen day-use visit rather than trying for both — attempting the complete circuit plus a proper bath in one day from Tokyo usually means rushing the transport loop to make a return train, which defeats much of the point of a relaxing Hakone visit.

  • Universal Studios Japan (USJ): Nintendo World & Tips

    Universal Studios Japan (USJ): Nintendo World & Tips

    Some links below are affiliate links. If you book through them, Japan Trove may earn a small commission at no extra cost to you.

    Universal Studios Japan (USJ) in Osaka is one of the world’s most popular theme parks — home to the original Super Nintendo World and an incredible Wizarding World of Harry Potter. Here’s how to plan it.

    The headline lands

    • Super Nintendo World — ride Mario Kart, explore a life-size Mushroom Kingdom, and use a Power-Up Band to play throughout the land.
    • The Wizarding World of Harry Potter — Hogwarts, Hogsmeade, and the excellent Forbidden Journey ride.
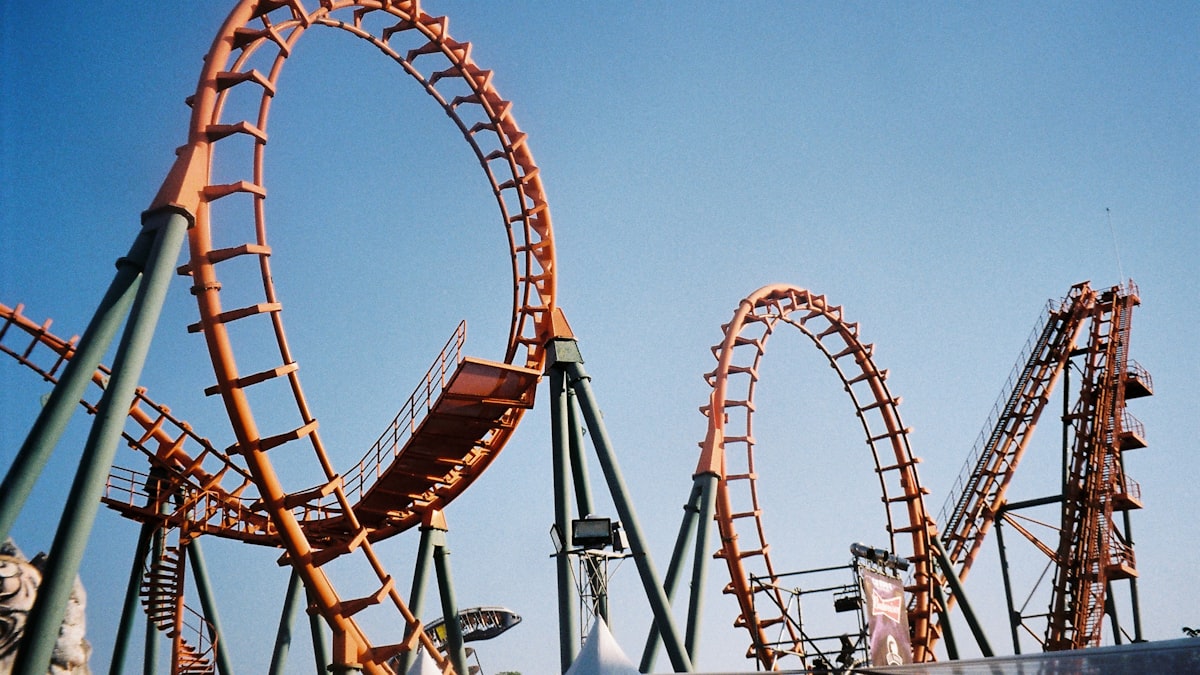
    • Thrill rides — Hollywood Dream, the Flying Dinosaur, and more.
    • Seasonal events — Halloween Horror Nights and Universal Cool Japan collaborations are hugely popular.

    Tickets & skipping lines

    • Buy dated tickets in advance — the park can sell out on peak days.
    • Super Nintendo World may require an Area Timed Entry ticket (free, via the app) or an Express Pass on busy days — check before you go.
    • Express Passes (paid) cut wait times on headliner rides — worth it at peak.
    • Compare tickets and Express Passes on Klook .

    Smart planning

    • Avoid weekends and Japanese holidays like Golden Week; weekdays are calmer.
    • Arrive before opening to head straight for Nintendo World or Harry Potter.
    • Use the official app for wait times and timed-entry.
    • Stay nearby for early access — compare hotels on Booking.com .

    Getting there

    USJ has its own station (Universal City) a short train ride from Osaka Station. Grab an IC card and see our Osaka guide for the rest of your trip. Traveling with children? See Japan with kids.

    Tips

    • Bring a portable charger — you’ll live in the app all day.
    • Budget for merch (the Nintendo and Harry Potter shops are irresistible).
    • Pair with Tokyo Disney if you love theme parks.

    What a USJ day costs

    • A standard 1-day ticket runs roughly JPY 8,600-9,800 depending on the date (USJ uses variable pricing, higher on weekends and peak season); a 1.5-day or 2-day ticket adds meaningful value if you can spread the visit across two days.
    • Express Pass tickets, which cut wait times on select headline rides, range from JPY 7,800-25,000+ depending on how many rides and how peak the date is — worth pricing out specifically for Mario Kart and the Harry Potter ride, the two longest-wait attractions.
    • Budget an extra JPY 3,000-6,000 per person for food and the near-irresistible Nintendo and Harry Potter merchandise, which tends to blow past initial souvenir budgets.

    Common mistakes to avoid

    • Arriving at official opening time instead of earlier — serious visitors line up well before gates open specifically to sprint for Super Nintendo World’s timed-entry ticket or Mario Kart’s line; arriving right at opening often means missing the best early-morning wait times.
    • Not checking the Area Timed Entry requirement for Super Nintendo World in advance — on busy days, entry to the land itself requires a separate free ticket obtained via the app, and missing this can mean not entering the land at all that day.
    • Underestimating how much walking and standing is involved — comfortable shoes matter more here than at almost any other single-day activity in Japan.

    Best time of year to visit

    Weekdays outside Japanese school holidays, Golden Week, and Halloween season offer meaningfully shorter waits across the whole park — if your schedule has any flexibility, shifting even a few days to avoid a weekend can significantly change the experience.

    Combining with the rest of Osaka

    USJ realistically fills a full day on its own, so most visitors treat it as a dedicated day within a wider Osaka stay rather than trying to combine it with Dotonbori or other city sightseeing on the same day — plan for a separate, lighter day for the rest of the city before or after your park visit.

  • Do You Need a Visa for Japan? Tourist Entry Explained

    Do You Need a Visa for Japan? Tourist Entry Explained

    Wondering if you need a visa to visit Japan? For most tourists the answer is reassuringly simple, but there are important rules and a newer entry system to know. Here’s a plain-English overview.

    This is general information, not legal advice — always confirm the current rules with an official Japanese government source or embassy before you travel, as policies change.

    The short answer

    Citizens of many countries (including much of Europe, the US, UK, Canada, Australia, and more) can enter Japan visa-free for short-term tourism — typically up to 90 days. Some countries have different limits, and some require a visa in advance. Your nationality decides everything, so check your specific case.

    Visa-free basics

    • Purpose: tourism, visiting friends/family, or short business — not paid work.
    • Duration: commonly up to 90 days (varies by country).
    • Passport: must be valid for your stay; have onward/return travel and proof of funds if asked.

    Things that are changing

    • Japan has been rolling out digital entry systems (such as online arrival registration) — using them can speed up the airport. Check the latest before you fly.
    • An electronic travel authorization for visa-free visitors has been discussed/planned — verify whether it applies to you at travel time.

    At the airport

    • Complete the arrival and customs forms (often available online in advance).
    • Be ready to state your address in Japan — see where to stay.
    • Fingerprints and a photo are taken on entry.

    If you do need a visa

    Apply through a Japanese embassy or consulate in advance; requirements vary by nationality and purpose. Longer stays, study, and work always require the appropriate visa.

    Once you’re in

    Get set up fast with an eSIM and an IC card, and read our first-timer tips. Then dive into a 7-day itinerary.

    Costs and practical details around entry

    • Visa-free tourist entry itself costs nothing beyond your travel expenses — there’s no entry fee for eligible nationalities under the standard tourism exemption.
    • If your nationality does require an advance visa, embassy application fees typically run a modest amount (often well under JPY 5,000 equivalent) plus processing time of days to a few weeks, so applying well ahead of travel dates matters.
    • Travel insurance, while not legally required for tourist entry, is worth budgeting for given Japan’s high-quality but potentially expensive medical care for uninsured visitors.

    Common mistakes to avoid

    • Assuming your visa-free allowance matches a friend’s or family member’s — the permitted stay length varies genuinely by nationality, sometimes significantly; always check the specific rule for your own passport rather than going by hearsay.
    • Forgetting proof of onward travel — some visa-free entrants have been asked to show a return or onward ticket at check-in or immigration; an open-ended one-way ticket without documentation can occasionally cause delays.
    • Not completing online pre-arrival forms when available — Japan’s digital arrival systems can meaningfully cut immigration and customs wait times at busy airports like Narita and Haneda; check current online registration options before you fly.

    What to have ready at immigration

    Have your passport, completed arrival forms, and your first night’s accommodation address on hand (printed or easily accessible on your phone) — officers may ask where you’re staying, and having it ready speeds up an already efficient process considerably.

    Checking rules well before you book

    Because entry policy can change with little public fanfare, it’s worth doing a final rule check on an official government source a few weeks before departure, not just when you first started planning the trip — this is especially relevant if your trip was booked far in advance, since visa-free arrangements and any electronic authorization requirements are the parts of Japan travel most likely to shift year to year.

  • Japan’s Golden Week: What It Is & How to Plan Around It

    Japan’s Golden Week: What It Is & How to Plan Around It

    Golden Week is one of Japan’s busiest travel periods — a cluster of national holidays when the whole country is on the move. Knowing about it can make or break your trip timing. Here’s what to know.

    What is Golden Week?

    Golden Week is a run of public holidays in late April to early May (roughly April 29 to May 5). Many Japanese people take the whole week off, so domestic travel, transport, and attractions get extremely crowded and prices rise.

    Should you avoid it?

    • If you can, yes — trains, hotels, and sights are packed, and prices spike.
    • Book far ahead if your dates fall here: reserve shinkansen seats and hotels weeks in advance.
    • The upside: great weather and a lively, festive atmosphere. It’s doable with planning — just not the relaxed option.

    Other busy periods to know

    • Obon (mid-August) — a major holiday when many travel to their hometowns.
    • New Year (Dec 29–Jan 3) — lots of closures and family travel.
    • Cherry blossom season — busy at famous spots; see our cherry blossom guide.
    • Autumn foliage weekends — see autumn leaves.

    Tips if you travel during Golden Week

    • Reserve everything early — non-reserved train cars can be standing-room only.
    • Consider using luggage forwarding to dodge crowded platforms.
    • Visit big-name sights at opening time; explore lesser-known neighborhoods midday.
    • Budget more for accommodation — compare early on Booking.com .

    Best alternative timing

    For fewer crowds and good weather, aim for late spring after Golden Week, early summer, or autumn outside peak foliage weekends. See our full best time to visit Japan guide.

    How much prices actually rise

    • Flights into Japan during Golden Week can run 30-60% above shoulder-season fares if booked less than 2-3 months out, and domestic flights within Japan see similar spikes.
    • Hotel rates in popular cities often climb 20-50% above normal weekday rates, with the best-located and best-value properties selling out first, sometimes 3+ months ahead for specific dates.
    • Shinkansen reserved seats for popular routes (Tokyo-Kyoto, Tokyo-Osaka) can sell out entirely on the peak days (typically April 29 and May 3-5), leaving only non-reserved cars, which fill to standing-room during the worst crush.

    Common mistakes to avoid

    • Not checking the exact dates each year — Golden Week’s specific holidays shift slightly year to year based on the calendar, and a weekend can extend it further; always verify the current year’s dates rather than assuming a fixed week.
    • Planning a rail-pass-heavy, multi-city itinerary during peak Golden Week days — the constant need for reserved seats on packed trains works against a pass’s flexibility; a single-base itinerary handles the crowds better.
    • Assuming all of Japan is equally busy — rural areas and smaller regional towns see far less crowd increase than Tokyo, Kyoto, and Osaka, making them a smart pivot if your dates are fixed.

    If your dates are locked to Golden Week

    Consider anchoring the trip around one or two well-chosen bases rather than a fast multi-city tour, booking every reservation (trains, key restaurants, popular attractions) as far ahead as your booking windows allow, and treating the first couple of days after the holiday ends (around May 6-7) as a bonus quieter tail-end if your schedule allows extending slightly.

    Golden Week versus other holiday clusters

    Compared to Obon and New Year, Golden Week is arguably the most disruptive for tourists specifically because it falls in prime spring weather when international visitor numbers are also naturally high — Obon’s mid-August heat and New Year’s business closures each deter a different kind of traveler, but Golden Week combines great weather with maximum crowding, which is exactly why it catches first-time visitors off guard.

  • Kamakura Day Trip: The Great Buddha, Temples & Coast

    Kamakura Day Trip: The Great Buddha, Temples & Coast

    Kamakura is the easy coastal escape from Tokyo — a former samurai capital packed with temples, a giant Buddha, hiking trails, and beach-town charm. Perfect for a day trip.

    What to see

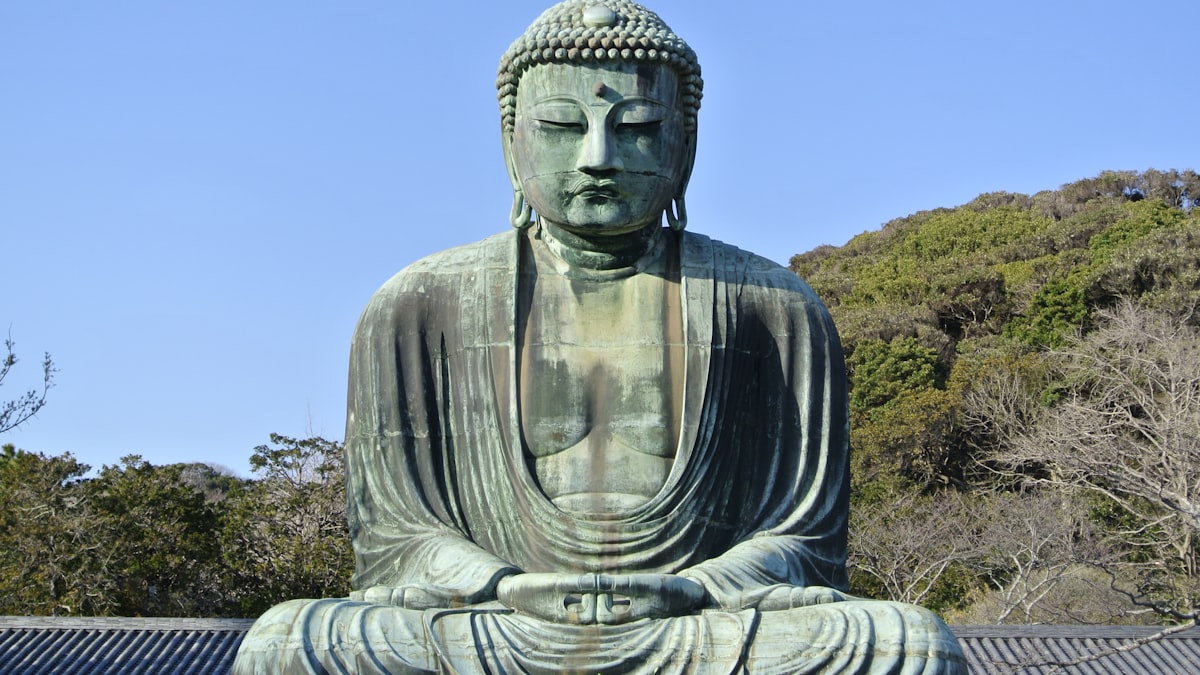
    • The Great Buddha (Daibutsu) — a 13-meter bronze Buddha at Kotokuin, Kamakura’s icon.
    • Hasedera — a hillside temple with sea views, gardens, and a giant Kannon statue.
    • Tsurugaoka Hachimangu — the grand central shrine, reached via the Komachi-dori shopping street.
    • Hokokuji — a serene bamboo-grove temple with matcha.
    • Enoshima — a nearby island with a shrine, caves, and views (great add-on).

    Beach & hikes

    • Kamakura’s beaches are a summer hangout (more for atmosphere than swimming).
    • The Daibutsu hiking trail links temples through the hills — an easy, scenic walk.
    • Ride the nostalgic Enoden tram along the coast to Enoshima.

    Getting there

    • About 1 hour from Tokyo/Shinjuku by JR (covered by the JR Pass).
    • A Kamakura–Enoshima pass can be handy for the Enoden line.
    • Grab an IC card and go early to beat crowds.

    Eat & shop

    Komachi-dori is lined with street snacks, matcha treats, and souvenir shops — try shirasu (whitebait) dishes, a local specialty. More ideas in must-try Japanese food.

    Tips

    • Weekends and holidays get very busy — start early or go midweek.
    • Comfortable shoes for temple hills and the hiking trail.
    • Pairs well with other day trips from Tokyo; fold into your itinerary.

    A suggested half-day route

    A smooth loop: start at Hasedera and the Great Buddha in the Hase area (a short Enoden ride from Kamakura Station), then head back toward the center for Komachi-dori street food and Tsurugaoka Hachimangu. With more time, ride the Enoden west along the coast to Enoshima for sunset. Going early keeps you ahead of the crowds at the Buddha and the shrine.

    What things cost

    • The Great Buddha at Kotokuin costs JPY 300 to view up close, with an extra JPY 50 to enter the hollow interior of the statue itself — a quirky, inexpensive add-on most visitors skip without realizing it’s an option.
    • Hasedera’s entry is JPY 400, and Hokokuji’s bamboo grove with matcha service runs about JPY 300 entry plus JPY 600 for the tea — both modest costs for two of the area’s most photogenic stops.
    • The Enoden tram between Kamakura and Enoshima runs about JPY 200-300 per short hop, with a 1-day unlimited pass (Noriorikun) worth it if you plan to hop on and off at several stations along the coast.

    Common mistakes to avoid

    • Visiting the Great Buddha at midday on a weekend — it’s one of the most crowded single spots on any Tokyo day trip; an early departure from Tokyo (aiming to arrive by 9am) makes a dramatic difference.
    • Trying to fit Kamakura and Enoshima into a rushed few hours — both areas reward unhurried wandering, and combining them properly is closer to a full day than a half-day if you want to do both without rushing.
    • Skipping the Daibutsu hiking trail because it sounds strenuous — it’s a genuinely easy, well-marked walk through forest connecting several temples, and a nice break from pavement and crowds.

    Kamakura for beach and hiking lovers

    Beyond temples, Kamakura’s coastline and hills reward a more active visit — surfers gather at Yuigahama and Zaimokuza beaches in summer, and hiking trails link the Great Buddha area to Kita-Kamakura’s quieter northern temples through forested hills, a genuinely different pace from the crowded central streets.

    A rainy-day backup plan

    Kamakura’s temples and gardens are genuinely pleasant in light rain — moss and greenery look their best damp, and crowds thin out noticeably — but if the weather turns heavy, the covered shopping arcade at Komachi-dori and several temple halls with indoor viewing areas (like Hasedera’s museum) make reasonable shelter without abandoning the day entirely.