Japan Trove

Author: JapanTrove Editorial

  • Things to Do in Hokkaido: Nature, Powder & Seafood

    Things to Do in Hokkaido: Nature, Powder & Seafood

    Hokkaido, Japan’s northern island, is a world apart — wide-open nature, world-class powder snow, incredible seafood, and cooler summers. Here’s what to do and when to go.

    Top experiences

    • Sapporo — the lively capital; ramen, beer, and the famous February Snow Festival.
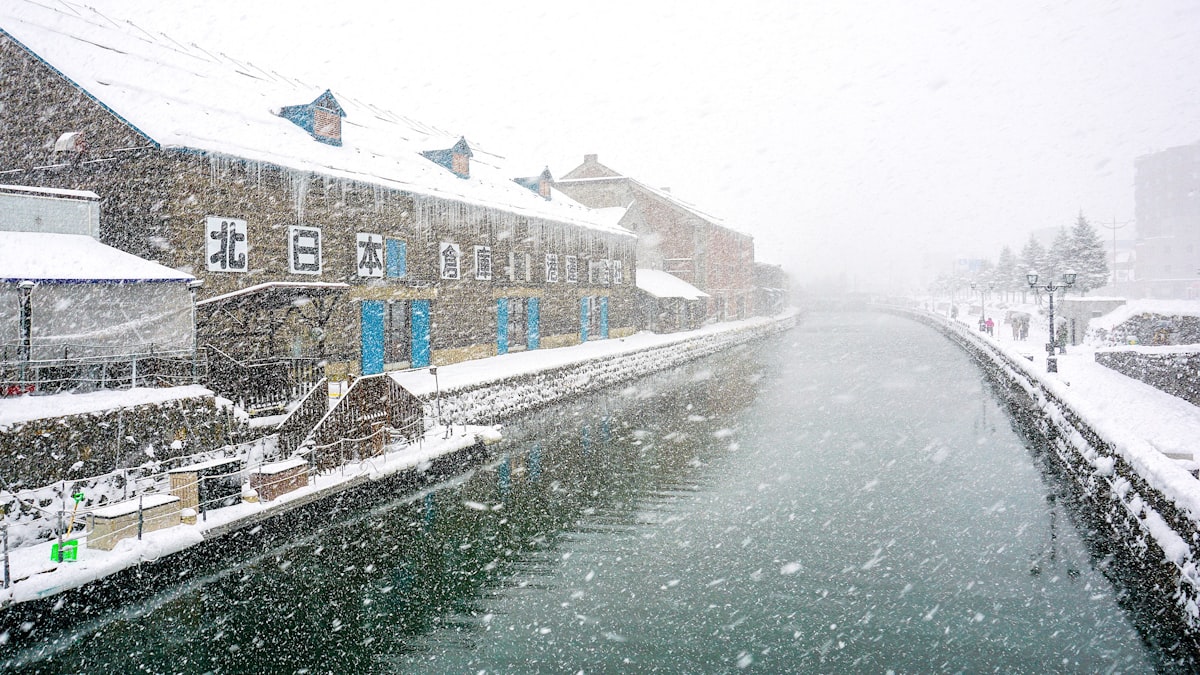
    • Otaru — a charming canal town near Sapporo, great for glassware and sushi.
    • Furano & Biei — rolling lavender and flower fields in summer.
    • Hakodate — night views, a morning seafood market, and historic streets.
    • Shiretoko & Daisetsuzan — pristine national parks for hiking and wildlife.

    Winter: powder paradise

    • Niseko — legendary light, dry powder and international ski resorts.
    • Furano & Rusutsu — great slopes with fewer crowds.
    • Pair skiing with an onsen soak — the classic Hokkaido combo.

    Eat your way around

    • Seafood — uni (sea urchin), crab, salmon roe, and scallops.
    • Sapporo miso ramen and soup curry.
    • Dairy — Hokkaido milk, cheese, and soft-serve are famous. More in must-try foods.

    When to go

    • Winter (Dec–Mar): skiing, snow festival, drift ice.
    • Summer (Jun–Aug): flowers, hiking, and cool escapes from the mainland heat.

    Getting there & around

    • Fly into New Chitose (Sapporo) or Hakodate — usually faster than the train from Honshu.
    • Distances are big; renting a car is often the best way to explore rural areas.
    • Plan it into a longer trip with our 14-day itinerary and best time to visit.

    What things cost

    • Round-trip flights from Tokyo to New Chitose run JPY 15,000-40,000 depending on season and booking lead time — winter ski season and the February Snow Festival window both command premium pricing.
    • Niseko lift passes run JPY 6,000-9,000/day in peak season, among the pricier ski destinations in Japan given its international reputation, while smaller regional resorts like Rusutsu offer comparable snow at somewhat lower rates.
    • Rental cars for exploring Furano, Biei, or rural Hokkaido run JPY 6,000-12,000/day and are close to essential outside the Sapporo-Otaru corridor, where public transport thins out significantly.

    Common mistakes to avoid

    • Underestimating driving distances — Hokkaido is roughly the size of Austria, and towns that look close on a national map can be a 3-4 hour drive apart; plan road routes with realistic time buffers, especially in winter conditions.
    • Visiting Furano’s lavender fields outside the narrow bloom window (roughly mid-July) expecting the famous purple hillsides — the flowers have a short, specific peak season unlike more forgiving cherry blossom viewing.
    • Skipping winter tire or 4WD rental in snow season — driving conditions genuinely require it, and standard rental cars in warmer regions won’t prepare you for how differently Hokkaido winter roads handle.

    Hokkaido as a distinct regional trip

    Because of the flight requirement and driving distances, Hokkaido works best treated as its own dedicated leg of a longer Japan trip rather than a quick add-on — most visitors budget at least 4-5 days to see even a focused selection of Sapporo, Otaru, and one further region like Furano or Hakodate.

    Summer Hokkaido versus winter Hokkaido

    The two seasons offer almost entirely different trips — summer’s cool temperatures, flower fields, and hiking suit travelers escaping mainland heat, while winter’s powder snow and the Sapporo Snow Festival draw a completely different crowd; most repeat visitors eventually experience both rather than assuming one visit covers “Hokkaido” as a whole.
  • Hiroshima & Miyajima: The Peace Park and Floating Torii

    Hiroshima & Miyajima: The Peace Park and Floating Torii

    Hiroshima pairs a moving history with one of Japan’s most beautiful islands next door. It’s an easy and rewarding stop on any wider trip. Here’s how to do Hiroshima and Miyajima.

    Hiroshima: the essentials

    • Peace Memorial Park & Museum — a powerful, essential visit remembering the 1945 atomic bombing.
    • A-Bomb Dome — the preserved ruin and UNESCO site by the river.
    • Hiroshima Castle and Shukkeien Garden for a calmer afternoon.
    • Okonomiyaki, Hiroshima-style — layered with noodles; don’t miss it.

    Miyajima (Itsukushima)

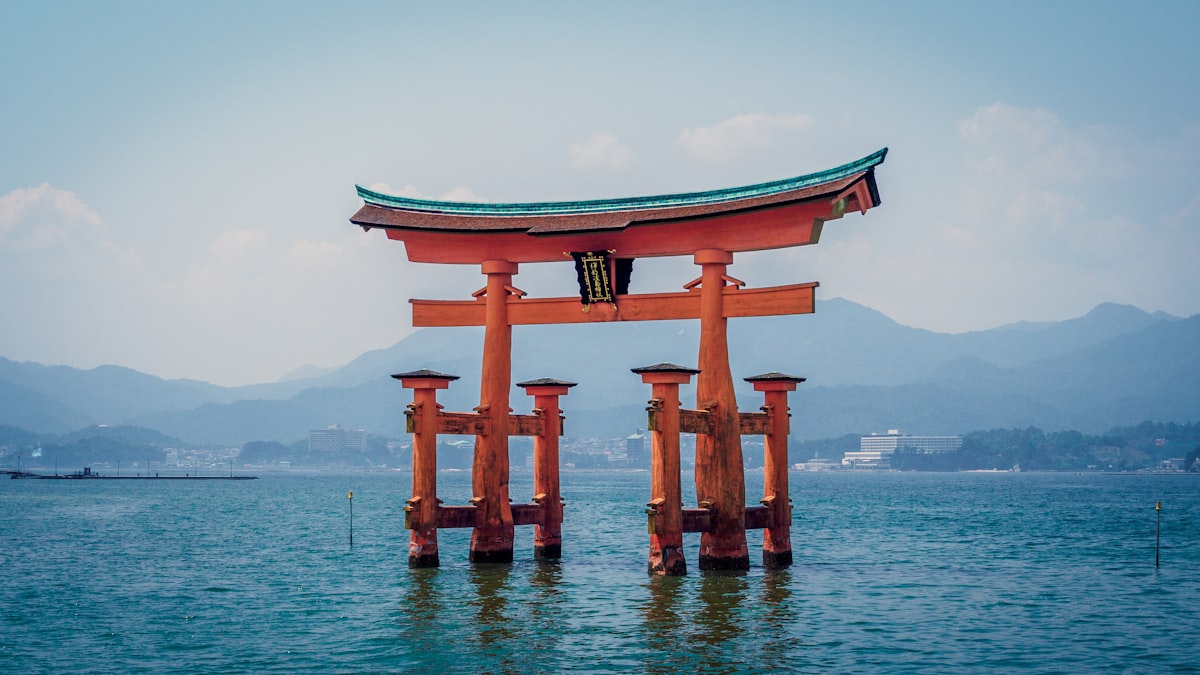
    • The floating torii gate — the iconic vermilion gate that appears to float at high tide.
    • Itsukushima Shrine — the over-water shrine complex.
    • Mount Misen — hike or take the ropeway for island views.
    • Friendly deer roam the town (don’t feed them; watch your maps and snacks).
    • Momiji manju — maple-leaf-shaped cakes, the local sweet.

    Getting there

    • Hiroshima is on the shinkansen line — about 1.5 hours from Osaka, ~4 from Tokyo.
    • To Miyajima: local train/tram to the ferry terminal, then a short ferry (JR ferry is covered by the JR Pass).
    • Time the ferry for high tide to see the torii “float.”

    How long to stay

    You can day-trip Hiroshima + Miyajima from Osaka/Kyoto, but an overnight lets you enjoy Miyajima after the day-trippers leave. See accommodation tips and plan with our 14-day itinerary.

    Tips

    • The Peace Museum is emotionally heavy — allow time and space for it.
    • Check the tide schedule before your Miyajima visit.
    • Carry an eSIM and an IC card for the trams and ferry.

    What things cost

    • The Peace Memorial Museum costs JPY 200 entry, remarkably affordable given the scale and importance of the exhibits — budget at least 90 minutes to two hours to go through it properly rather than rushing.
    • The JR ferry to Miyajima is covered by the JR Pass and costs about JPY 200-360 without one; the ropeway up Mount Misen runs JPY 2,000 round-trip if you’d rather not hike.
    • A momiji manju box (the maple-leaf cakes) runs JPY 700-1,200 for a set of 8-10, sold throughout Miyajima’s main street and a classic, inexpensive omiyage.

    Common mistakes to avoid

    • Timing your Miyajima visit around low tide by accident — the floating torii only “floats” at high tide; at low tide, visitors can walk right up to its base, which is also interesting but a completely different photo than most people expect, so check the tide table specifically before planning your ferry time.
    • Bringing food out in the open near Miyajima’s deer — they’re accustomed to visitors and will actively approach and grab food, including out of open bags; keep snacks and paper maps out of sight, not just out of reach.
    • Rushing the Peace Park to fit in Miyajima the same day — both deserve real time, and while a combined day trip is doable, an overnight lets you experience Miyajima’s shrine lit up at night after day-trippers leave.

    Understanding the Peace Park’s layout

    The park is designed as a walking route from the A-Bomb Dome through the Memorial Cenotaph to the museum, built along a sightline connecting them symbolically — following this intended path rather than jumping between sights out of order gives the visit a more coherent, respectful arc.

    Combining with a wider Chugoku-Shikoku route

    Hiroshima’s position on the Sanyo Shinkansen line makes it a natural link between Kansai and Kyushu, or a jumping-off point to Shikoku via the Onomichi-Imabari cycling route — worth considering as more than a there-and-back trip if you have time for a wider western Japan loop.

  • Ryokan Guide: Staying at a Traditional Japanese Inn

    Ryokan Guide: Staying at a Traditional Japanese Inn

    Some links below are affiliate links. If you book through them, Japan Trove may earn a small commission at no extra cost to you.

    Staying at a ryokan — a traditional Japanese inn — is one of the most memorable things you can do in Japan. Here’s what to expect and how to choose one.

    What is a ryokan?

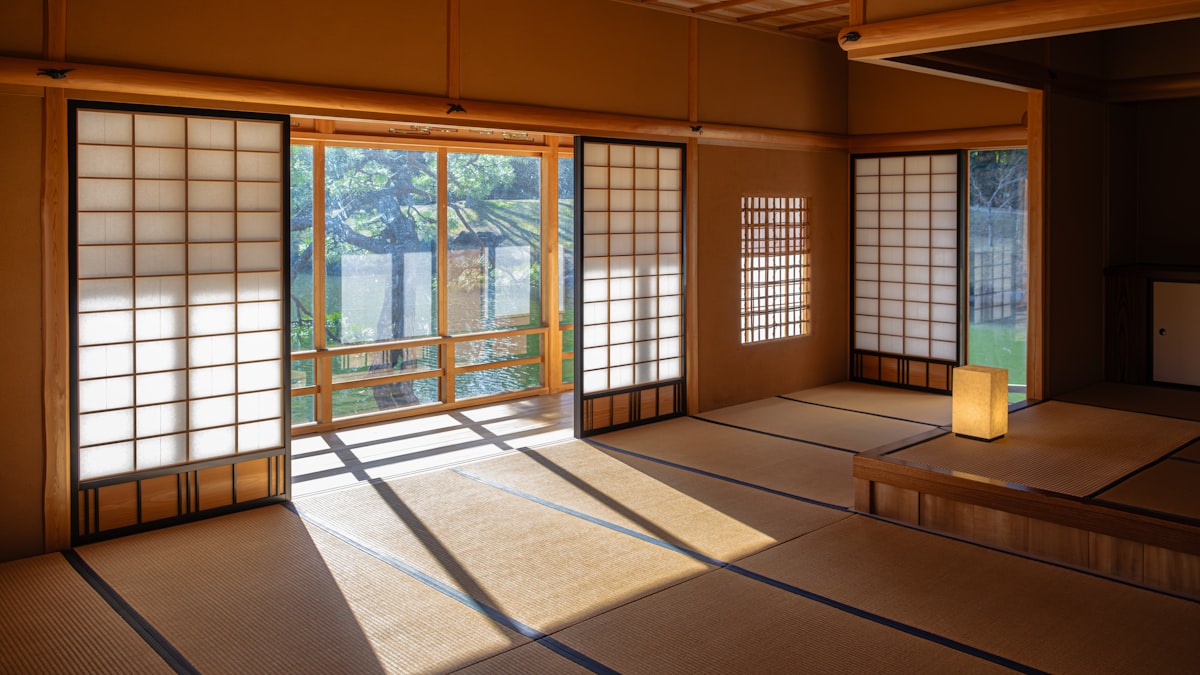
    A ryokan is a traditional inn with tatami-mat rooms, futon bedding, communal or private hot-spring baths, and often exquisite multi-course meals. It’s less a hotel than a full cultural experience — hospitality (omotenashi) is the whole point.

    What’s usually included

    • Kaiseki dinner — a seasonal multi-course feast, often served in your room or a private dining space.
    • Breakfast — a traditional Japanese spread (grilled fish, rice, miso, pickles).
    • Onsen access — public baths and sometimes private ones. Tattooed? See our tattoo & onsen guide.
    • Yukata — a cotton robe to wear around the inn.

    Ryokan etiquette

    • Remove shoes at the entrance; wear the provided slippers (and separate toilet slippers).
    • Wash thoroughly before entering the shared bath; no swimsuits.
    • Meals and baths often run on a schedule — check times at check-in.
    • More in our etiquette guide.

    How much does it cost?

    Ryokan are typically priced per person, including dinner and breakfast — often 15,000–40,000+ yen per person. Luxury ryokan go far higher; simpler ones and minshuku (family-run) are cheaper. See our Japan budget guide.

    Where to stay in one

    • Onsen towns like Hakone, Kinosaki, and Beppu — see best onsen towns.
    • Kyoto for machiya-style inns; Takayama and Kanazawa for tradition.
    • Book early — good ryokan fill up. Compare on Booking.com and Agoda .

    Tips for first-timers

    • Book at least one ryokan night — it’s a highlight of any trip.
    • Arrive by mid-afternoon to enjoy the bath before dinner.
    • Pack light; use luggage forwarding to send big bags ahead.

    Weave a ryokan night into our 7-day itinerary.

    What drives the price range

    • Simpler ryokan and minshuku (family-run inns) start around JPY 10,000-15,000 per person with two meals, while mid-range properties with a nice onsen run JPY 20,000-35,000, and luxury ryokan with private baths and elaborate kaiseki can exceed JPY 60,000-100,000+ per person.
    • Weekends and peak seasons (cherry blossom, autumn leaves, Golden Week) typically add a real premium over weekday rates — booking a weekday stay can mean a noticeably better ryokan for the same budget.
    • Rooms with a private open-air bath (rotenburo) cost more than standard rooms but remove any concern about shared-bath etiquette or tattoo policies, which many first-timers find worth the extra cost for peace of mind alone.

    Common mistakes to avoid

    • Arriving late in the evening — ryokan hospitality is built around an afternoon arrival, bath before dinner, and an early dinner service; arriving at 8-9pm can mean missing the bath window or a rushed, less enjoyable meal.
    • Skipping the yukata provided in your room — wearing it around the inn (and even to a nearby evening stroll in an onsen town) is completely normal and part of the experience, not just loungewear.
    • Booking a ryokan without checking meal plan options — some let you skip dinner for a lower rate if you’d rather eat elsewhere, which can be a smart choice on a food-focused trip through a city with better dining options nearby.

    Choosing your first ryokan experience

    For a first stay, a mid-range property in an established onsen town (Hakone, Kinosaki, or Yudanaka) tends to offer the most reliably good experience for foreign visitors, since staff are used to explaining the customs, timing, and bath etiquette that can otherwise feel unfamiliar on a first visit.

    What kaiseki dinner actually involves

    A typical kaiseki course runs 8-12 small dishes served in sequence, each showcasing a different cooking technique and seasonal ingredient rather than one large plate — pacing yourself across the full meal (which can run 90 minutes to two hours) is part of the experience, not something to rush through.

  • Must-Try Japanese Food: A First-Timer’s Hit List

    Must-Try Japanese Food: A First-Timer’s Hit List

    Food is reason enough to visit Japan. Beyond sushi and ramen lies a whole world of regional specialties and everyday delights. Here’s a first-timer’s hit list of dishes to try.

    The big names (and how to enjoy them)

    • Sushi & sashimi — from conveyor-belt (kaiten) spots to counter omakase.
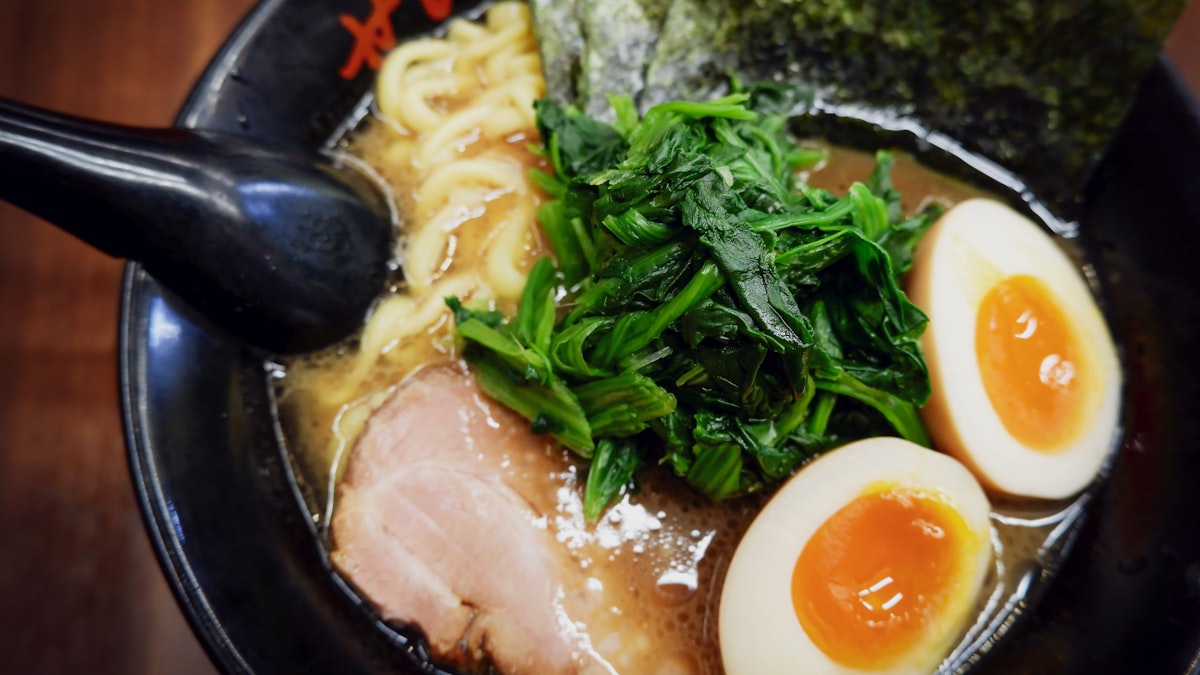
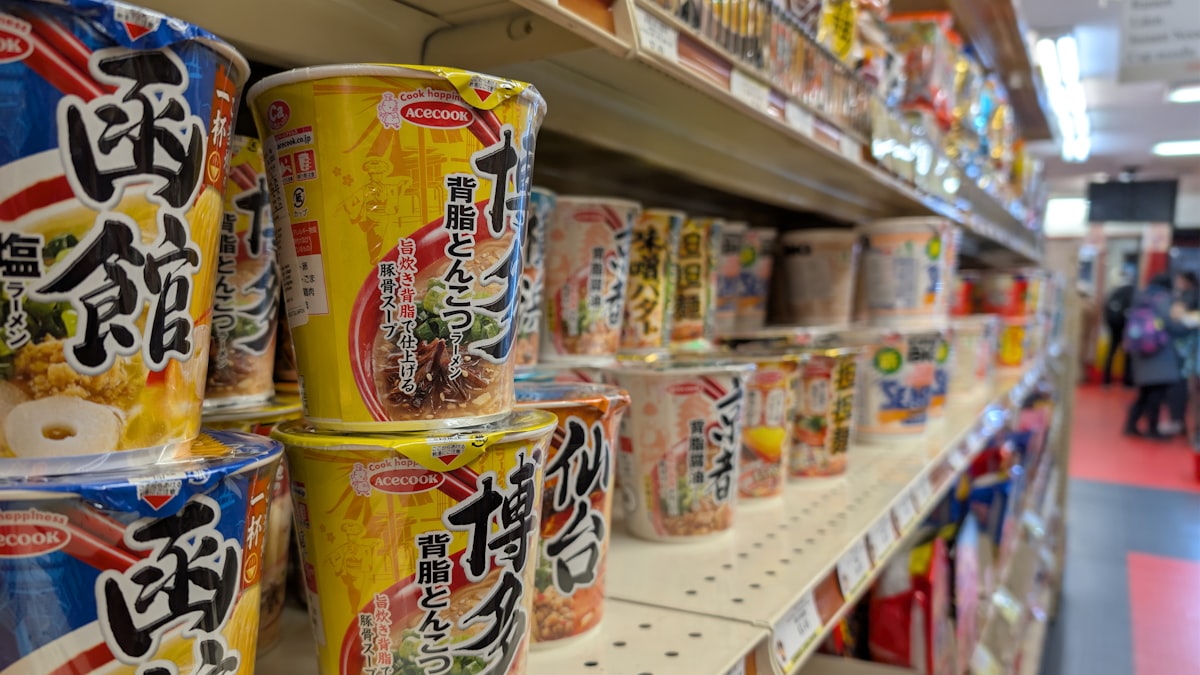
    • Ramen — tonkotsu, shoyu, miso, and more; every region has its style.
    • Tempura — lightly battered seafood and vegetables.
    • Tonkatsu — crispy breaded pork cutlet with shredded cabbage.
    • Udon & soba — thick wheat and thin buckwheat noodles, hot or cold.

    Street food & casual eats

    • Takoyaki & okonomiyaki — Osaka’s savory octopus balls and pancakes; see Osaka guide.
    • Yakitori — grilled chicken skewers, izakaya classic.
    • Gyoza and karaage (Japanese fried chicken).
    • Taiyaki & tatsu — fish-shaped cakes and sweets.

    Comfort bowls

    • Gyudon — beef rice bowls, cheap and fast.
    • Katsudon & oyakodon — cutlet or chicken-and-egg over rice.
    • Curry rice — Japan’s beloved comfort food.
    • Unagi — grilled eel, a summer treat.

    Don’t miss

    • Kaiseki — Japan’s multi-course haute cuisine, often at a ryokan.
    • Depachika — department-store food halls, a feast for the eyes.
    • Konbini food — genuinely good; see konbini must-buys.
    • Vegetarian? Read our vegetarian & vegan guide.

    Dining tips

    • Many places use ticket machines — buy a meal ticket, hand it over.
    • Slurping noodles is fine (even encouraged); there’s no tipping.
    • Brush up with our etiquette and phrases guides.

    Hungry yet? Fit the eating into our 7-day itinerary.

    What meals typically cost

    • Comfort bowls like gyudon and katsudon run JPY 400-900 at chain restaurants, among the cheapest hot, filling meals available anywhere in Japan.
    • A mid-range sit-down meal (tempura, tonkatsu, or a udon/soba set) runs JPY 1,000-2,500, while a proper multi-course kaiseki dinner can run JPY 8,000-25,000+ depending on the restaurant’s caliber.
    • Depachika prepared food offers a middle ground — restaurant-quality bento and deli items for JPY 800-2,000, ideal for a quality meal without a restaurant reservation.

    Common mistakes to avoid

    • Sticking only to famous dishes and skipping regional specialties — sushi and ramen get the international attention, but regional dishes like Hiroshima’s layered okonomiyaki, Osaka’s takoyaki, or Nagoya’s hitsumabushi are genuinely worth detouring for and taste better made locally than anywhere else.
    • Assuming ticket-machine restaurants are lower quality because they’re self-service — many excellent ramen and gyudon shops use ticket machines specifically for speed and efficiency, not as a quality shortcut.
    • Overordering at an izakaya on the first round — most groups order a few small dishes at a time and keep adding rounds, rather than ordering everything at once as you might at a Western restaurant.

    Building a food-focused day

    A satisfying food day might start with a market breakfast, move to a specific regional lunch specialty, snack through the afternoon at a konbini or depachika, and end with an izakaya dinner sampling several small dishes — a structure that naturally covers most of the dish categories on this list without needing to plan every meal in advance.

    Handling dietary restrictions

    Many classic dishes on this list contain fish stock (dashi) even when they appear vegetarian at a glance — miso soup, many noodle broths, and even some vegetable tempura batters can include it, so travelers with dietary restrictions should read our vegetarian and vegan in Japan guide before assuming a dish is automatically safe based on its listed ingredients alone.

  • How Much Does a Trip to Japan Cost? Budget Guide

    How Much Does a Trip to Japan Cost? Budget Guide

    Some links below are affiliate links. If you book through them, Japan Trove may earn a small commission at no extra cost to you.

    “Is Japan expensive?” Less than you’d think. Japan can be surprisingly affordable if you know where the money goes. Here’s a realistic daily budget and where to save.

    Rough daily budgets (per person)

    • Budget: ~8,000–12,000 yen/day — hostels/business hotels, konbini and cheap eats, mostly trains.
    • Mid-range: ~15,000–25,000 yen/day — comfortable hotels, restaurant meals, some paid sights.
    • Comfort/luxury: 30,000 yen+/day — ryokan stays, taxis, fine dining.

    Flights are separate and vary hugely by season and origin.

    Where your money goes

    • Accommodation — usually the biggest cost. Business hotels are great value; compare on Booking.com and Agoda .
    • Transport — long-distance shinkansen adds up; see if the JR Pass pays off.
    • Food — this is where Japan shines cheap (below).
    • Activities — many temples/shrines are free or a few hundred yen.

    Japan is cheap for food

    • Filling meals for 500–1,000 yen at ramen, gyudon, and set-meal shops.
    • Konbini meals and depachika bargains at closing time.
    • Tap water is safe and free; vending machines are cheap.

    Easy ways to save

    • Ride local trains with an IC card; walk a lot.
    • Shop tax-free and hit 100-yen shops.
    • Skip pocket wifi rental — get a cheap eSIM.
    • Travel in shoulder seasons to cut hotel prices.

    Money basics

    Japan still loves cash in places — read money in Japan for cards, ATMs, and tipping (there’s no tipping). Plan the trip itself with our 7-day itinerary.

    A realistic 7-day budget example

    • Budget traveler: roughly JPY 70,000-90,000 total for a week (excluding flights and any rail pass) — hostel dorms or basic business hotels, konbini/set-meal dining, mostly walking and local trains.
    • Mid-range traveler: roughly JPY 130,000-190,000 for a week — comfortable business or 3-star hotels, a mix of casual and sit-down restaurant meals, a few paid attractions and one shinkansen leg.
    • Comfort traveler: JPY 250,000+ for a week — includes at least one ryokan night, better hotels throughout, taxis when convenient, and less budget-consciousness around dining.

    Common budgeting mistakes

    • Forgetting to budget for one splurge — a single memorable ryokan night or special dinner is one of the best value-for-experience additions to an otherwise budget trip, and skipping it entirely to save money is a common regret.
    • Overestimating daily food costs — many first-timers assume Japan is an expensive place to eat, when in fact excellent meals are available for JPY 800-1,200 almost everywhere; the food budget is often the easiest place to relax without overspending.
    • Underestimating the JR Pass math — buying it reflexively rather than calculating your specific route’s cost against single tickets can waste tens of thousands of yen; see our JR Pass guide before assuming it’s automatically worth it.

    Where costs vary most by region

    Tokyo, Kyoto, and Osaka carry the highest accommodation prices in the country, while regional cities like Kanazawa, Takayama, and Fukuoka offer meaningfully better hotel value for similar quality — a longer trip that spreads nights across both major and regional cities often comes out cheaper per night on average than one spent entirely in the big three.

    Hidden costs first-timers often miss

    Baggage forwarding between cities, entrance fees at multiple temples that add up faster than expected, and souvenir shopping (which regularly runs higher than planned once depachika sweets and gifts enter the picture) are the three most commonly underestimated line items — padding your overall budget by roughly 10-15% beyond your itemized estimate accounts for this reasonably well.

  • Japan Itinerary: 2 Weeks (14 Days) for First-Timers

    Japan Itinerary: 2 Weeks (14 Days) for First-Timers

    Some links below are affiliate links. If you book through them, Japan Trove may earn a small commission at no extra cost to you.

    Two weeks in Japan is the sweet spot — enough to pair the classic cities with a few deeper detours without rushing. Here’s a balanced 14-day route for first-timers.

    At a glance

    • Days 1–4: Tokyo
    • Day 5: Hakone or Nikko (Fuji views / nature)
    • Days 6–8: Kyoto
    • Day 9: Nara + Osaka
    • Days 10–11: Osaka + Himeji/Kobe
    • Day 12: Hiroshima & Miyajima
    • Days 13–14: Back to Tokyo (or Kanazawa detour) & departure

    Tokyo (Days 1–4)

    Ease into the country: Asakusa, Shibuya, Shinjuku, teamLab, and day trips. Full ideas in our Tokyo guide and day trips. Get a Suica/Pasmo and an eSIM first.

    Hakone / Nikko (Day 5)

    Break up the cities with hot springs and Mt. Fuji views, or Nikko’s shrines and forest.

    Kyoto & Nara (Days 6–9)

    Temples, bamboo groves, and geisha districts — see Kyoto and a Nara day trip. Ride the shinkansen down from Tokyo.

    Osaka, Hiroshima & beyond (Days 10–12)

    Osaka’s food scene (Osaka guide), Himeji Castle, then Hiroshima’s Peace Park and the floating torii of Miyajima.

    Getting around & saving money

    • With this much long-distance travel, price out the Japan Rail Pass — a 2-week trip may justify a 7-day pass for the busiest stretch.
    • Use luggage forwarding between cities to travel light.
    • Book hotels early for peak seasons — compare on Booking.com and Agoda .

    Tips

    Budgeting for 14 days

    • A mid-range 14-day trip covering this route typically runs JPY 350,000-550,000 per person excluding flights, given the number of long-distance legs and multi-night city stays involved.
    • With this many far-apart stops, the 14 or 21-day nationwide JR Pass is genuinely worth pricing out carefully — see our JR Pass guide, since a route touching Tokyo, Kyoto, Osaka, and Hiroshima is close to the profile where the nationwide pass pays off.
    • Luggage forwarding between each multi-night base (roughly JPY 2,000-3,000 per bag per hop) is worth budgeting for on a trip with this many city changes.

    Common mistakes on a 14-day itinerary

    • Packing every single day with sightseeing — a 14-day trip is long enough that at least one genuinely unplanned or slow day (a park, a cafe, a neighborhood wander) meaningfully improves overall trip satisfaction compared to a nonstop schedule.
    • Skipping the Kanazawa detour option without considering it — for travelers who’ve done the classic Tokyo-Kyoto-Osaka route before, swapping a day of repeat sightseeing for Kanazawa’s gardens and old town adds real variety.
    • Not confirming the JR Pass exchange process on Day 1 — passes require online purchase in advance and a specific pickup process at designated exchange offices; sort this out early rather than on a day you need to travel.

    Adjusting the pace for repeat visitors

    First-timers benefit from this itinerary’s breadth, but travelers who’ve already done Tokyo and Kyoto once might use a 14-day trip to go deeper instead — swapping some city time for a Kumano Kodo hike, a longer Hokkaido leg, or extended time in Kyushu, using this route as a template to modify rather than follow exactly.

    What to eat along a 14-day route

    A route this long naturally covers Japan’s major regional food styles — Tokyo’s sushi and ramen, a Hakone or Nikko ryokan’s kaiseki dinner, Kyoto’s tofu and seasonal cuisine, Osaka’s street food, Hiroshima’s layered okonomiyaki, and Kanazawa’s fresh Sea of Japan seafood if you add that detour — making food alone a strong reason to follow the full itinerary rather than shortening it.

  • Luggage Forwarding in Japan (Takkyubin): Travel Hands-Free

    Luggage Forwarding in Japan (Takkyubin): Travel Hands-Free

    One of Japan’s best-kept travel secrets: send your suitcase ahead and travel hands-free. It’s called takkyubin, and once you try it you’ll never lug bags up station stairs again.

    What is takkyubin?

    A cheap, ultra-reliable courier service (Yamato’s “Ta-Q-Bin” is the famous one, with a black-cat logo) that forwards luggage hotel-to-hotel, airport-to-hotel, or hotel-to-airport — usually next day.

    Why travelers love it

    • No wrestling bags on crowded trains or up stairs.
    • Shinkansen-friendly — avoid the oversized-luggage reservation hassle on the bullet train.
    • Day-trip freedom — send your suitcase ahead and explore a stopover city with just a daypack.
    • Reliable — Japan’s couriers are famously punctual and careful.

    How to use it

    1. Ask your hotel front desk — most handle takkyubin directly.
    2. Fill in a slip with the destination hotel’s address (they can help).
    3. Pay a few thousand yen per bag; hand it over by the daily cut-off.
    4. Your bag arrives at the next hotel, usually the next day.

    Also available at

    • Konbini and airport counters (great for airport-to-hotel on arrival).
    • Cold/frozen forwarding exists too — handy for food souvenirs.

    Smart ways to use it

    • Overnight bag trick: forward the big suitcase, keep one night’s essentials in a daypack.
    • Send souvenirs ahead to the airport so you’re not overweight at check-in.
    • Allow 1–2 days — it’s not instant, so plan cut-offs around your route.

    Travel light and love Japan more. Pair with our packing list and train guide.

    Costs & timing at a glance

    Expect roughly 1,500–2,500 yen per medium suitcase between cities, depending on size and distance, with most deliveries arriving the next day. Same-day is not guaranteed, so send bags a day ahead of when you’ll need them. Airport-to-hotel on arrival (and hotel-to-airport before departure) is one of the most useful uses — you land or fly out hands-free.

    Forwarding vs coin lockers

    For a few hours between check-out and check-in, station coin lockers (payable by IC card) are cheaper and instant. For moving bags to your next city or skipping the crowded shinkansen luggage shuffle, forwarding wins.

    Common mistakes to avoid

    • Sending a bag the same day you need it at the destination — takkyubin is reliable but not instant; next-day delivery is standard, so plan a one-night buffer, especially for a hotel-to-hotel forward on a tight multi-city schedule.
    • Missing the daily cut-off time — most hotel front desks and konbini counters have a specific afternoon cut-off (often 3-5pm) for next-day delivery; missing it can push arrival back an extra day.
    • Forwarding a bag you’ll need before it arrives — always keep a full night’s essentials (medication, chargers, a change of clothes) in your daypack rather than assuming the timing will work out exactly.

    Using it for more than luggage

    Beyond suitcases, takkyubin handles oversized sports equipment (ski gear, golf clubs), boxed souvenirs too bulky to carry, and even chilled or frozen regional food purchases — a genuinely useful service if you’ve bought fresh seafood or perishable regional specialties and want them to arrive home (or at your next hotel) properly refrigerated rather than carried in a bag all day.

    International shipping versus domestic forwarding

    It’s worth noting that standard takkyubin only moves items within Japan — if you want to ship purchases directly overseas, that’s a separate international shipping service (sometimes offered by the same courier company, sometimes not) with different pricing and customs paperwork, so don’t assume the domestic hotel-to-hotel service extends to your home country’s address.

  • Vegetarian & Vegan in Japan: A Practical Guide

    Vegetarian & Vegan in Japan: A Practical Guide

    Eating vegetarian or vegan in Japan is very doable — but there’s a hidden catch called dashi. Here’s how to eat well without stress.

    The dashi problem

    Japan’s foundational stock, dashi, is usually made with bonito (fish) flakes. It’s in miso soup, many noodle broths, simmered dishes, and sauces — so “vegetable” dishes often aren’t vegetarian. Even a plain-looking bowl can hide fish. Knowing this is half the battle.

    Naturally veg-friendly foods

    • Shojin ryori — Buddhist temple cuisine, entirely plant-based and exquisite (great in Kyoto and Koyasan).
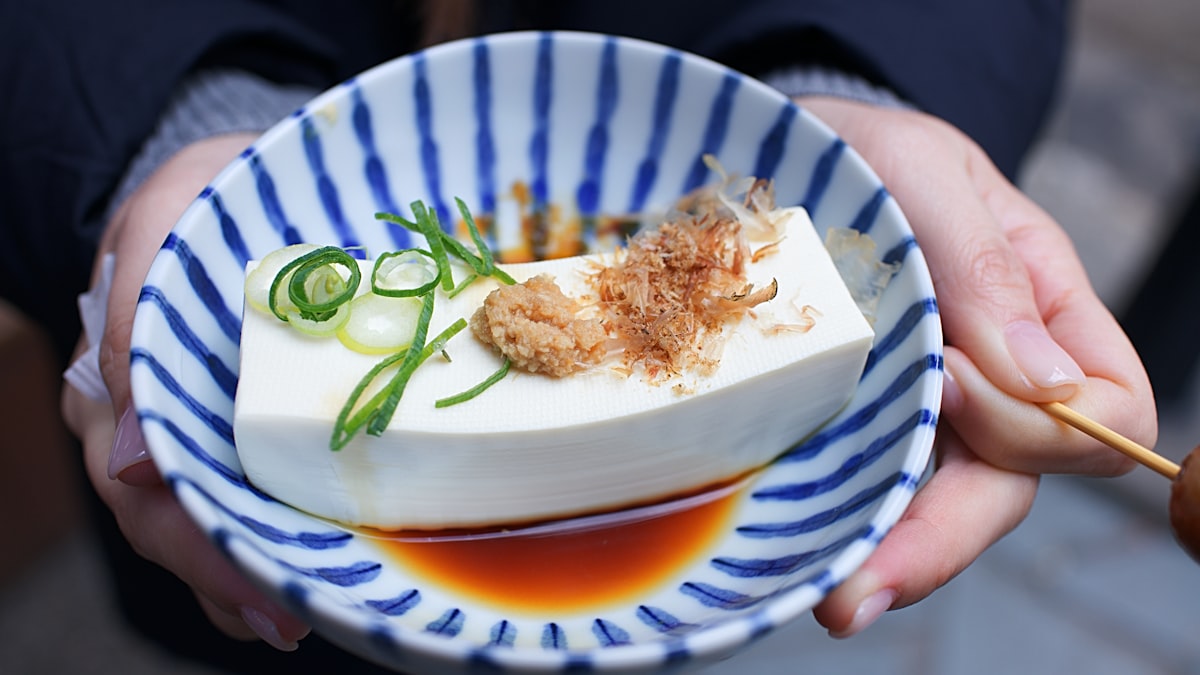
    • Tofu & yuba dishes, especially in Kyoto.
    • Vegetable tempura, edamame, and pickles (ask about the dipping sauce).
    • Zaru soba — cold buckwheat noodles (confirm the dipping broth).
    • Inari sushi and vegetable maki (kappa/avocado).

    Convenience-store & chain wins

    • Konbini onigiri (umeboshi/kombu), salads, edamame, and fruit.
    • An increasing number of vegan ramen and curry spots in big cities.
    • Indian restaurants are a reliable veg fallback everywhere.

    Phrases that help

    • “Watashi wa bejitarian desu” — I’m vegetarian.
    • “Niku, sakana, dashi nashi de dekimasu ka?” — Can you make it without meat, fish, or dashi?
    • Carry a printed card listing what you can’t eat. More in our phrases guide.

    Tips for a smooth trip

    • Use vegan-restaurant apps/maps to pin spots in advance.
    • Book accommodation with a kitchen if you’re strict — supermarkets have great produce and tofu.
    • Big cities are easiest; rural areas need more planning.

    With a little prep, plant-based travelers eat brilliantly here. Build it into our first-timer tips.

    What eating vegetarian typically costs

    • A shojin ryori temple meal runs JPY 3,000-8,000 depending on the temple and course elaborateness, generally pricier than an average meal but a genuine culinary highlight, not just a dietary accommodation.
    • Vegan-specific restaurants in Tokyo and Kyoto run JPY 1,500-3,500 for a full meal, roughly in line with mid-range dining generally, though there are simply fewer of them outside major cities.
    • Self-catering with supermarket tofu, vegetables, and rice can bring daily food costs well under JPY 2,000, a practical fallback in areas with limited vegetarian restaurant options.

    Common mistakes to avoid

    • Assuming a menu item labeled “vegetable” is dashi-free — this is the single most common trap; many visually vegetable-only dishes are cooked in or served with a fish-based broth or sauce, so asking directly is safer than reading the menu alone.
    • Relying only on English-language reviews to find vegan spots — Japanese-language apps and maps (which a hotel concierge can help translate) often reveal far more options than English-focused travel sites.
    • Not preparing for rural areas — small towns and traditional ryokan often have fixed, meat/fish-heavy set menus with little flexibility; calling ahead to arrange a vegetarian kaiseki substitute is worth doing before you arrive, not after.

    Vegetarian-friendly regions and cities

    Kyoto stands out as the easiest city for vegetarian and vegan travelers thanks to its deep shojin ryori and tofu cuisine tradition, followed by Tokyo’s growing international food scene; more rural and coastal regions built around seafood specialties (much of Kyushu and Hokkaido) require noticeably more advance planning.

    Building a translation card for restaurants

    A simple printed or phone-saved card explaining your restrictions in Japanese, including the specific mention of dashi and fish flakes (katsuobushi), removes most of the ambiguity that spoken English can run into with busy kitchen staff — many long-term vegetarian residents of Japan recommend this over relying on conversation alone, especially outside major tourist areas.

  • How to See Mt. Fuji: Best Views, Times & Climbing

    How to See Mt. Fuji: Best Views, Times & Climbing

    Some links below are affiliate links. If you book through them, Japan Trove may earn a small commission at no extra cost to you.

    Mt. Fuji is Japan’s most iconic sight — but it’s famously shy, often hidden by cloud. Here’s how and where to actually see it (and whether to climb it).

    Best time to see Fuji

    • Clearest views: autumn and winter (roughly Nov–Feb), especially crisp mornings.
    • Time of day: early morning and late afternoon beat hazy midday.
    • Summer is climbing season but often too hazy for good distant views.

    Best places to view it

    • Hakone — hot springs with Fuji views; an easy day trip or overnight from Tokyo. See day trips from Tokyo.
    • Kawaguchiko (Fuji Five Lakes) — postcard reflections of Fuji over the lake.
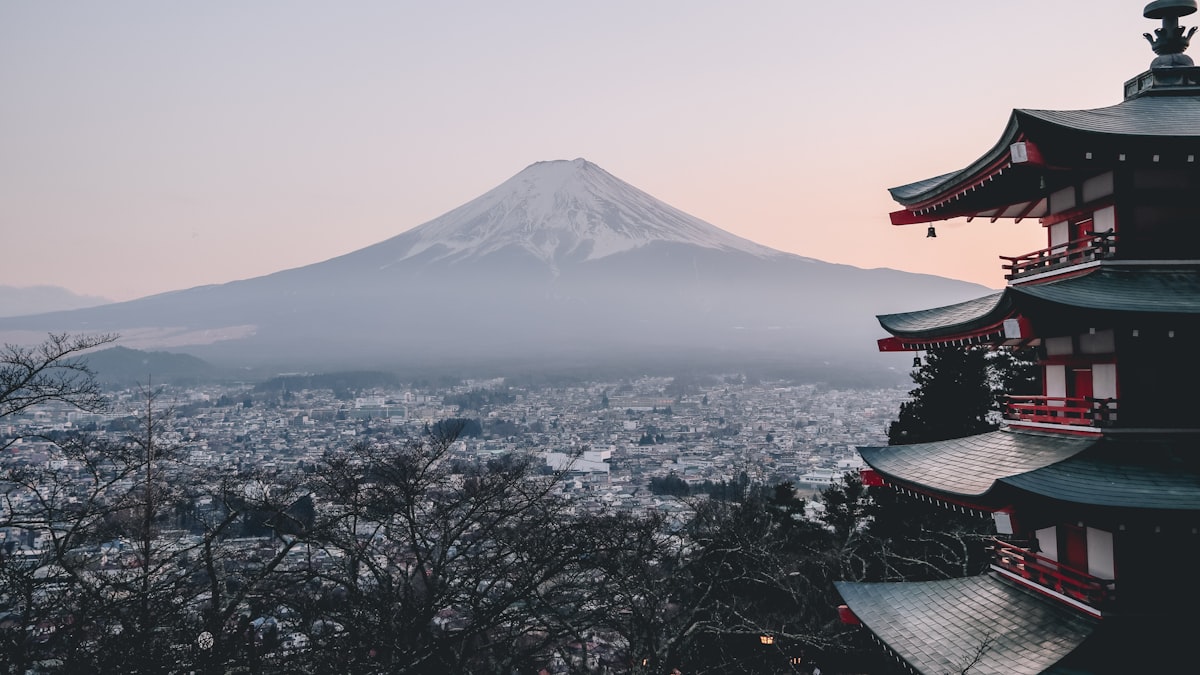
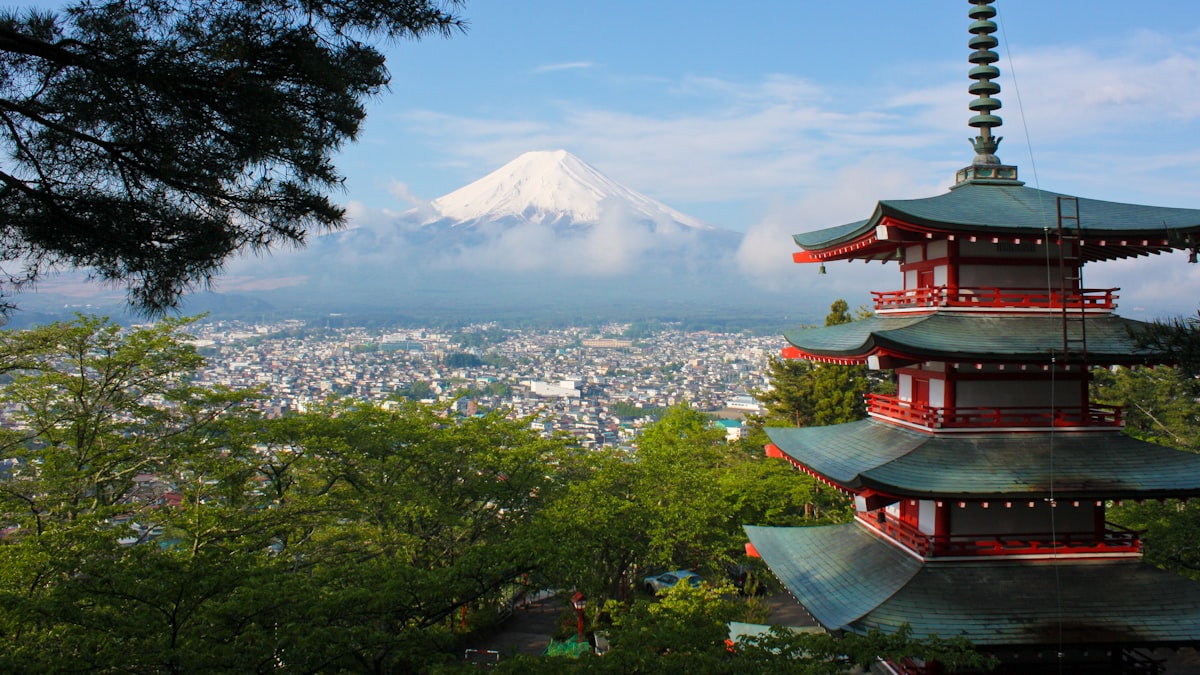
    • Chureito Pagoda — the famous pagoda-with-Fuji shot near Fujiyoshida.
    • From the shinkansen — sit on the right side Tokyo→Kyoto; see our bullet train guide.
    • Gotemba / Oshino Hakkai — outlet shopping and spring-water village with mountain views.

    Should you climb it?

    • Season: official climbing is only early July to early September.
    • Difficulty: no technical skill needed, but it’s a long, steep, cold slog — altitude and weather are the real challenges.
    • Classic plan: climb in the afternoon, sleep in a mountain hut, summit for sunrise (goraiko).
    • Rules: trails now have entry fees and daily limits — check the current-year rules before booking.

    Getting there

    Buses run from Tokyo (Shinjuku) to Kawaguchiko and the Fuji trailheads; trains reach Fujiyoshida/Kawaguchiko. Guided day tours bundle transport and the best viewpoints — browse Fuji day tours on Klook . Bring layers, and don’t forget an eSIM to check the forecast.

    Reality check

    Fuji hides behind clouds often — build in a flexible day or two, chase a clear morning, and you’ll get your shot. Fold it into our 7-day itinerary.

    What a Fuji trip costs

    • Buses from Shinjuku to Kawaguchiko run about JPY 2,000-2,200 one-way; a guided day tour bundling transport and 2-3 viewpoints typically runs JPY 8,000-15,000 per person.
    • Climbing season trail fees now run around JPY 2,000-4,000 per climber (subject to change year to year), plus mountain hut costs of JPY 8,000-15,000 per person for the overnight stop most climbers use before a sunrise summit push.
    • The Fuji Five Lakes ropeway and smaller viewpoint attractions each run JPY 500-1,000, modest costs that add up if you’re chasing several different viewing angles across a single trip.

    Common mistakes to avoid

    • Booking a single-day trip with no weather flexibility — Fuji’s visibility is genuinely unpredictable; a rigid one-day plan has a real chance of a completely obscured mountain, while a 2-3 day window in the area meaningfully improves your odds of at least one clear sighting.
    • Attempting to climb without acclimatization or proper gear — altitude sickness is a real risk on a fast ascent, and temperatures near the summit can drop below freezing even in August; layers and a slower pace matter more than fitness alone.
    • Assuming outside climbing season (September-June) means no options — the mountain itself remains visible and photogenic year-round; only the summit trails close, so viewing trips work in any season, just not the climb itself.

    Choosing your Fuji base

    Hakone suits travelers who want onsen and art alongside their Fuji views, Kawaguchiko suits those chasing the classic lake-reflection photo and a quieter, more nature-focused stay, and a shinkansen-window sighting suits anyone with very limited time who still wants a chance at seeing the mountain without dedicating a full extra day to the area.

    What sunrise from the summit is actually like

    Goraiko (the sunrise seen from Fuji’s summit) is the traditional reward for an overnight climb, but reaching the top in time requires a genuinely early pre-dawn push from the mountain hut in cold, dark conditions — climbers who’ve done it consistently describe it as exhausting but worth it, and recommend against underestimating how physically demanding the final stretch feels after a short, broken night’s sleep at altitude.

  • 100-Yen Shops in Japan: Daiso, Seria & What to Buy

    100-Yen Shops in Japan: Daiso, Seria & What to Buy

    Japan’s 100-yen shops are souvenir gold mines — huge stores full of genuinely useful, cute, and clever goods for about a dollar each. Here’s how to shop them like a pro.

    The big three

    • Daiso — the largest chain; enormous range, mostly 100 yen.
    • Seria — more design-forward and stylish; great for craft and kitchen.
    • Can Do — solid all-rounder, often in malls and stations.

    Note: not everything is 100 yen — some items are 200–500, always marked.

    Best things to buy

    • Kitchen tools — clever gadgets, bento accessories, onigiri molds.
    • Stationery — cute pens, sticky notes, washi tape. See Japanese stationery.
    • Beauty helpers — face masks, blotting papers, and beauty tools.
    • Travel gear — packing cubes, bottles, and organizers (handy mid-trip).
    • Souvenirs — chopsticks, furoshiki cloths, ceramic dishes, character goods.

    Smart shopping tips

    • Prices are before tax — 100 yen items ring up around 110 yen.
    • Big flagship stores (Harajuku, Ginza) have the widest selection.
    • Great for cheap gifts to bring home in bulk.
    • Buy an extra foldable bag here to carry the rest of your Don Quijote haul.

    Why travelers love them

    Where else can you fill a basket with quirky, quality souvenirs for pocket change? 100-yen shops are a low-risk, high-fun stop — and a lifesaver for any travel odds and ends you forgot on your packing list.

    What makes a great 100-yen souvenir

    The best 100-yen finds are the ones that feel unmistakably Japanese for the price: patterned chopsticks and rests, small ceramic dishes, furoshiki-style cloths, folding fans, bento accessories, and character stationery. Buy a few of each — at roughly a dollar apiece they make easy, crowd-pleasing gifts to hand out back home.

    A few watch-outs

    • Quality varies. Most items are impressively good, but some are exactly what you’d expect for 100 yen — check anything mechanical before you buy.
    • Not everything is 100 yen. Higher-priced items are marked; glance at the tag.
    • Electricals are made for Japan’s 100V — don’t assume compatibility at home.

    What things typically cost

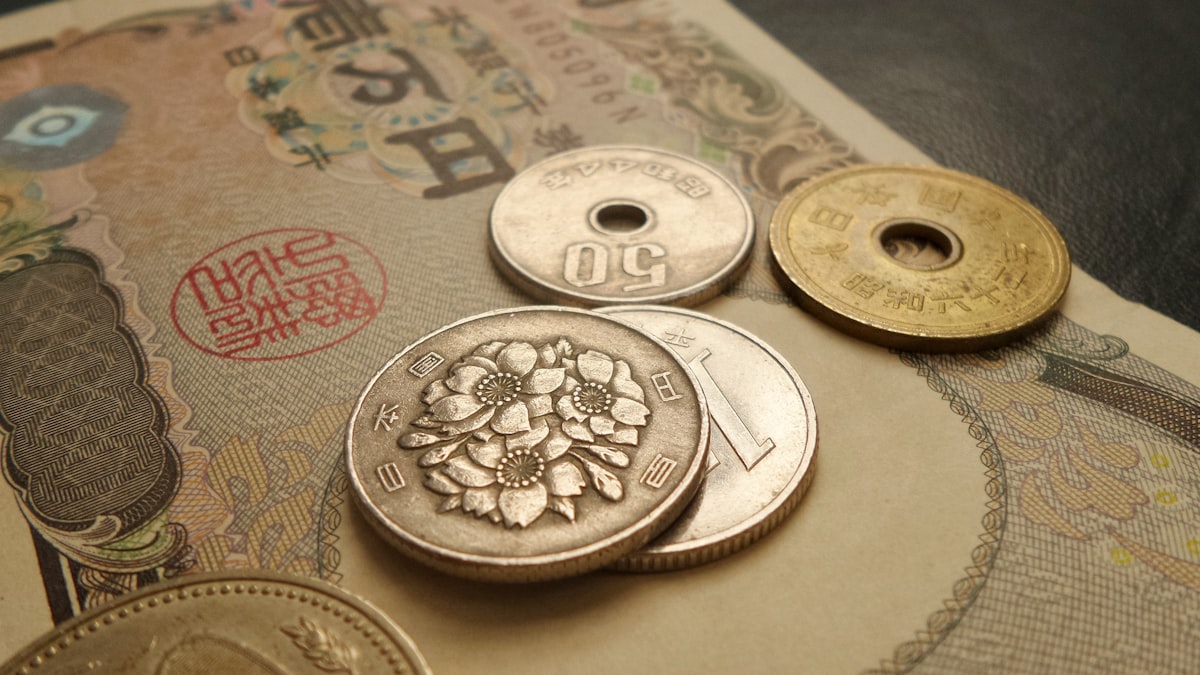
    • Standard items ring up at JPY 110 with tax, and a well-filled basket of 15-20 small souvenirs runs JPY 1,650-2,200 total — one of the most cost-efficient ways to cover a long gift list.
    • Seria’s slightly more design-forward stock (better-looking kitchen and craft items) still prices at the standard JPY 110 in most cases, making it worth checking both Daiso and Seria if one is short on a specific style.
    • Larger flagship branches in Harajuku or Ginza stock premium items priced JPY 220-550, clearly marked, which sometimes rival the quality of mid-range specialty shop goods at a fraction of the price.

    Common mistakes to avoid

    • Assuming a small neighborhood branch has full selection — stock varies significantly by store size; a flagship location is worth the extra travel time if you’re hunting for something specific rather than just general souvenirs.
    • Buying electrical items without checking voltage — like other Japanese retailers, 100-yen shop electricals are built for 100V and may not be compatible with higher-voltage systems abroad without a converter.
    • Skipping the seasonal aisles — Daiso and Seria rotate genuinely well-designed seasonal items (New Year decorations, summer festival goods, Halloween novelties) that disappear once the season passes and aren’t restocked.

    Combining a 100-yen run with other shopping

    Many travelers use a 100-yen shop stop as the last leg of a bigger shopping day — picking up small, flat, easy-to-pack items after already buying bulkier things elsewhere, since nothing here adds meaningful weight or breaks easily compared to ceramics or electronics bought earlier in the day.

    Shipping bulkier finds home

    If a 100-yen shop haul grows beyond what fits comfortably in your suitcase, most large branches sell affordable packing tape and boxes on-site, and a nearby post office or konbini can typically handle a simple parcel back home — a low-cost solution for a genuinely oversized souvenir run.